TUTORIAL CAMBIADOR PARA BEBÉ (Baby Changer tutorial)
Hola a Tod@s
Últimamente soy una especialista en hacer complementos para bebés y es que no hacen más que nacer niñ@s en mi familia y en mi grupo de amigos. Así que os he preparado un tutorial de como hacer un cambiador para bebés como los que yo hago. Espero que os guste.
Hello Everyone
Lately I am a specialist in making accessories for babies because there have been many births in my family and my group of friends. So, I have prepared a tutorial about how to make a baby changer. I hope you like it.

MATERIALES/MATERIALS
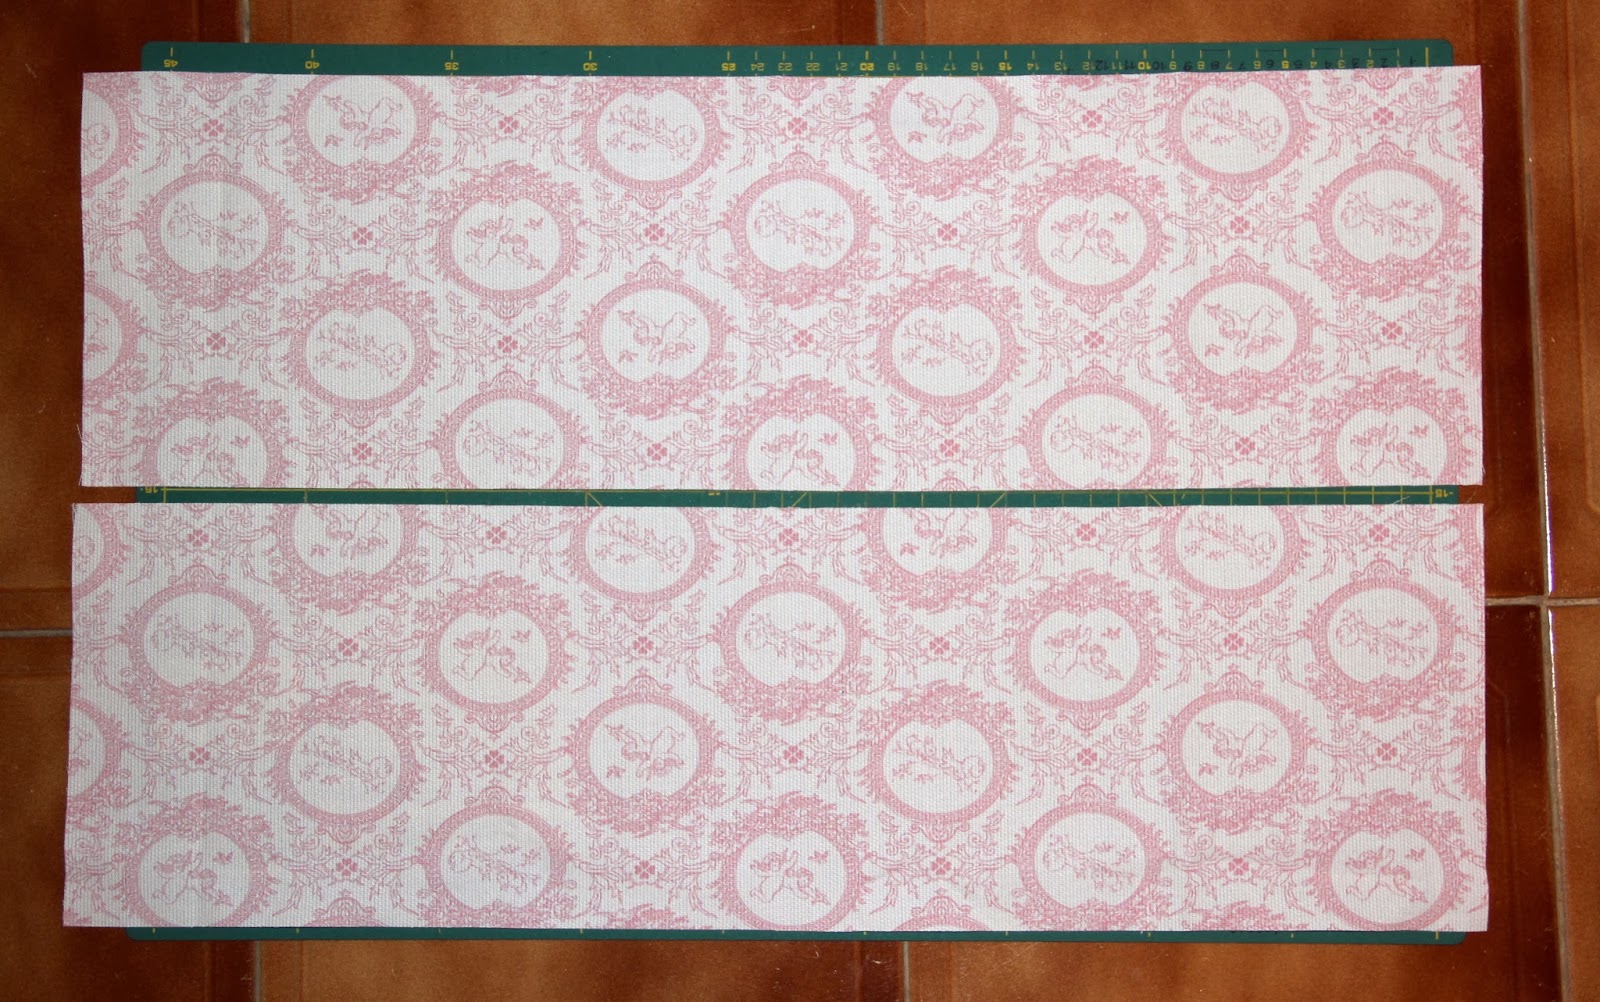
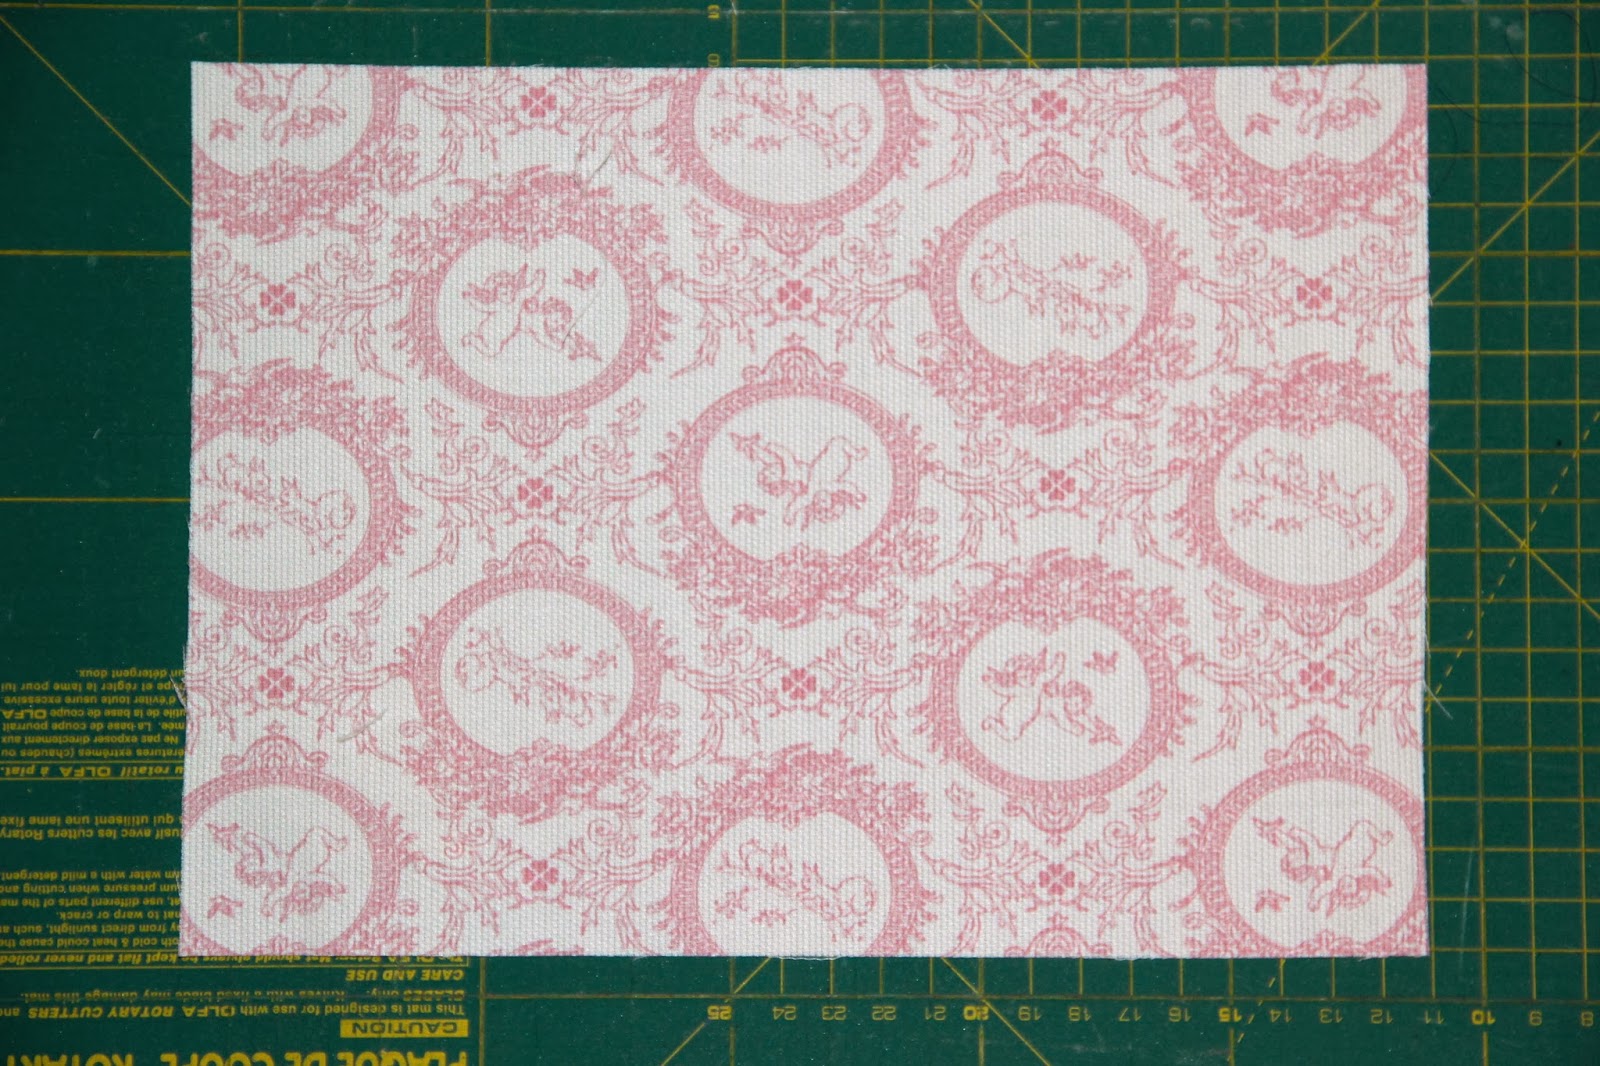
2 tiras de tela estampada (tela principal) de 15×50 cm
2 pieces of 15×50 of main fabric
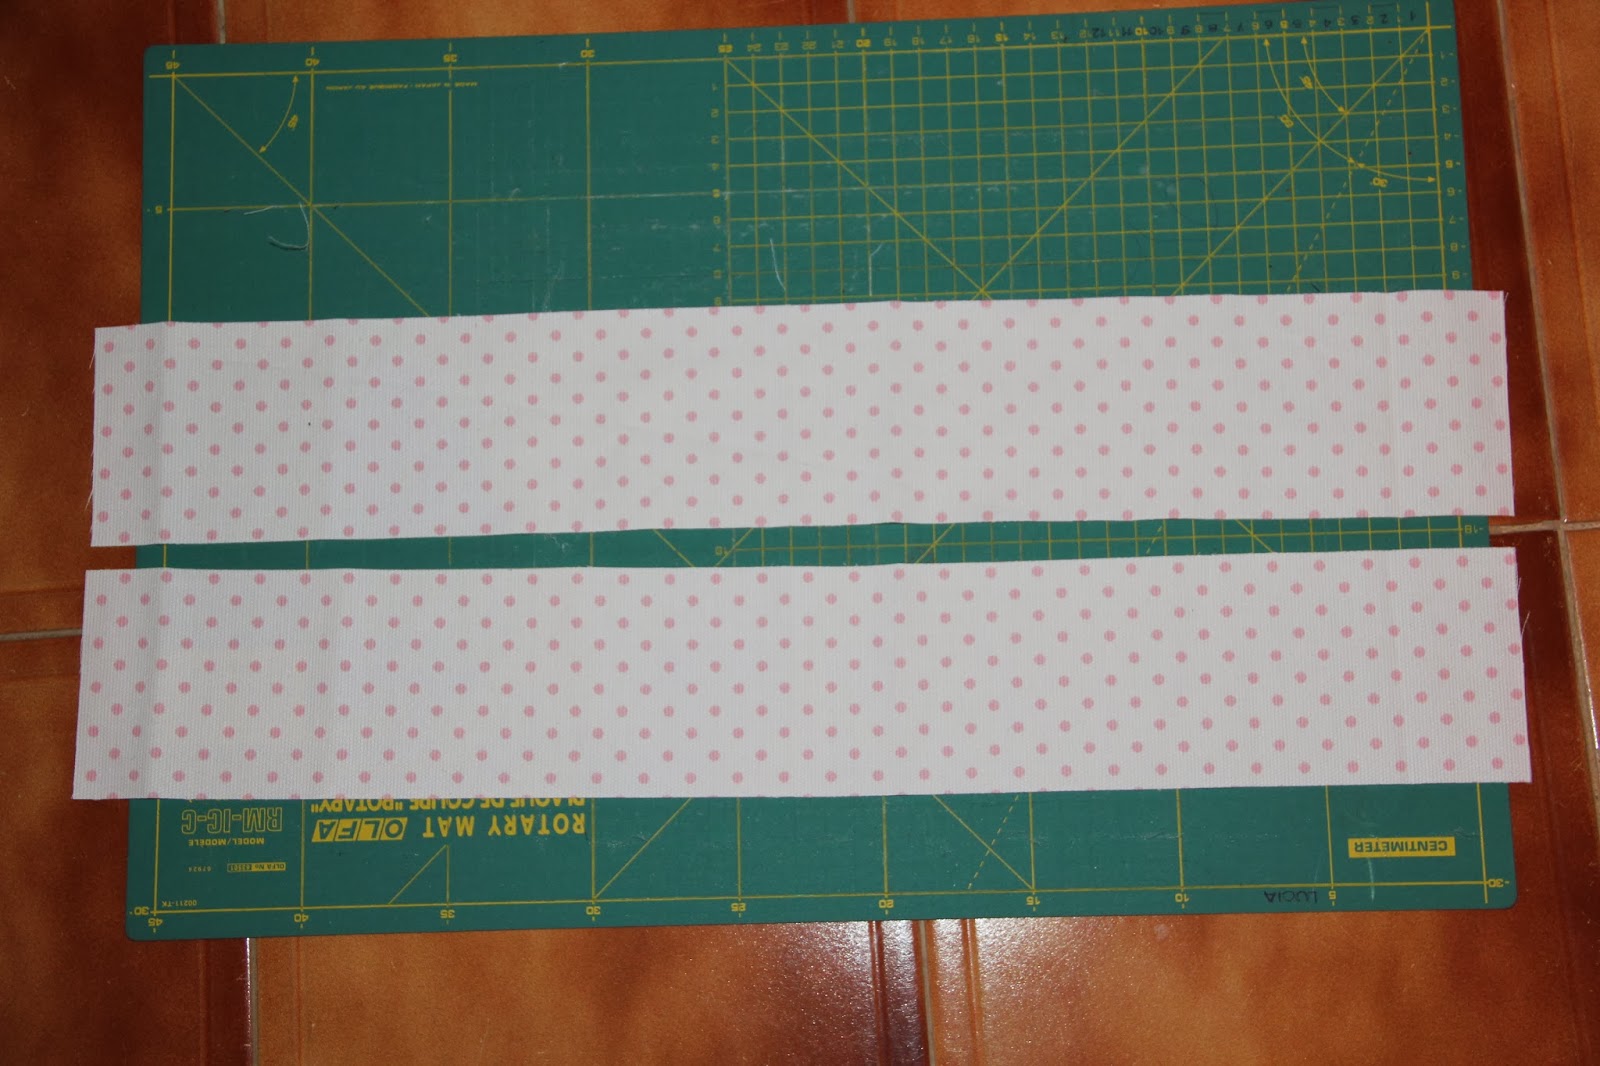
2 tiras de tela que combine con la anterior de 8×50 cm
2 pieces of 8×50 cm of fabric that combine with the previous fabric
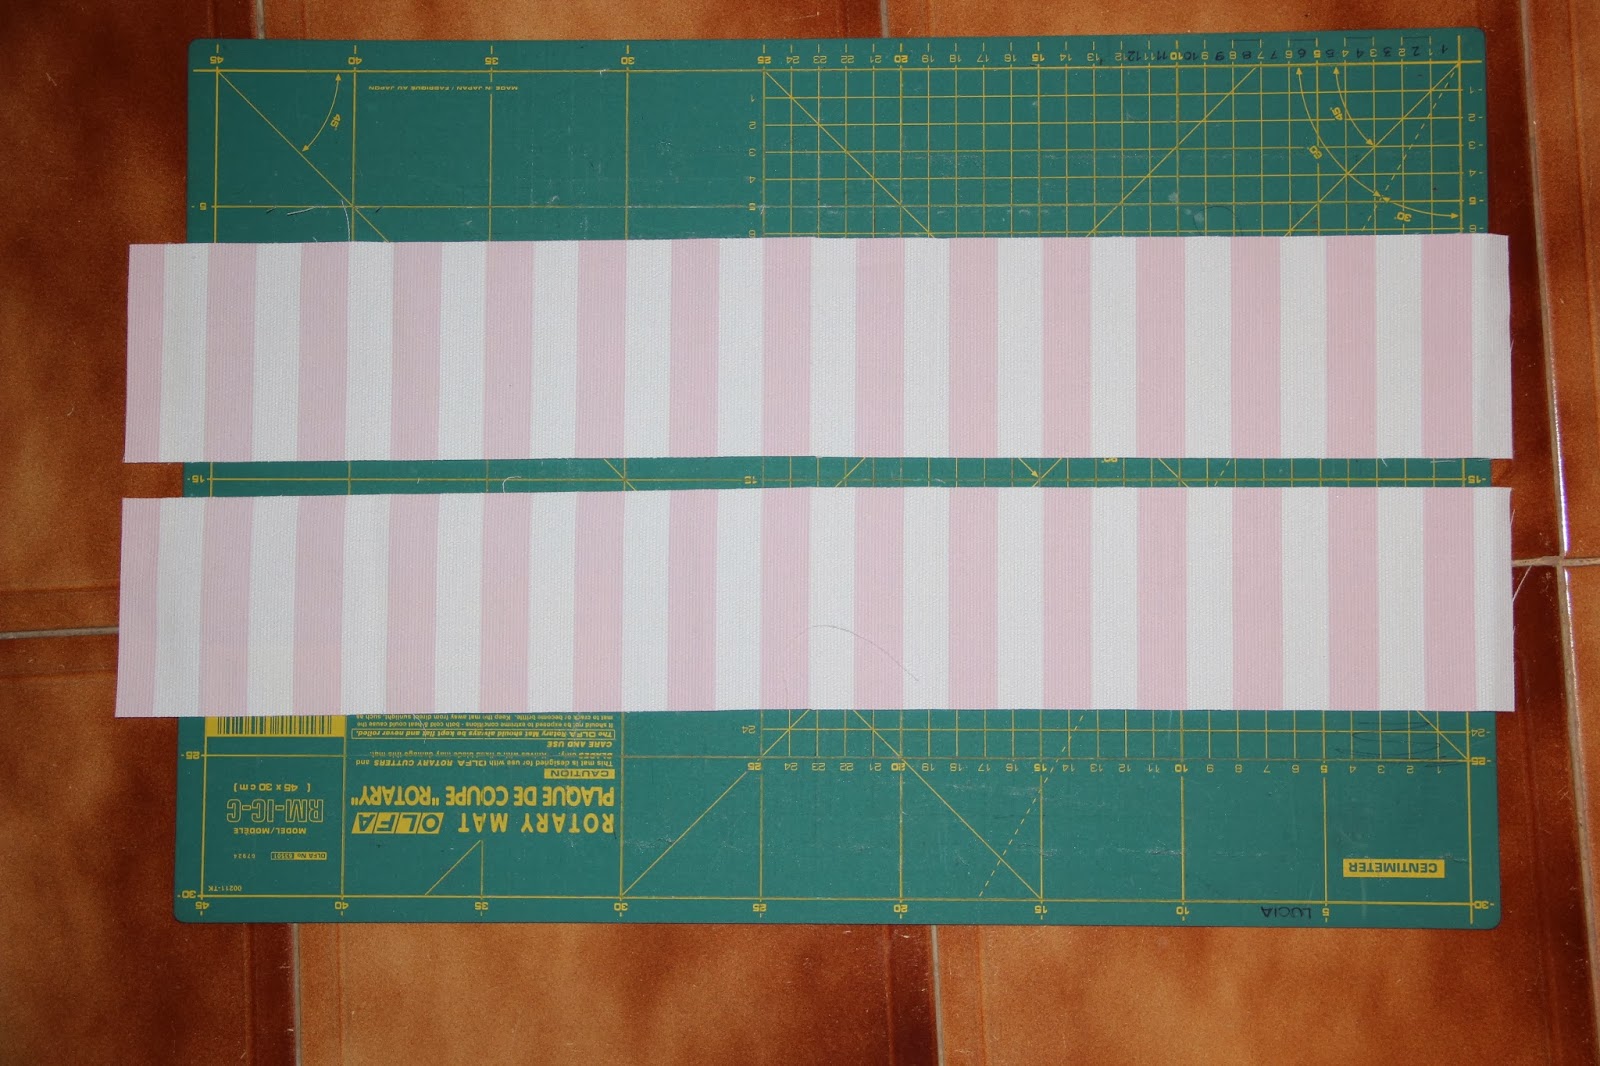
2 tiras de tela que también combine de 8×50 cm
2 pieces of 8×50 cm of another fabric to also combining
1 rectángulo, de la tela principal, de 18×25 cm
1 rectangle of 18×25 of main fabric
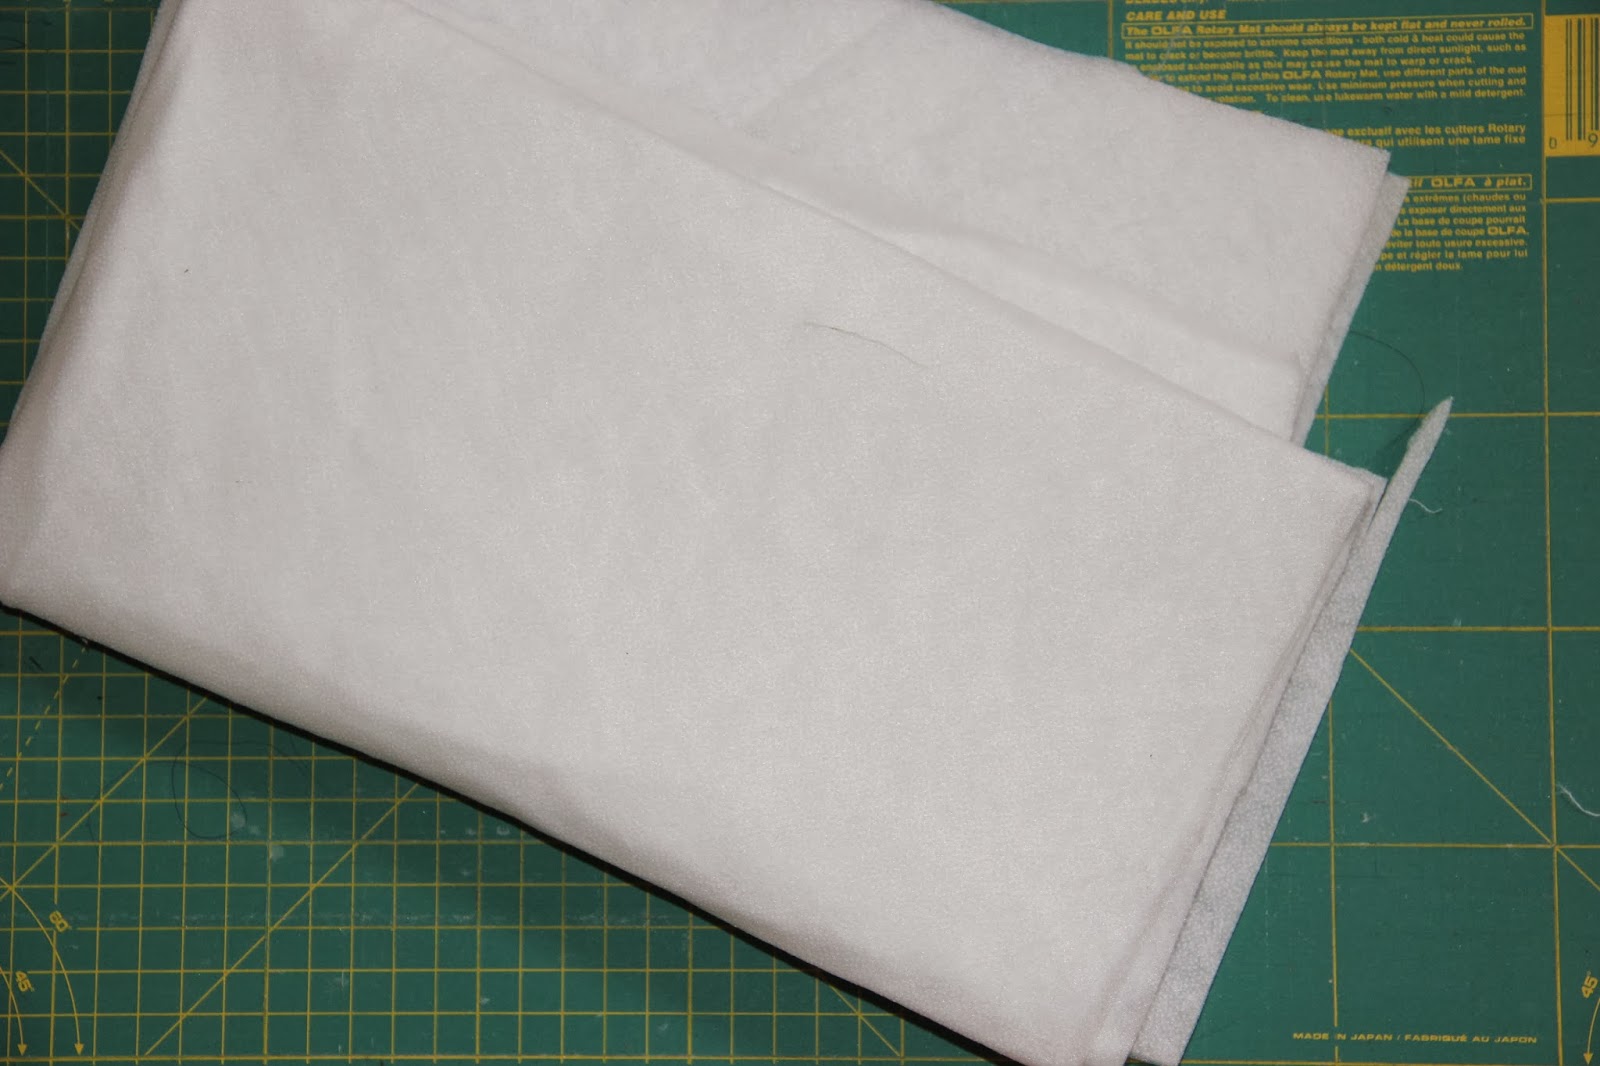
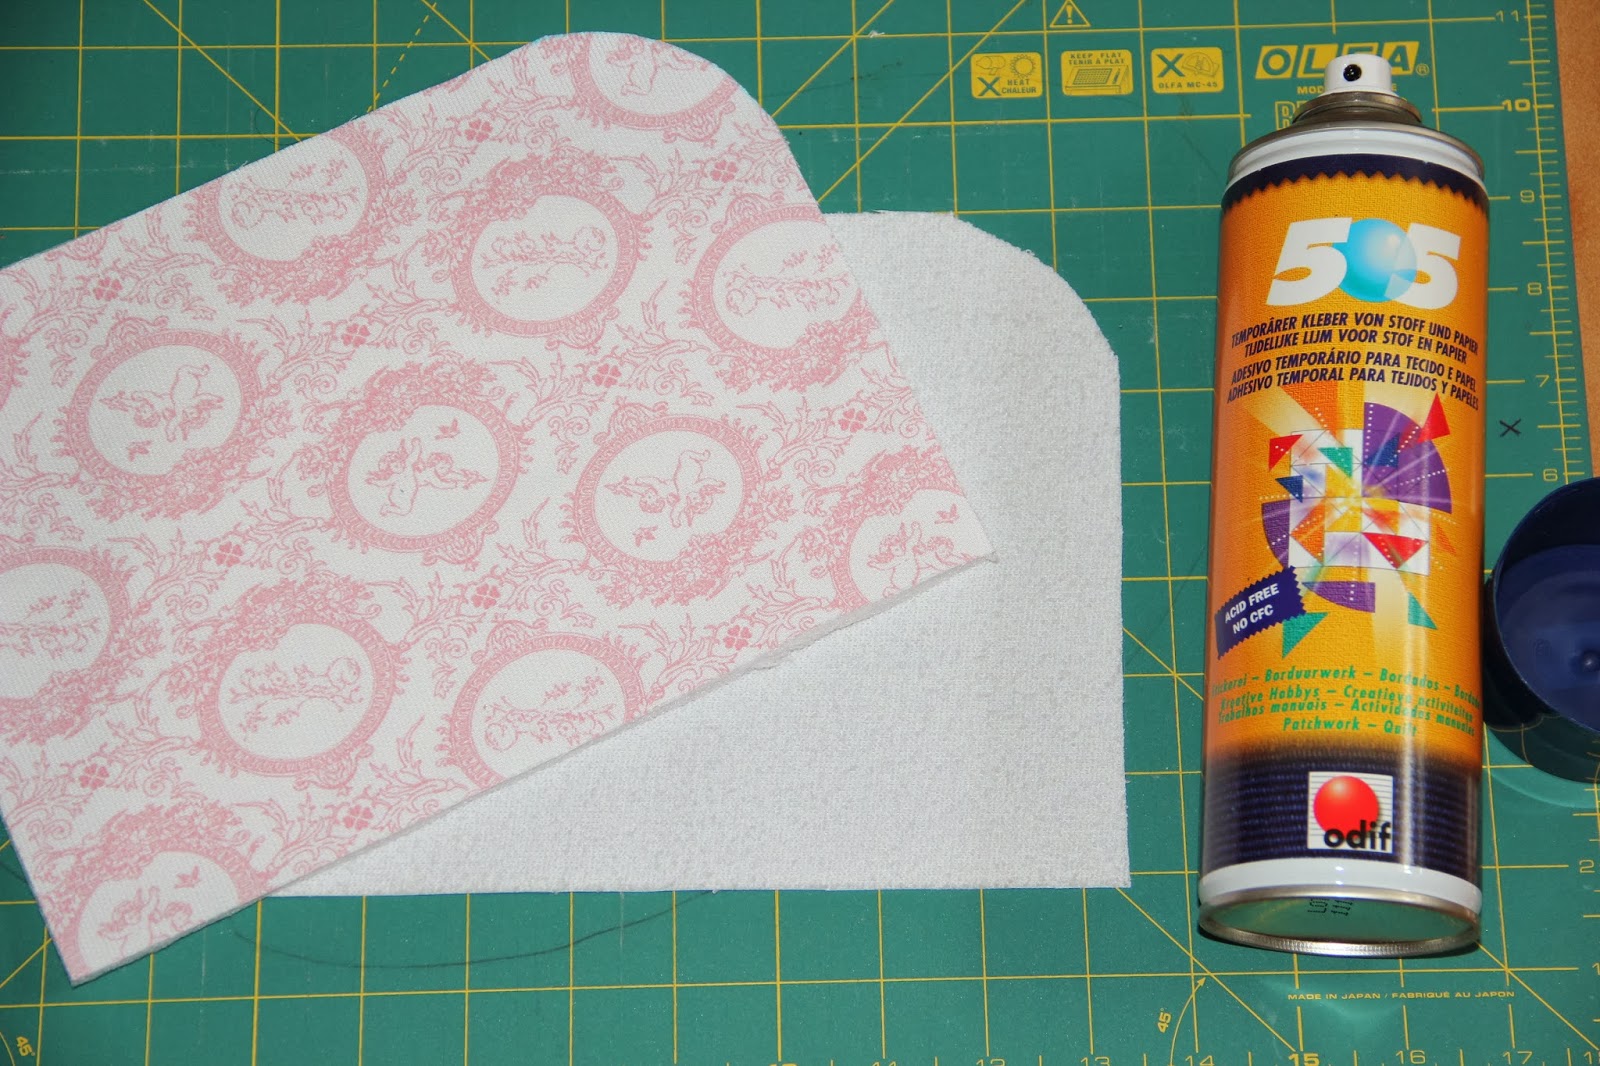
1 trozo de guata fina de 60×50 cm
1 piece of 60×50 cm of thin batting
1 trozo de guata fina de 18×25 cm
1 piece of 18×25 of thin batting
1 trozo de rizo de toalla (plastificada por una de las partes) de 50×60 cm y otro de 18x 25 cm. Yo utilizo este tipo de tela plastificada pero puede usarse cualquier otro tipo de tela que queramos.
2 pieces of 50x60cm and 18×25 cm of plastic towel fabric (I use this type of laminated fabric, but you can use any fabric you want)

COMO HACER EL CAMBIADOR
HOW TO MAKE THE BABY CHANGER
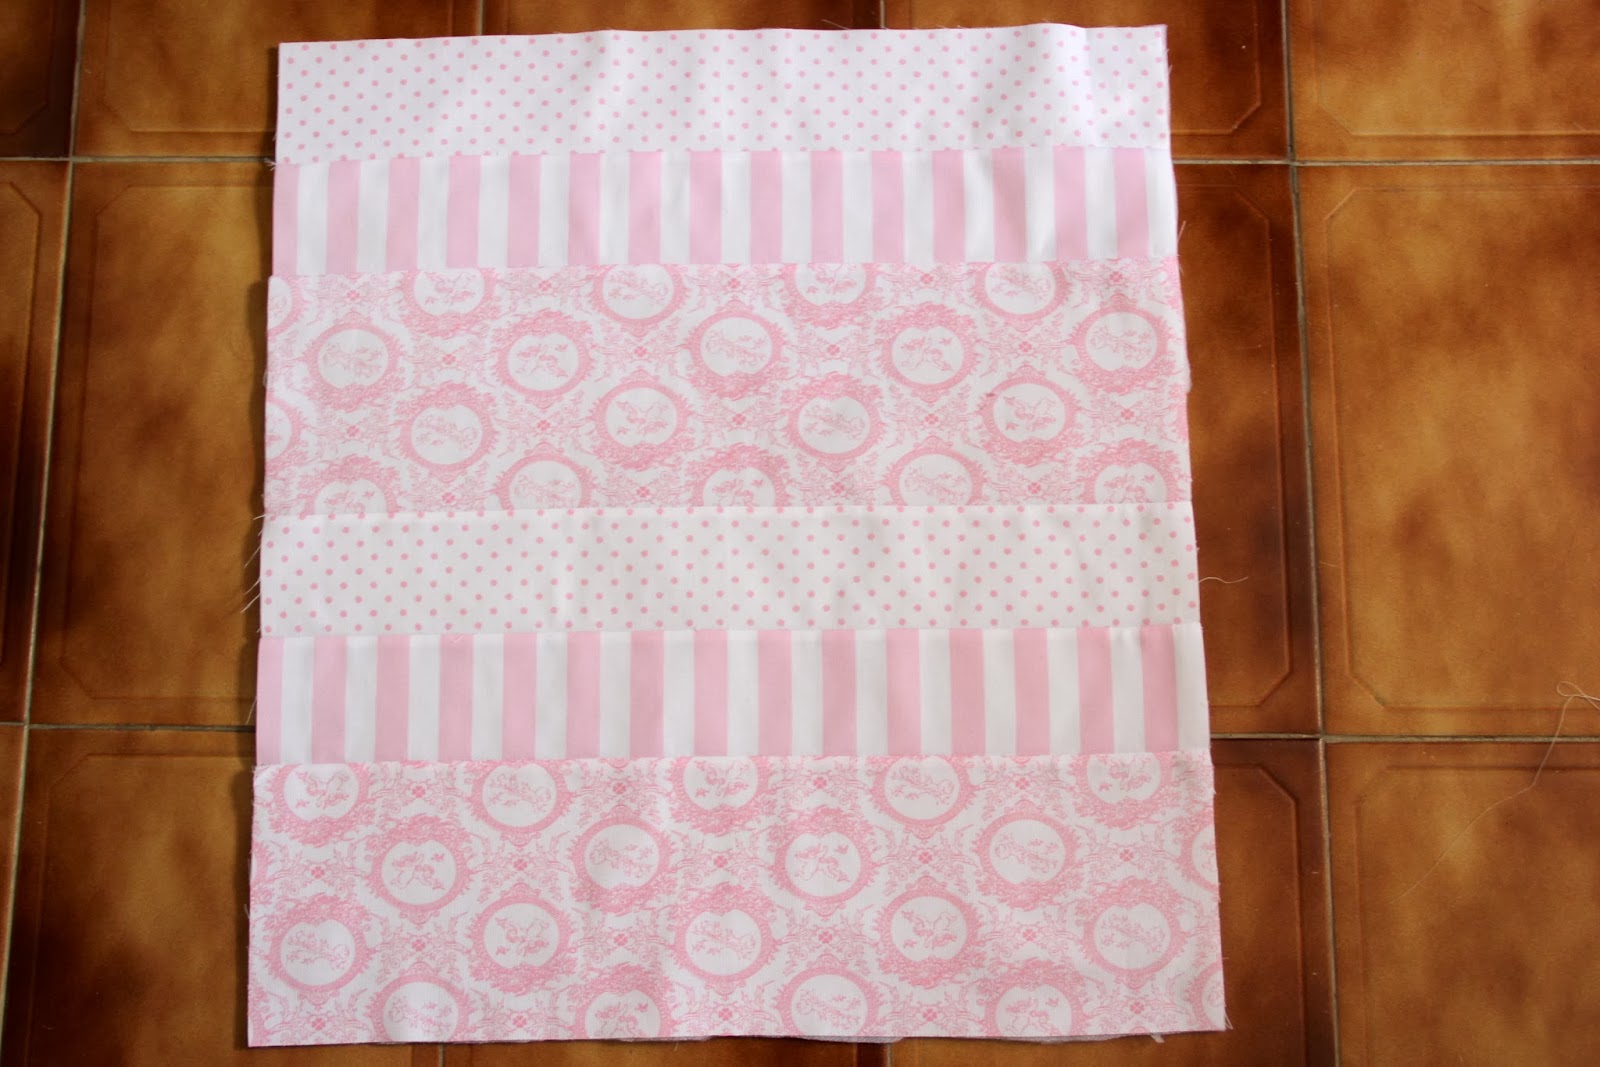
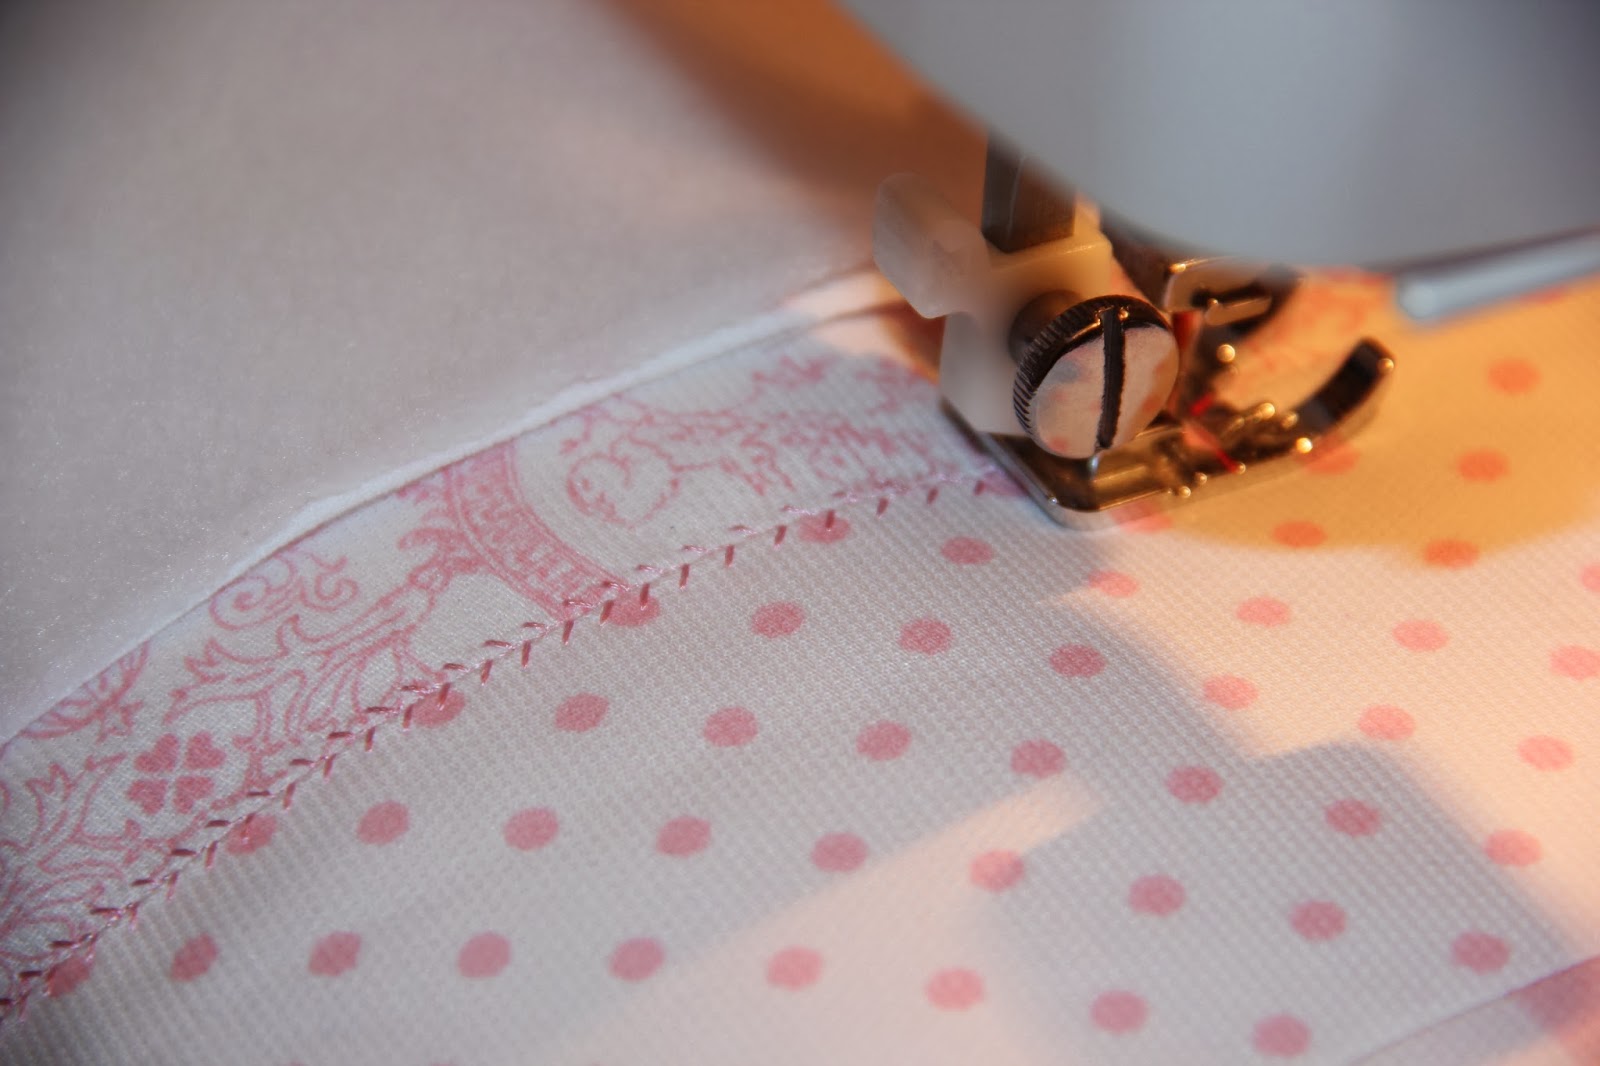
Coser las tiras de 50 cm alternando estampados, tal y como se observa en la fotografía.
Sewing the strips of 50 cm alternating patterns, as shown in the picture
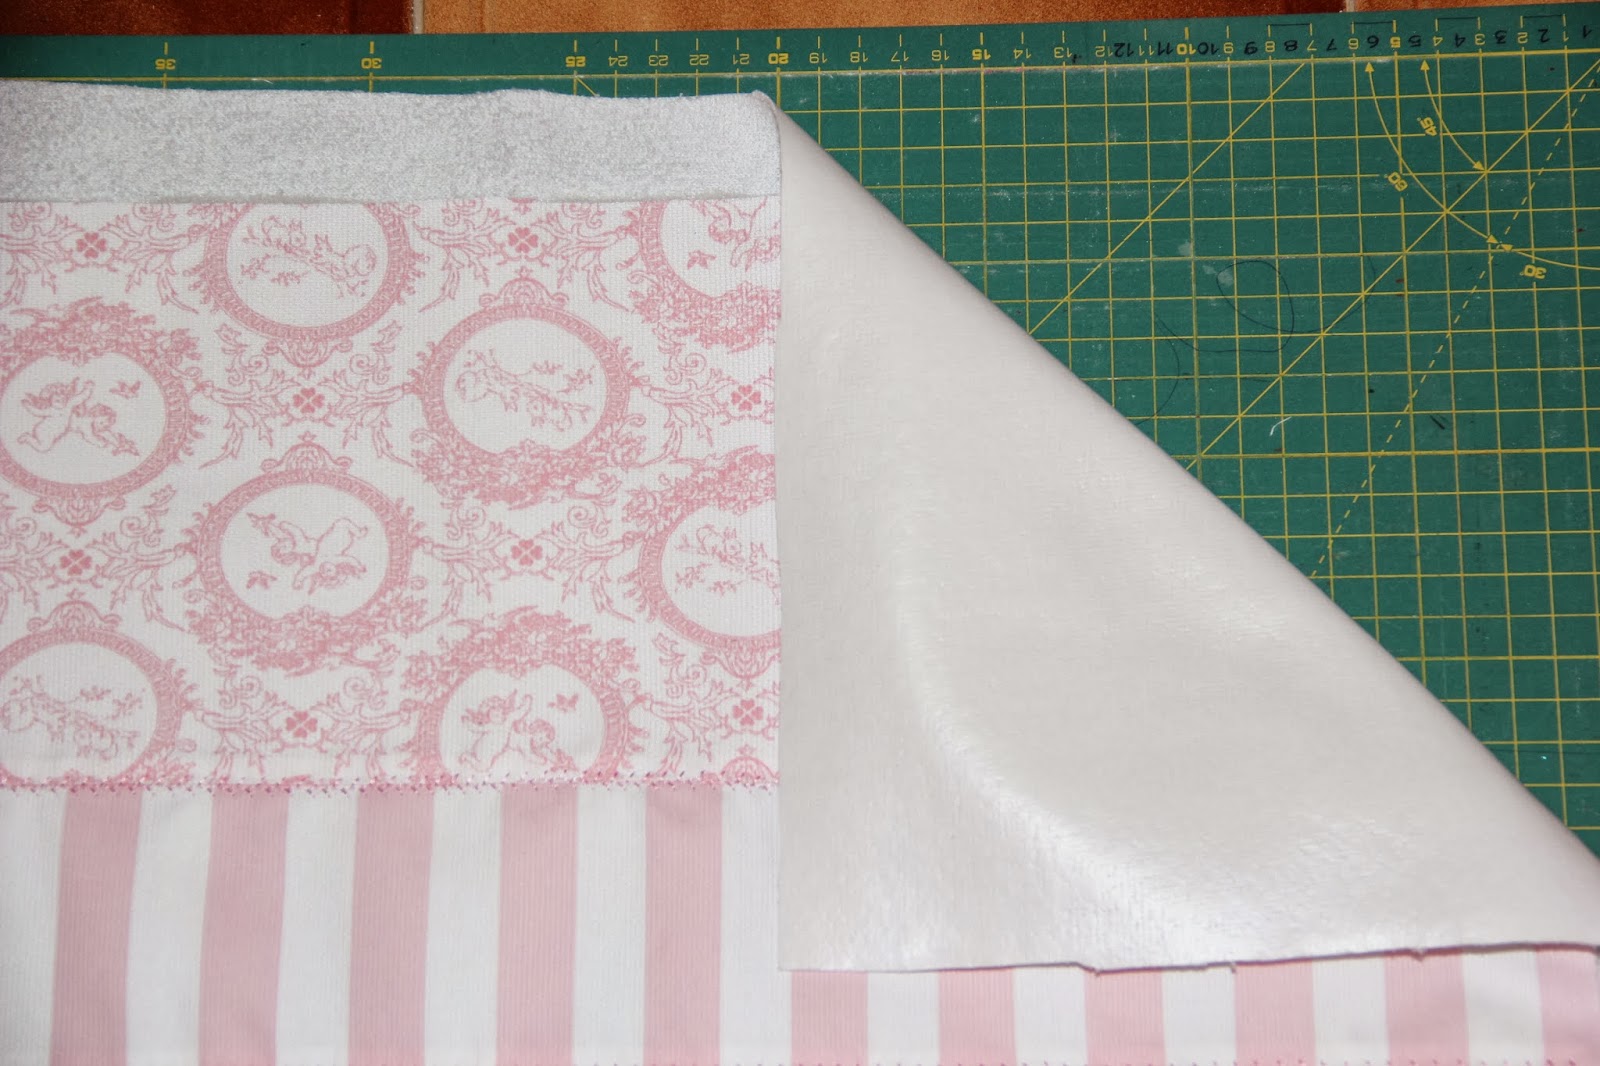
Medir el largo y cortar la misma medida de guata y de tela plastificada.
Measure the length and cut the same measure of batting and plastic towel fabric
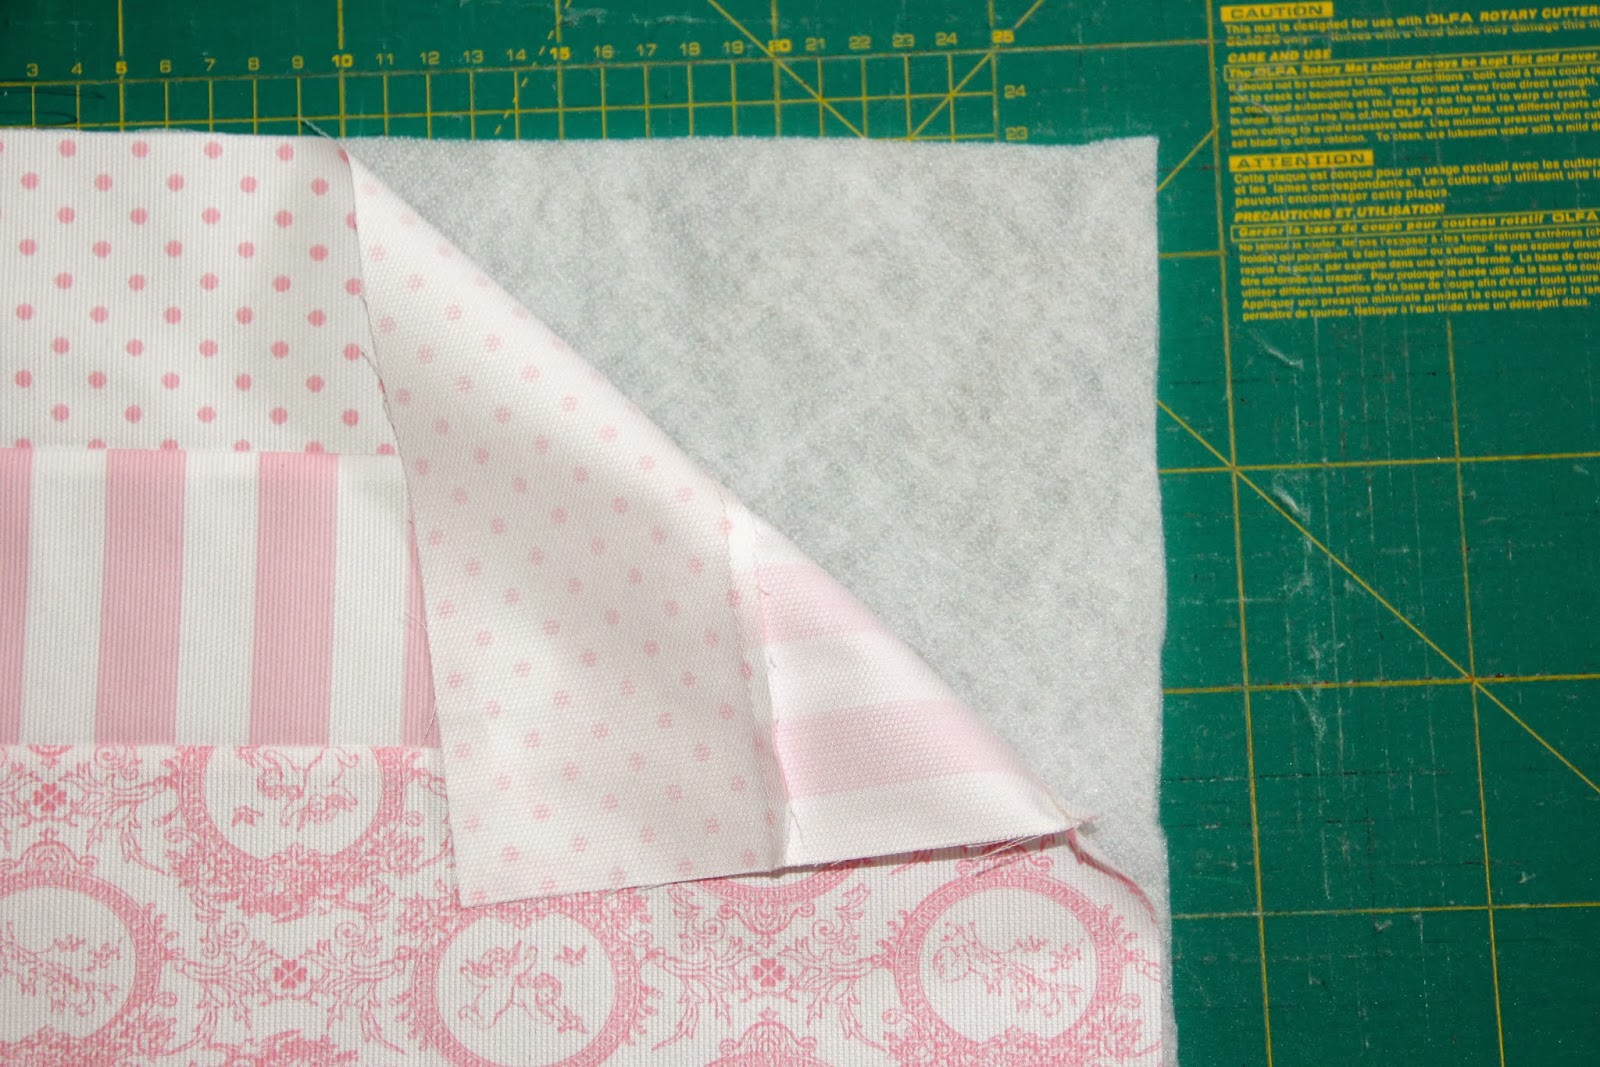
Colocar la guata por el revés del las telas y acolchar o hacer puntadas decorativas sobre las costuras de unión de las telas para fijar bien la guata
Place batting on the reverse side of fabrics and quilting or do decorative stitches on fabrics union seams to secure batting
Colocar la toalla plastificada (con la parte plastificada hacia afuera), pegar o hilvanar
Place the plastic towel (with laminated to the outside part), paste, or baste
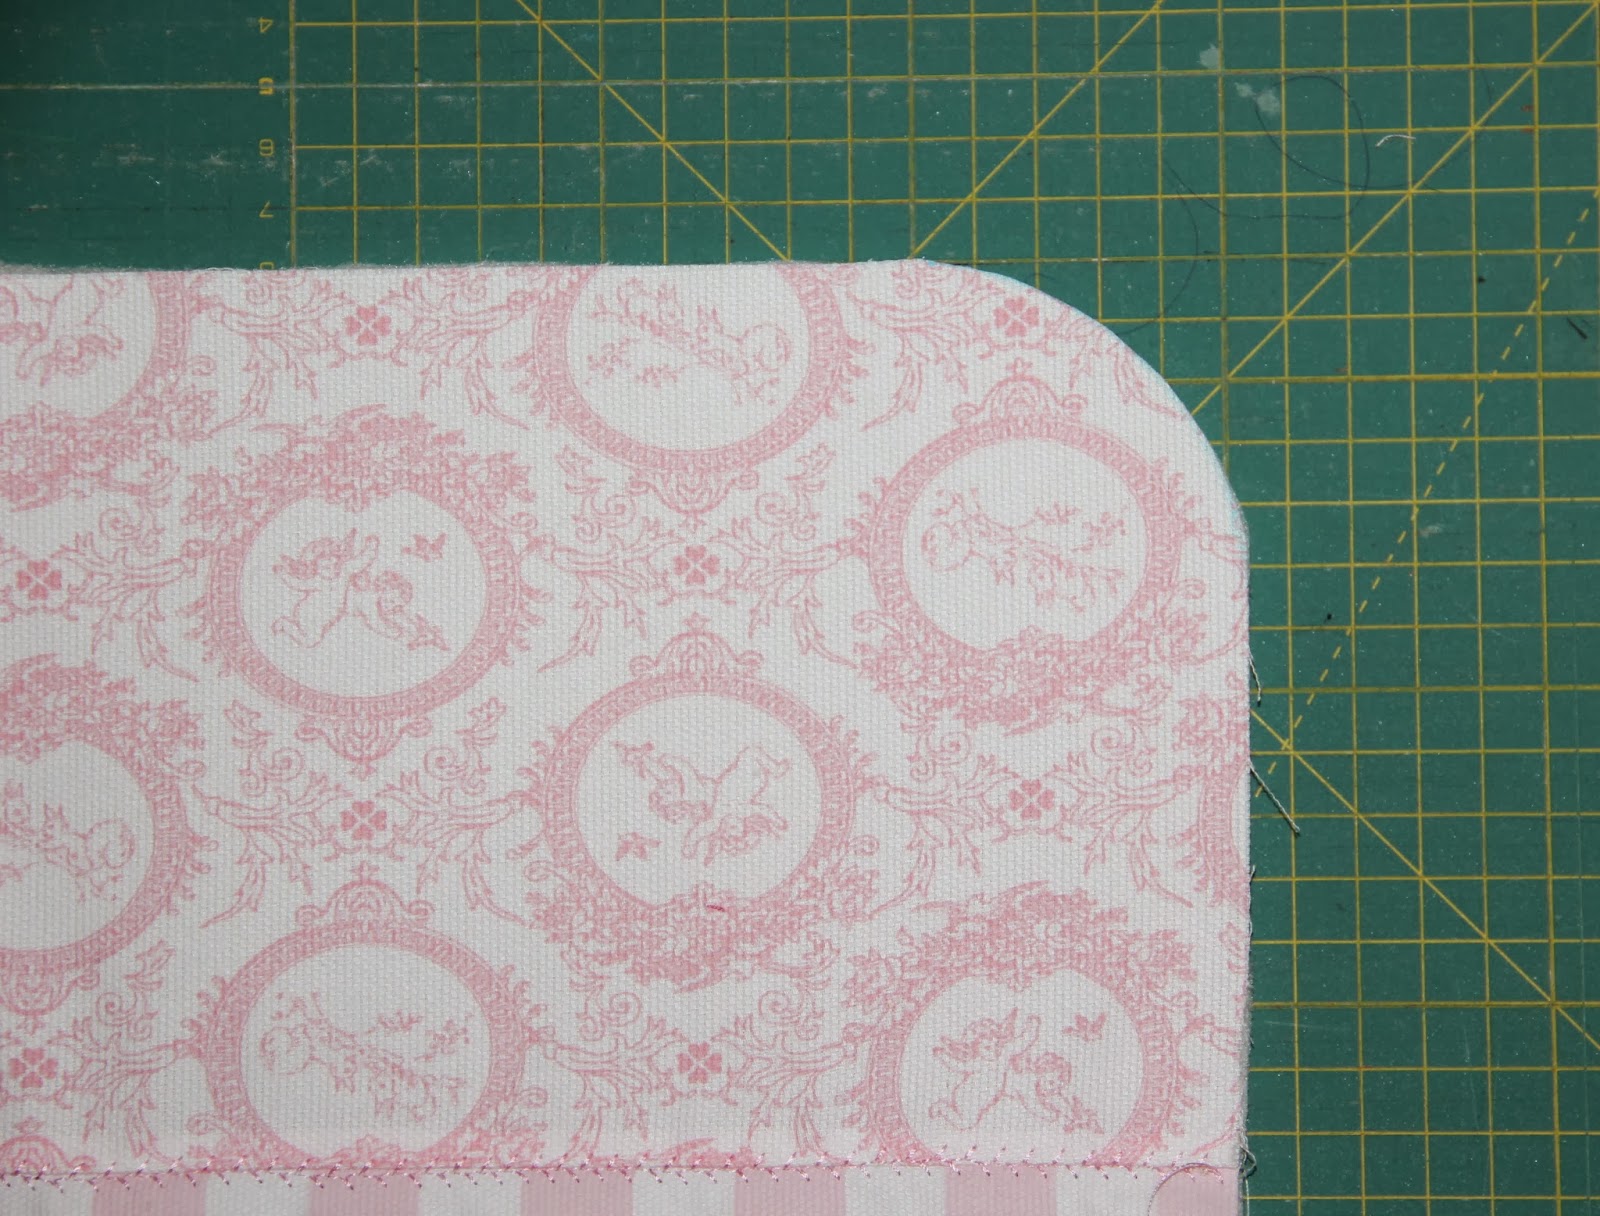
Redondear las esquinas
round the corners
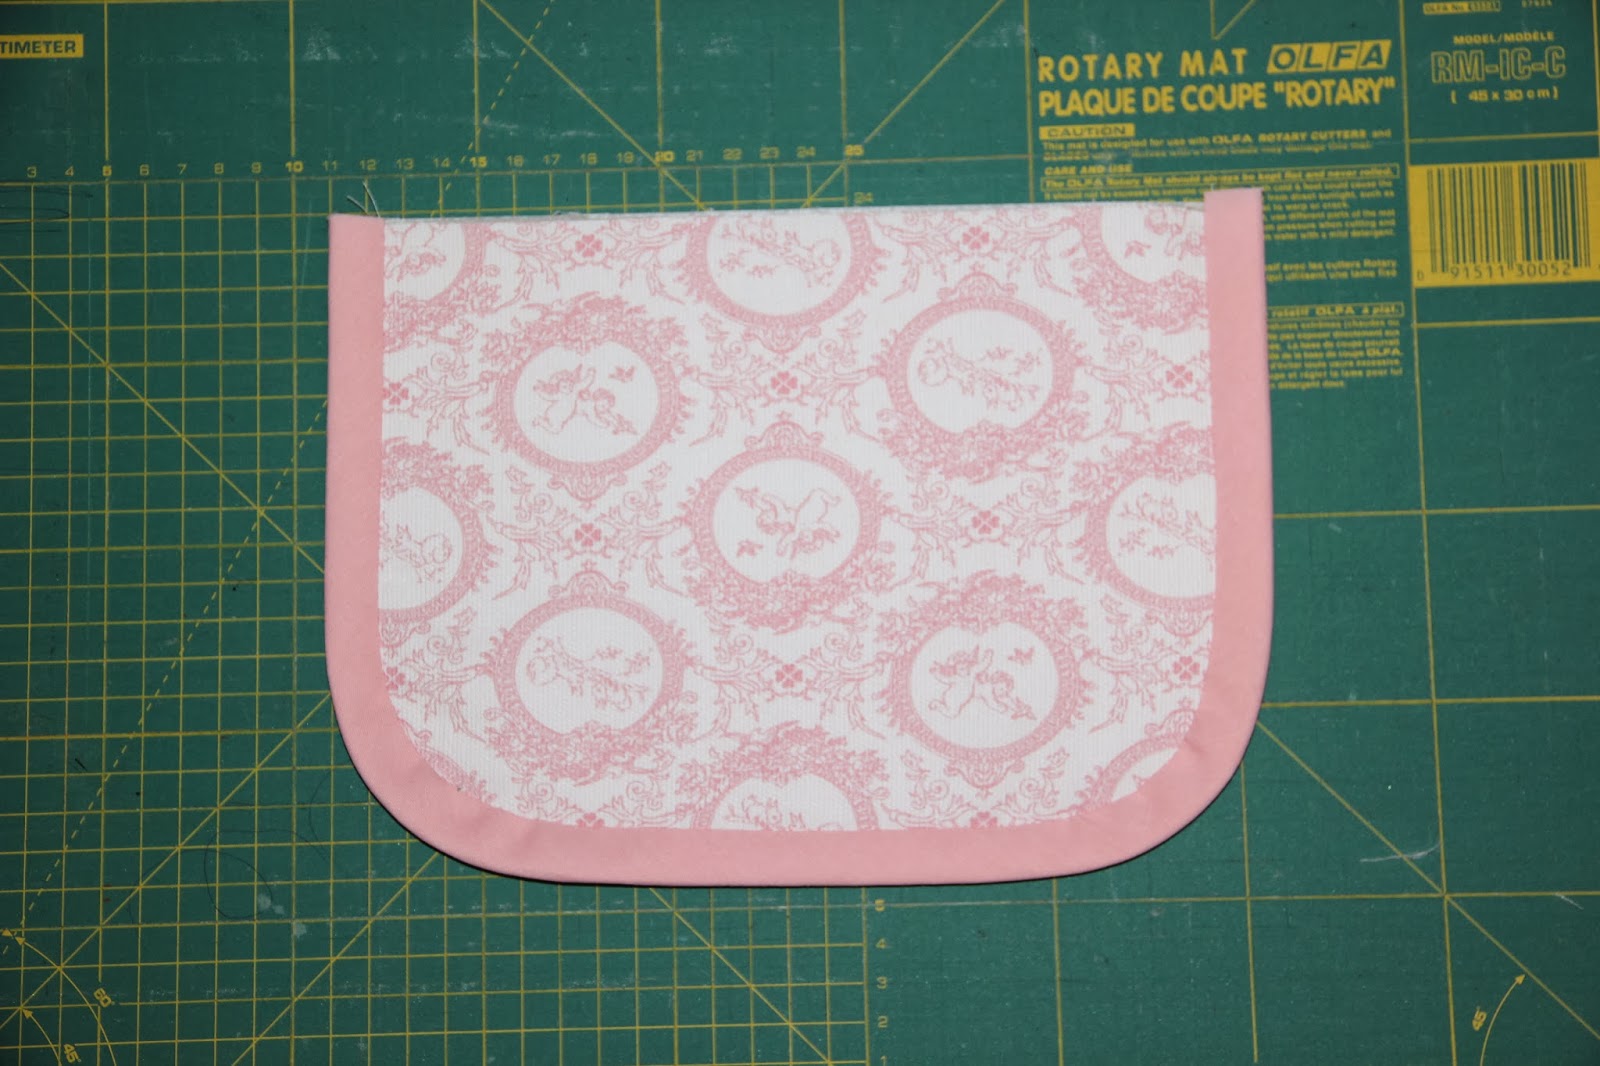
Para hacer la solapa, coger el rectándulo de 18×25, colocar la guata y pegar y después colocar la toalla plastificada.
To make the tab, take the rectangle of 18 x 25, put the batting and paste and then place the plastic towel.
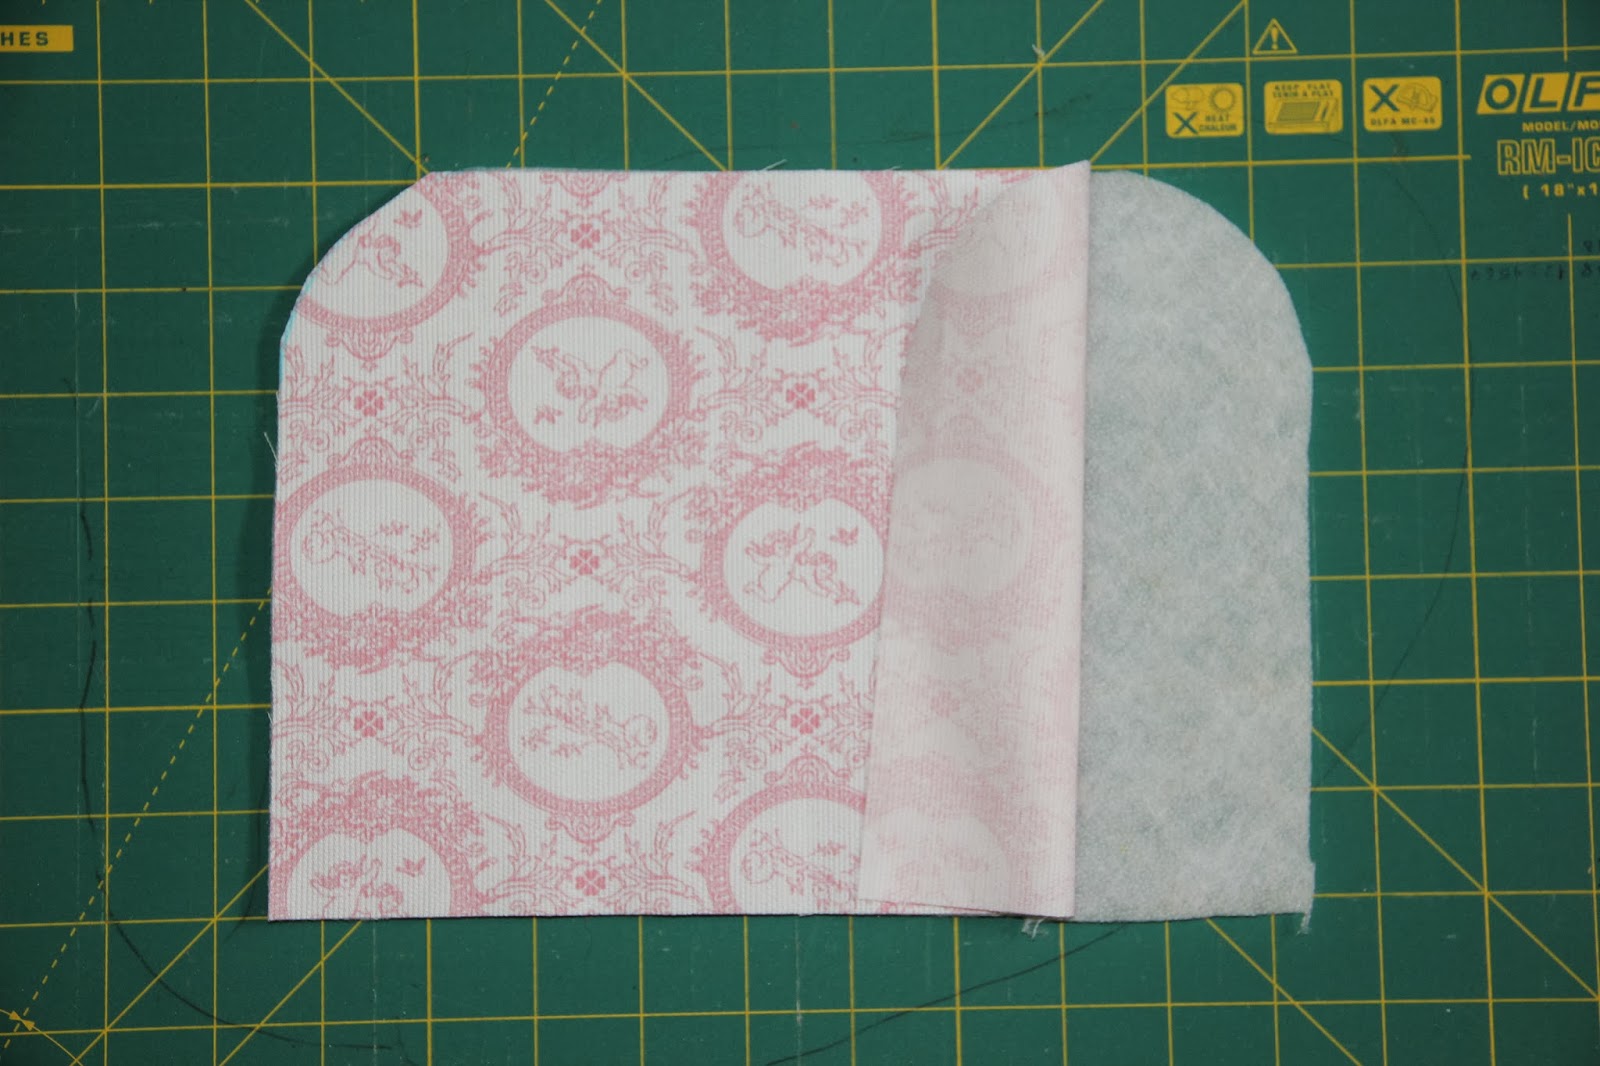
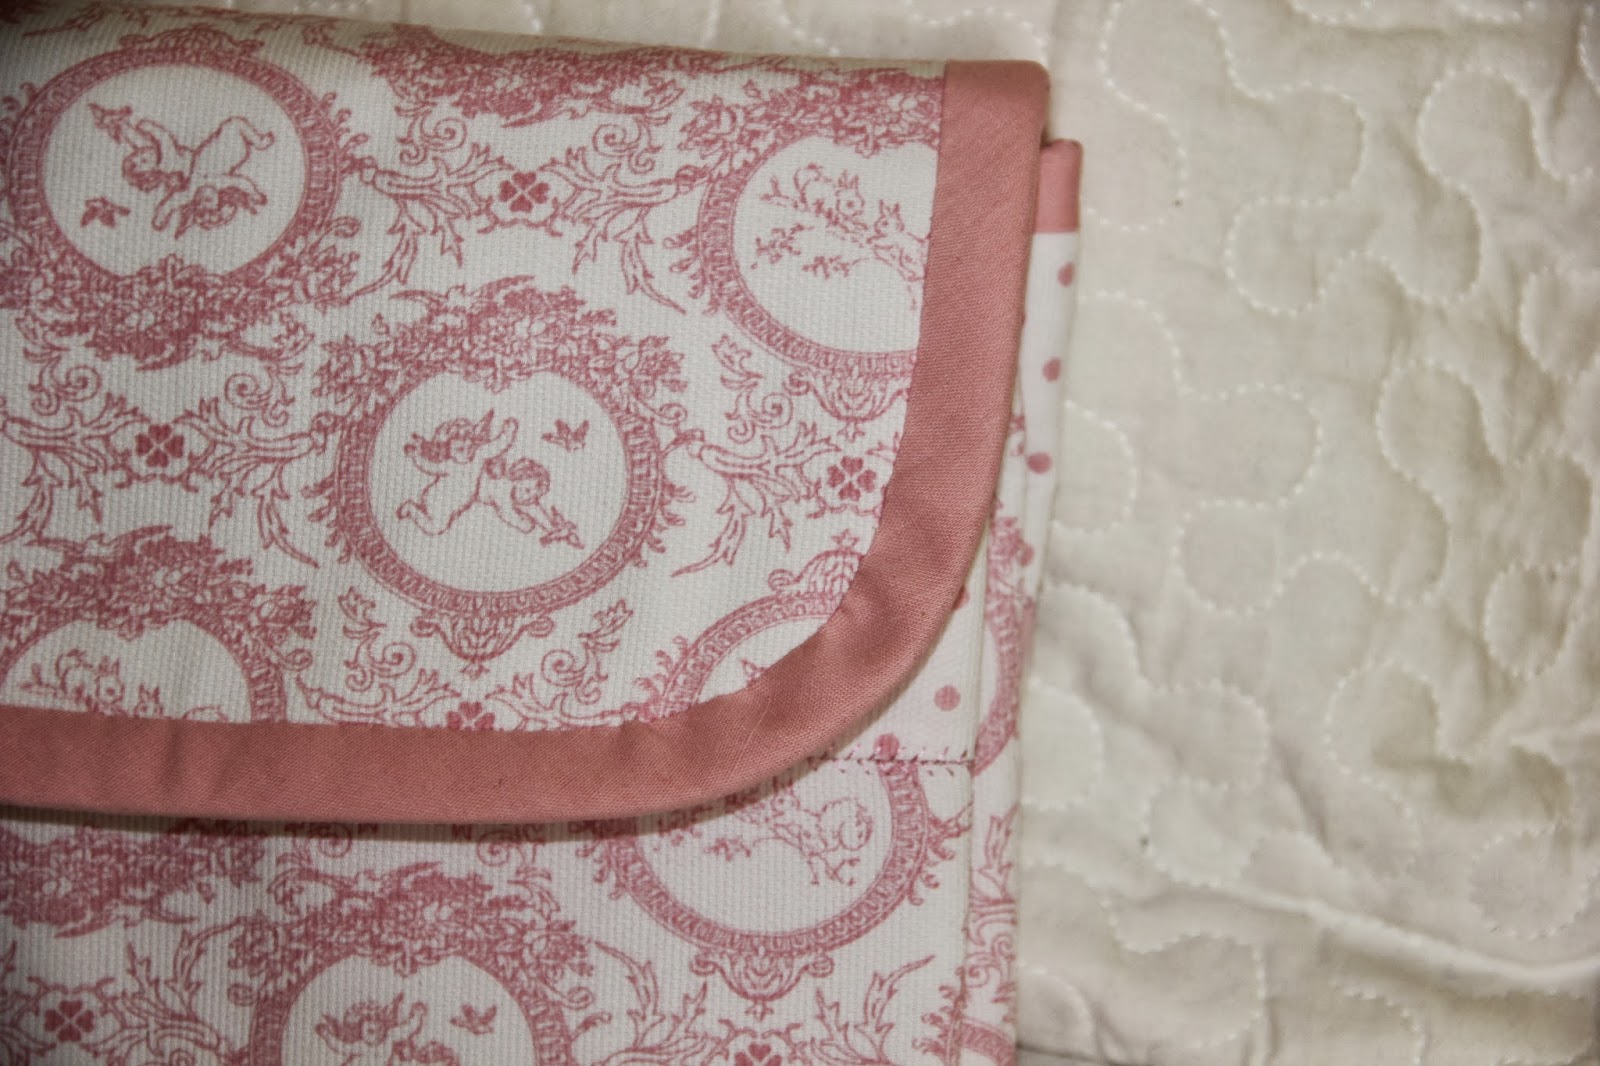
Redondear las esquinas y colocar el biés alrededor.
Round the corners and place the bias binding around.
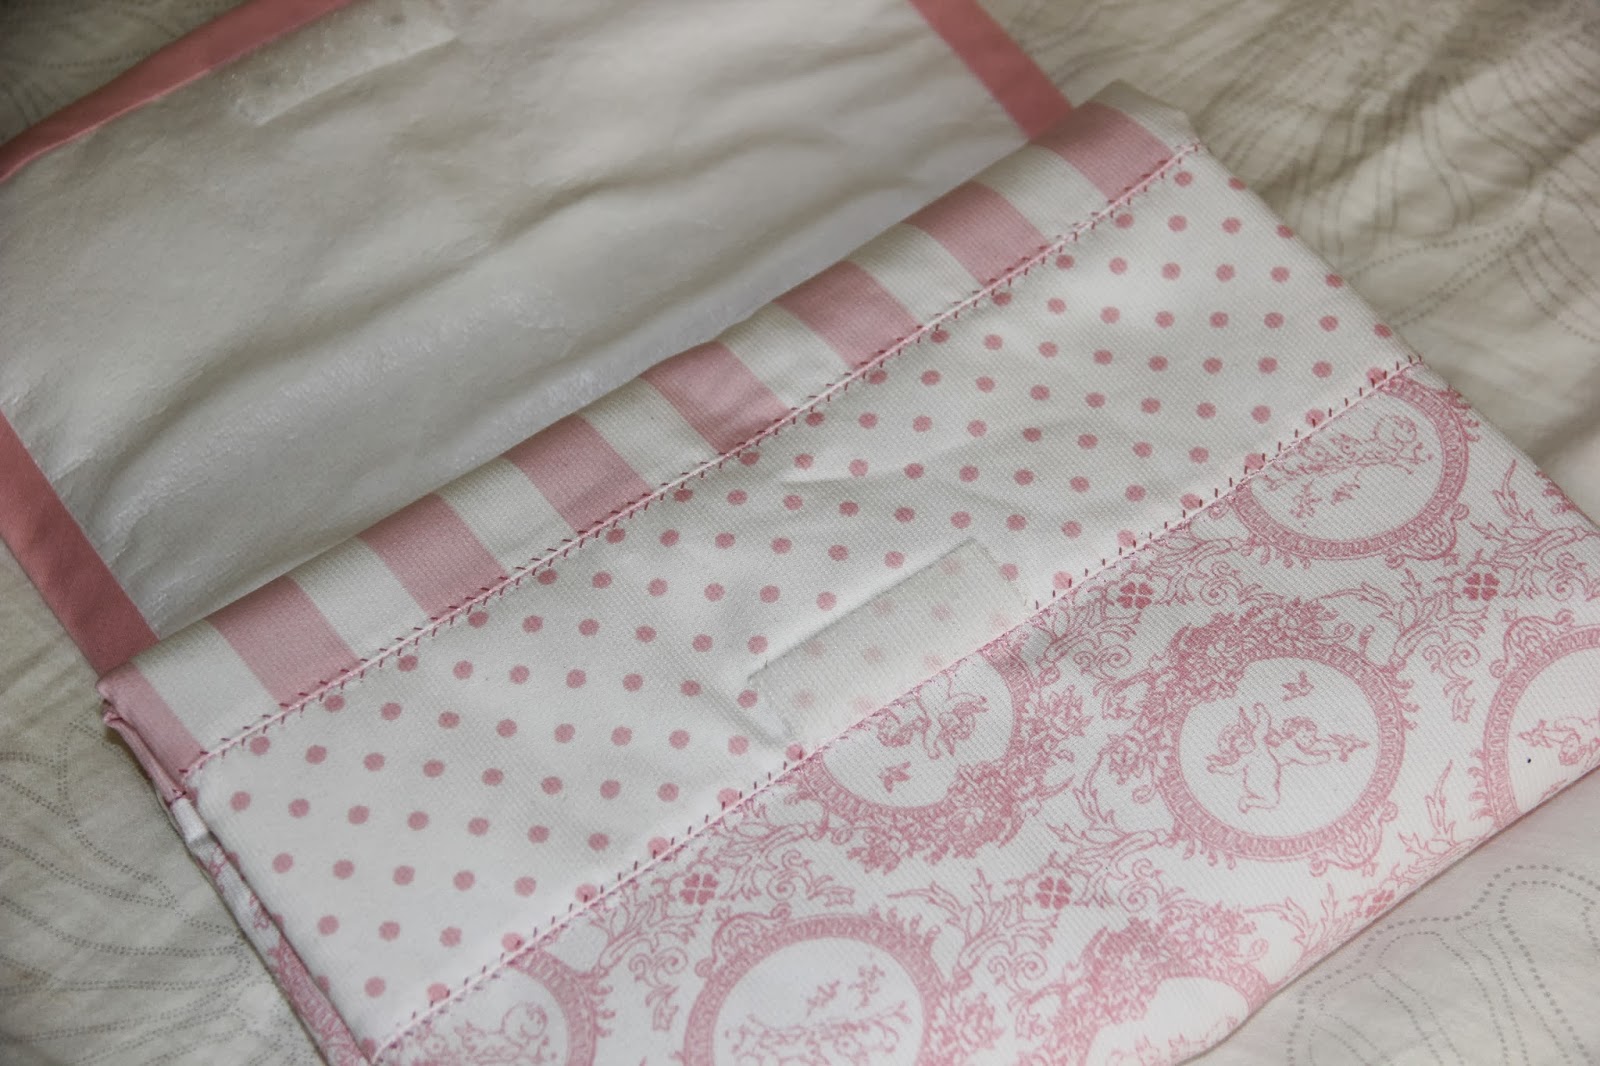
Colocar la solapa centrada sobre el derecho de las telas, tal y como se muestra en la fotografía, e hilvanar.
Place the flap centered on the right of the fabrics, as shown in the picture, and baste.
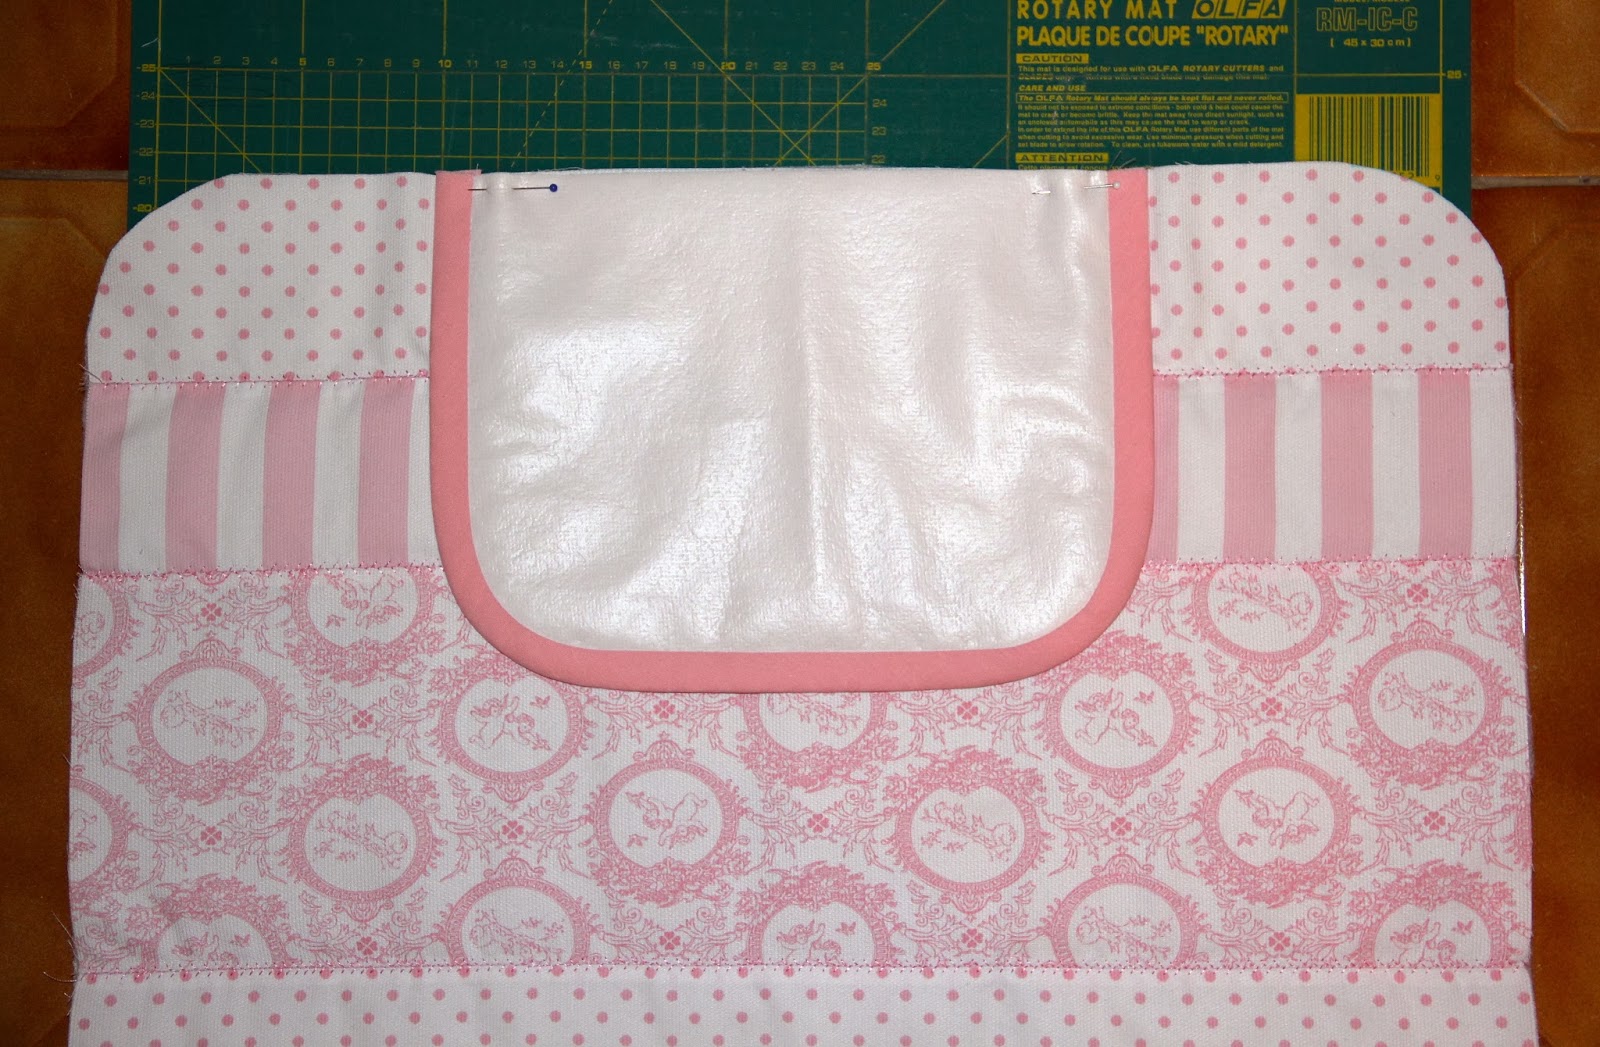
colocar el bies alrededor del cambiador.
place the bias binding around the baby changer.

Plegar el cambiador y medir donde se va colocar el velcro.
Fold the changer and measure where will place the velcro.
Coser el velcro (a mano)
Sew the velcro (handmade)

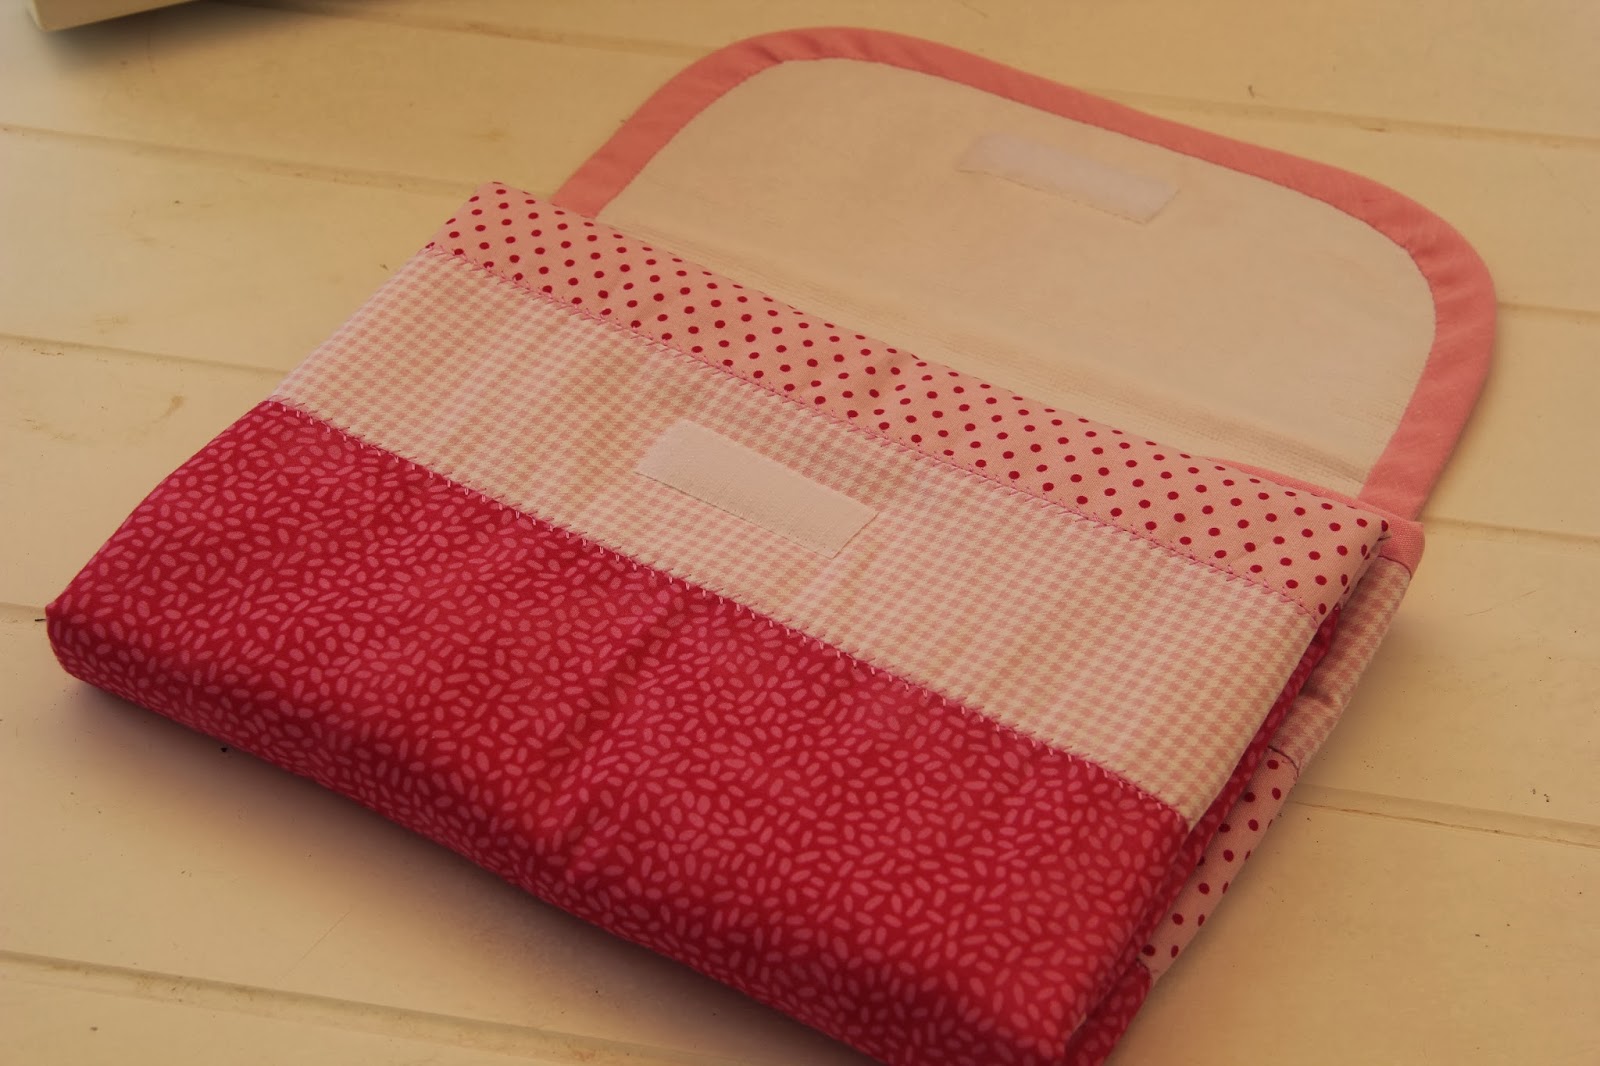
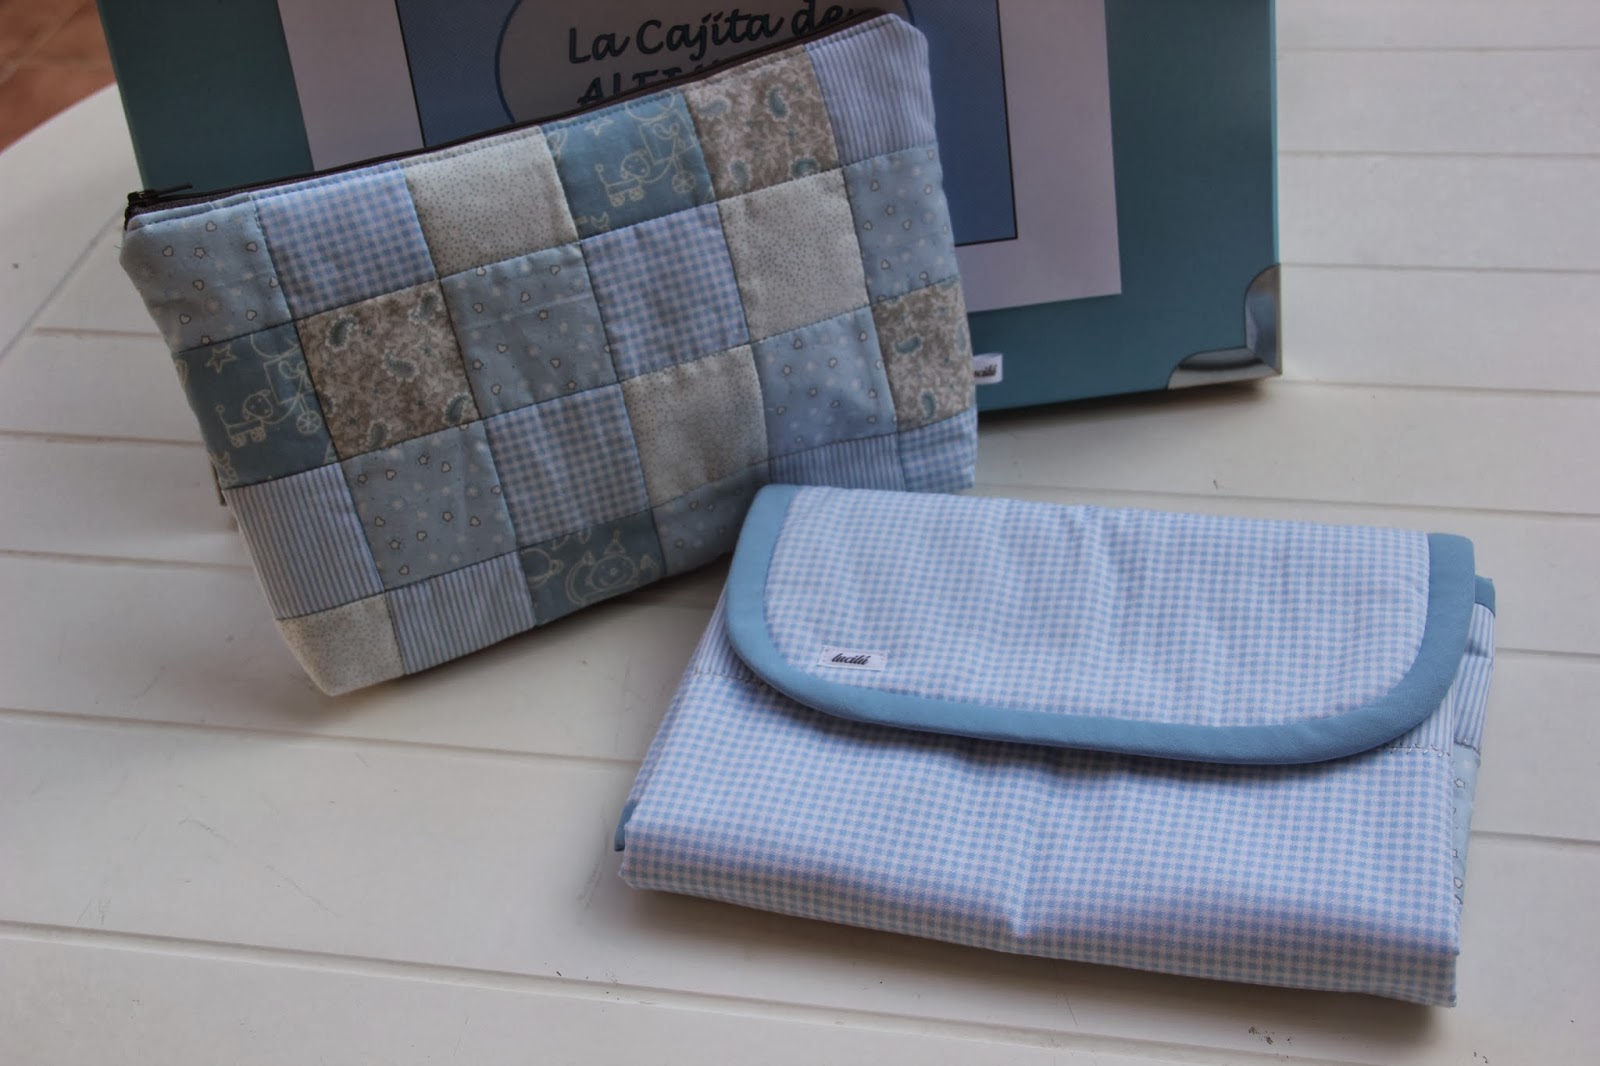
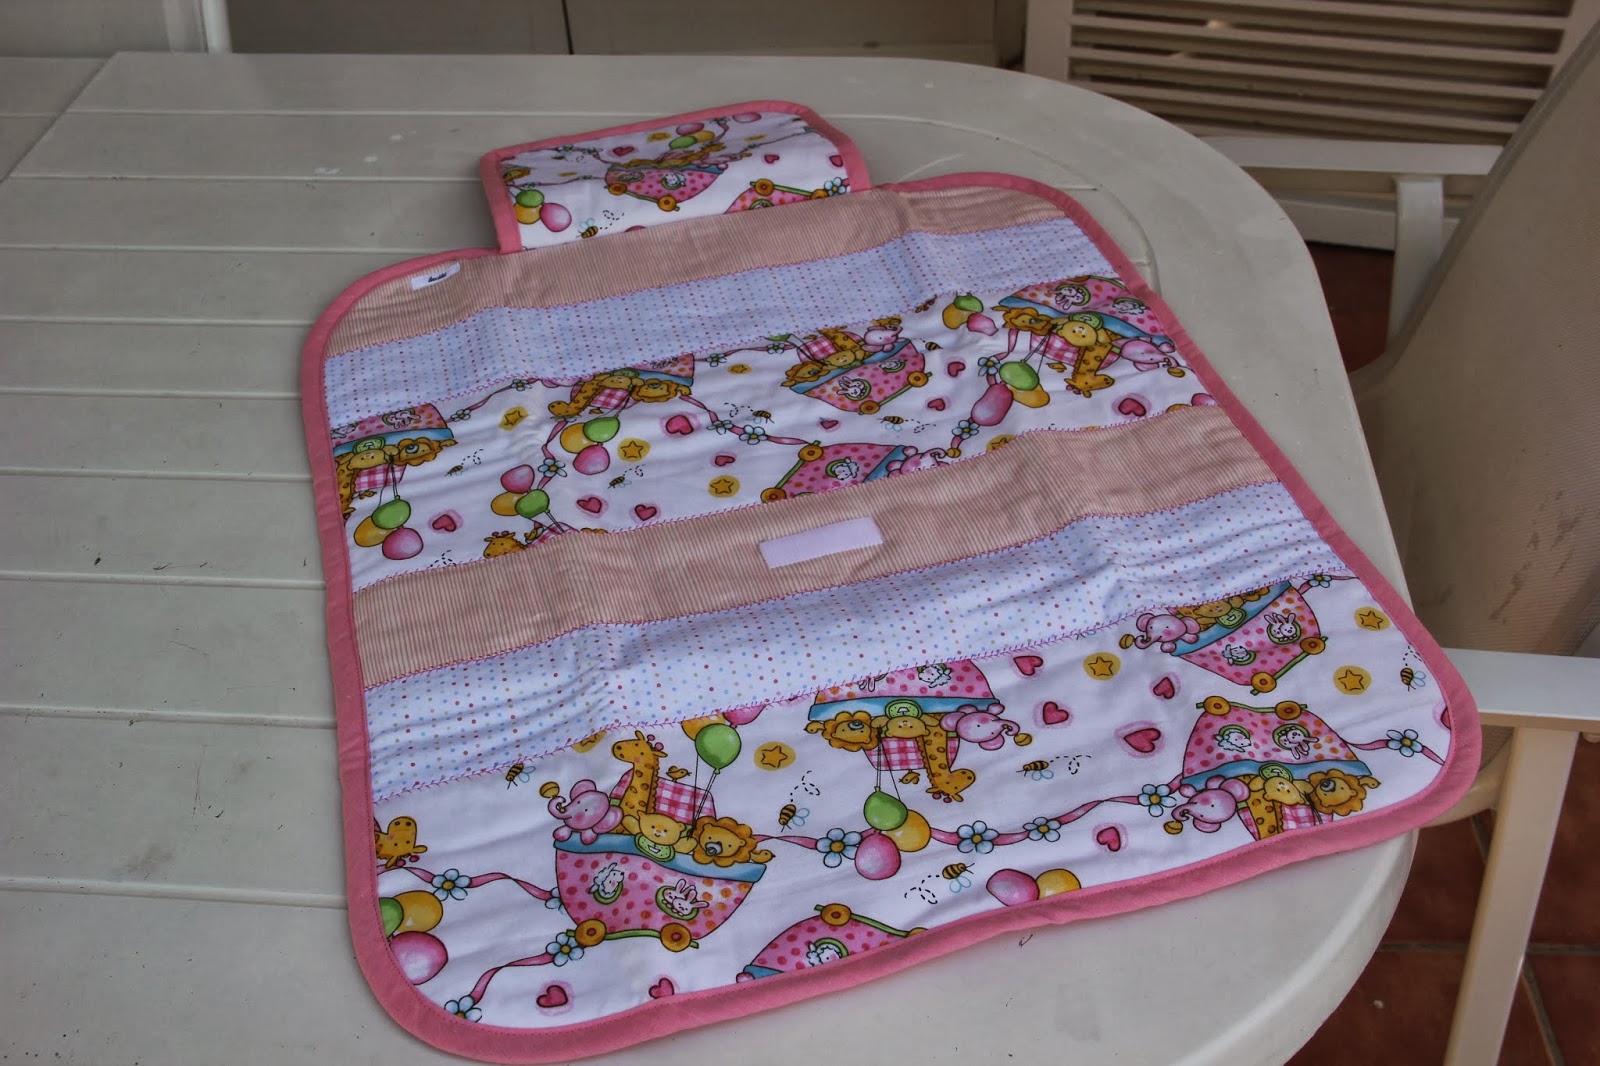
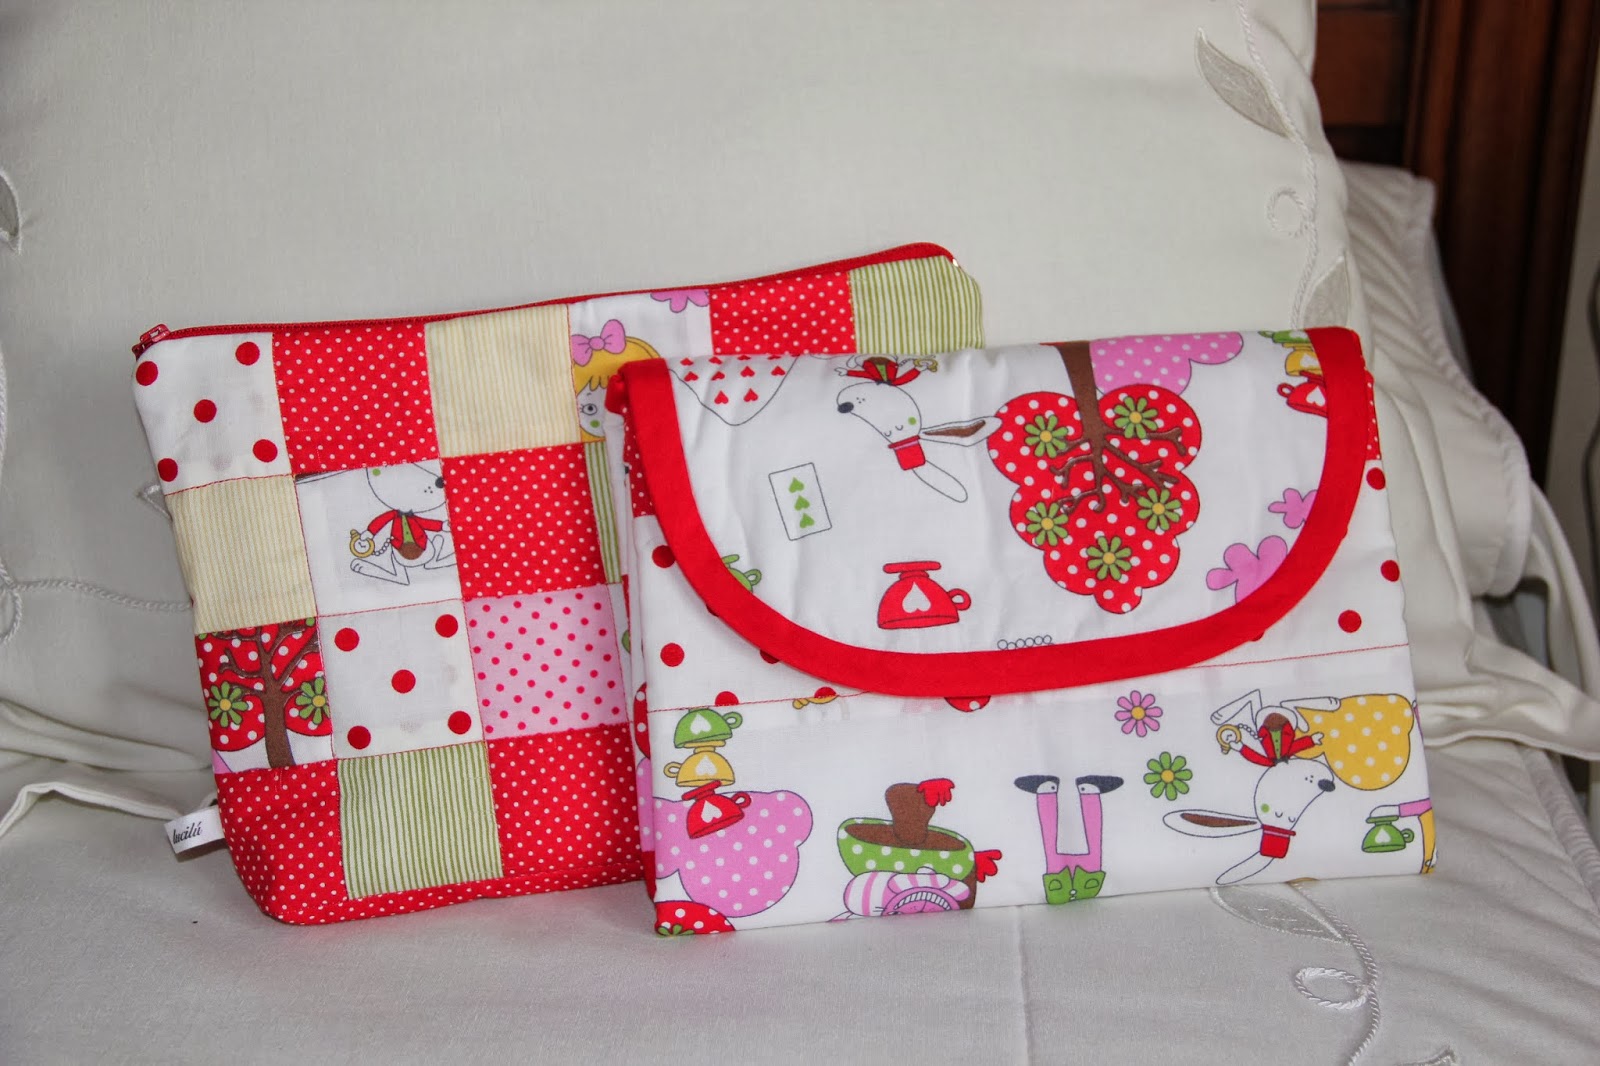
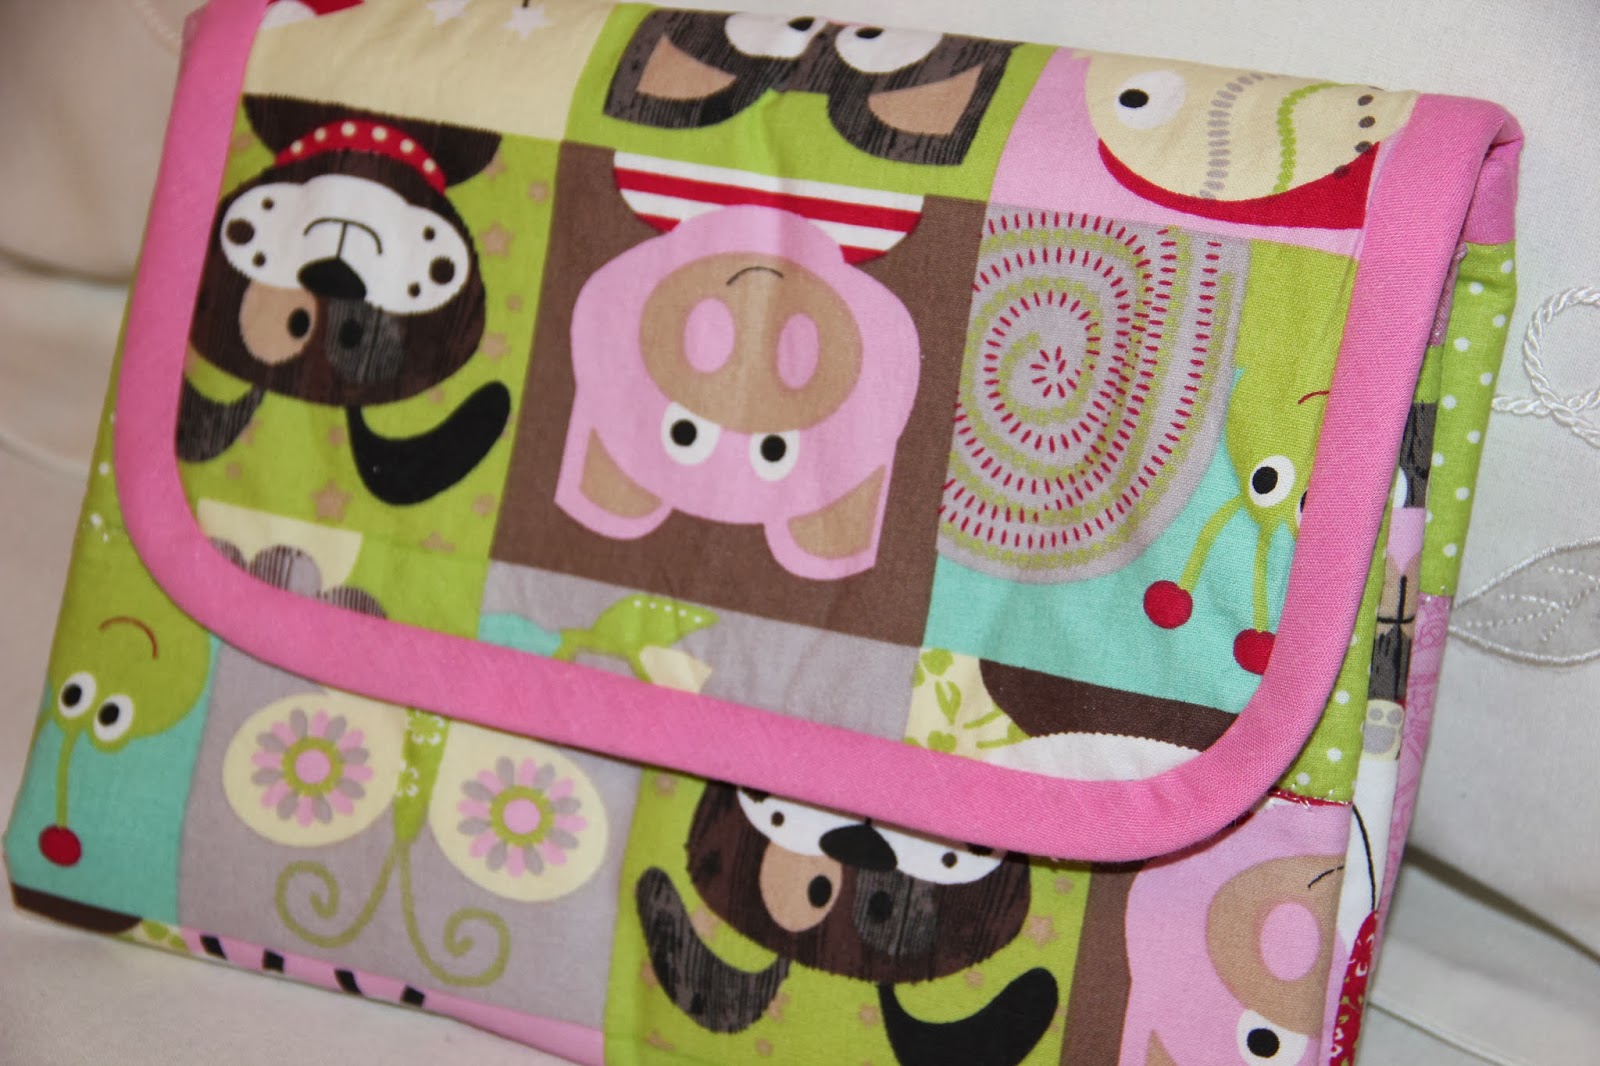
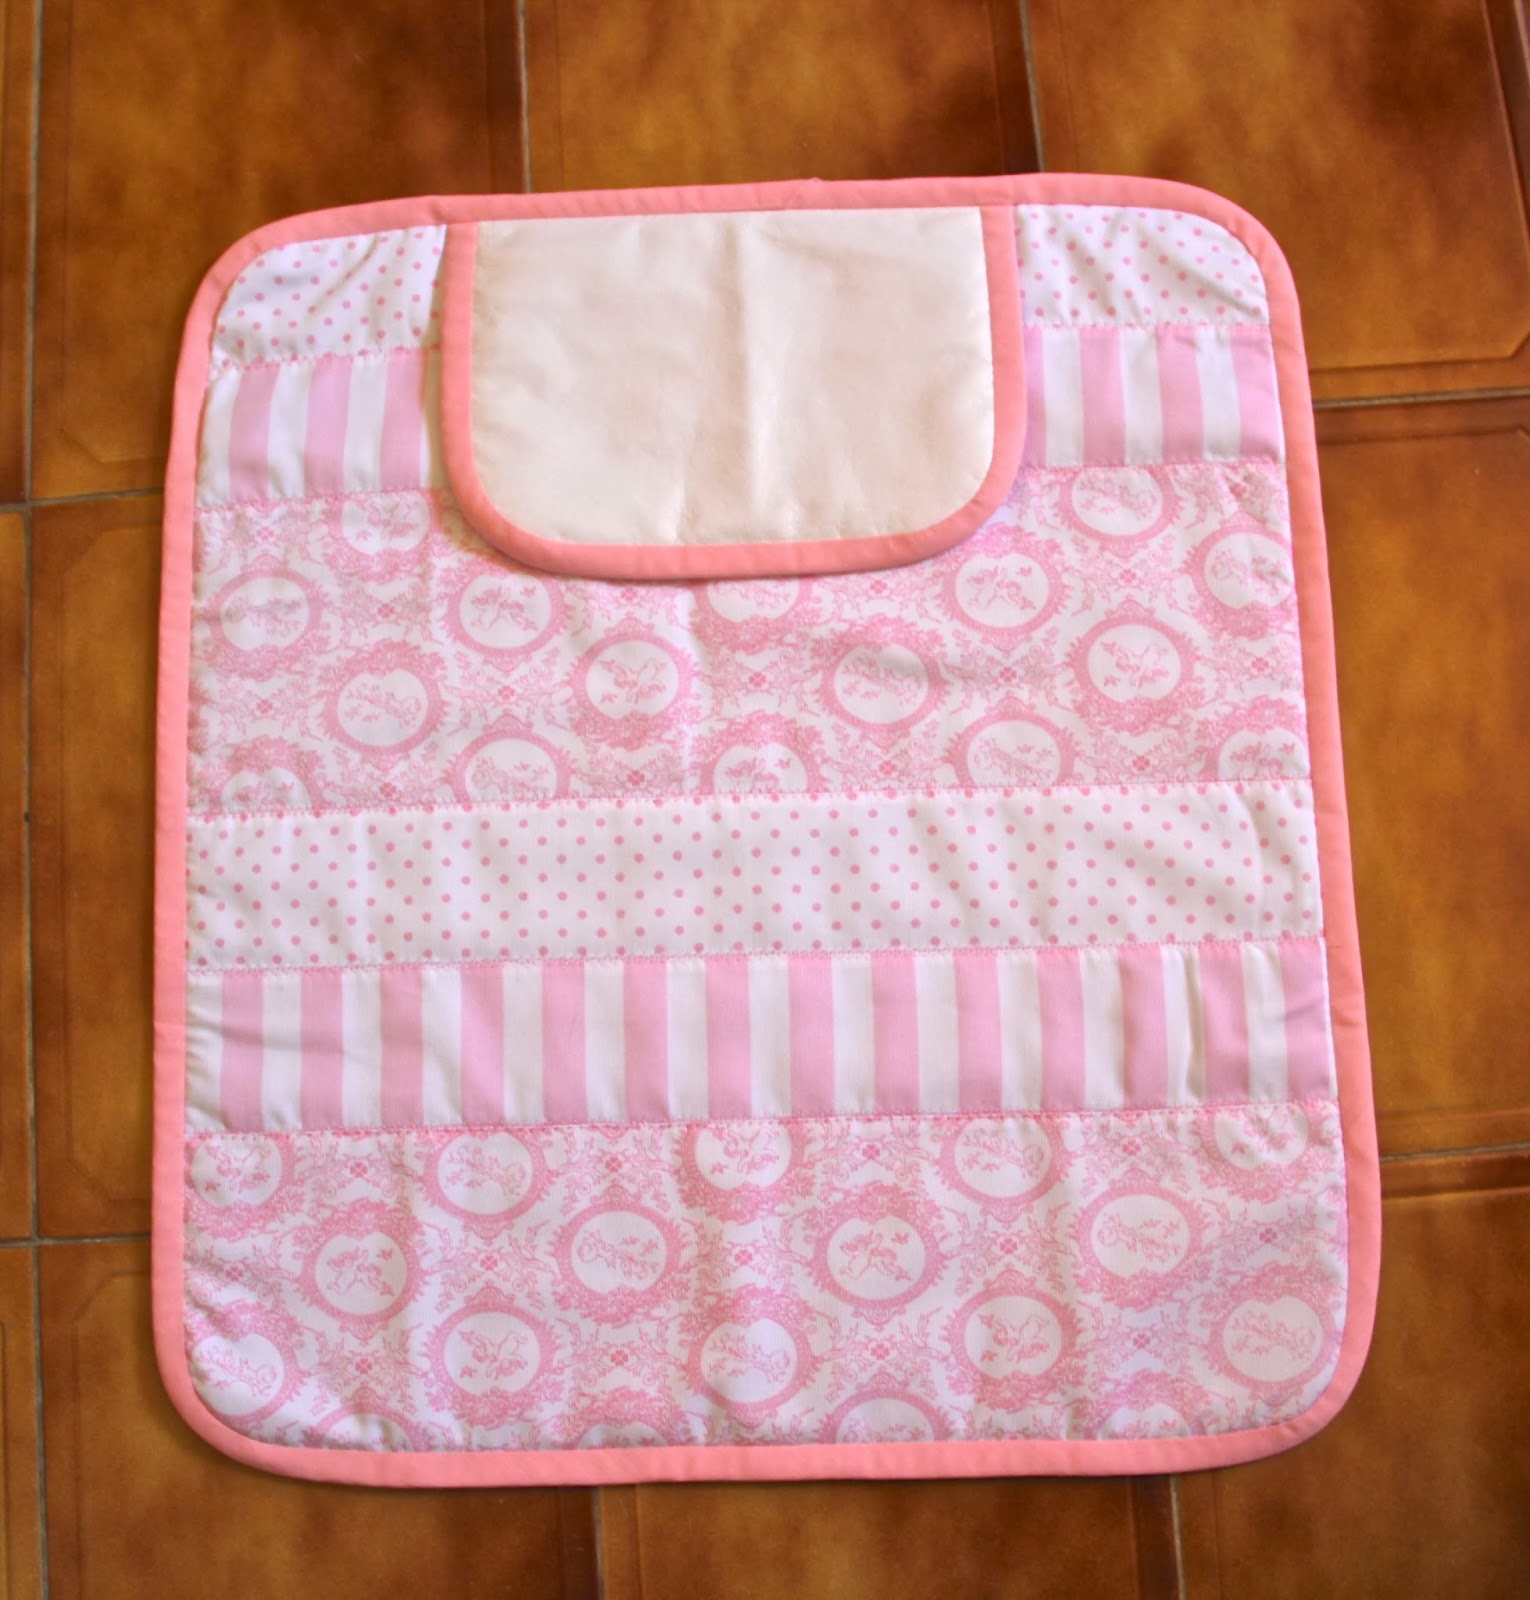
Y ya hemos terminado nuestro cambiador. Ideal para llevar en la bolsita del bebé.
And we have already finished our baby changer. Ideal to carry in the bag for the baby.
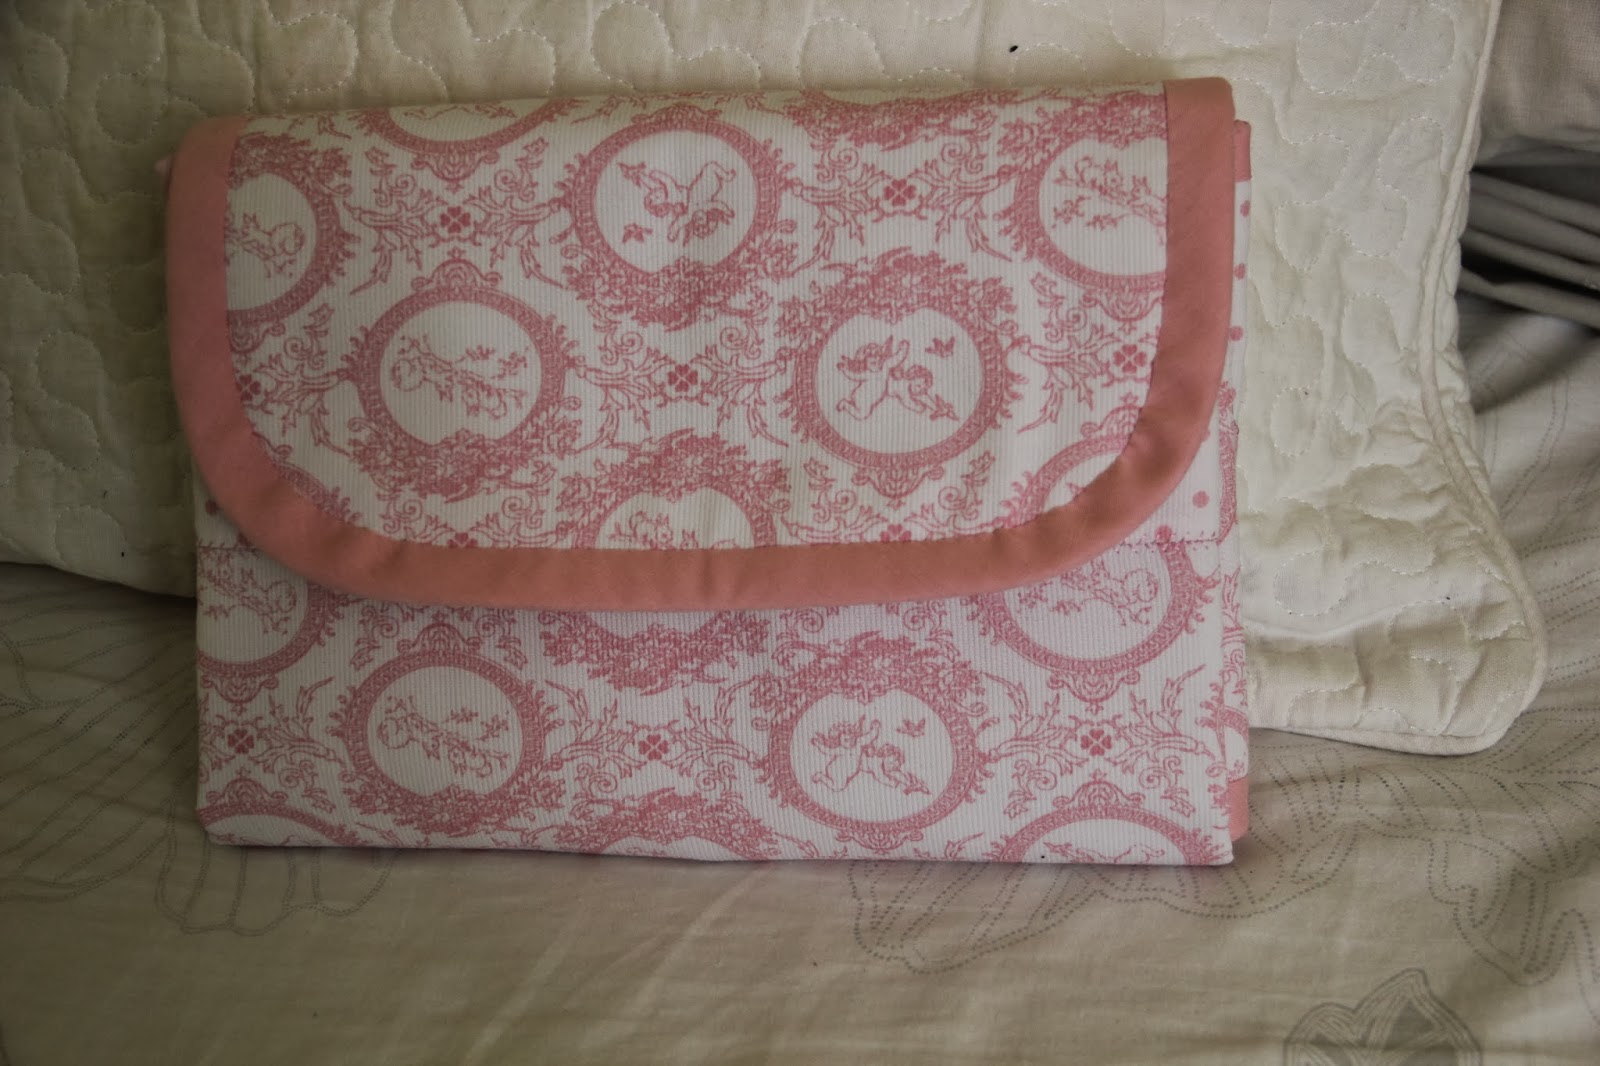
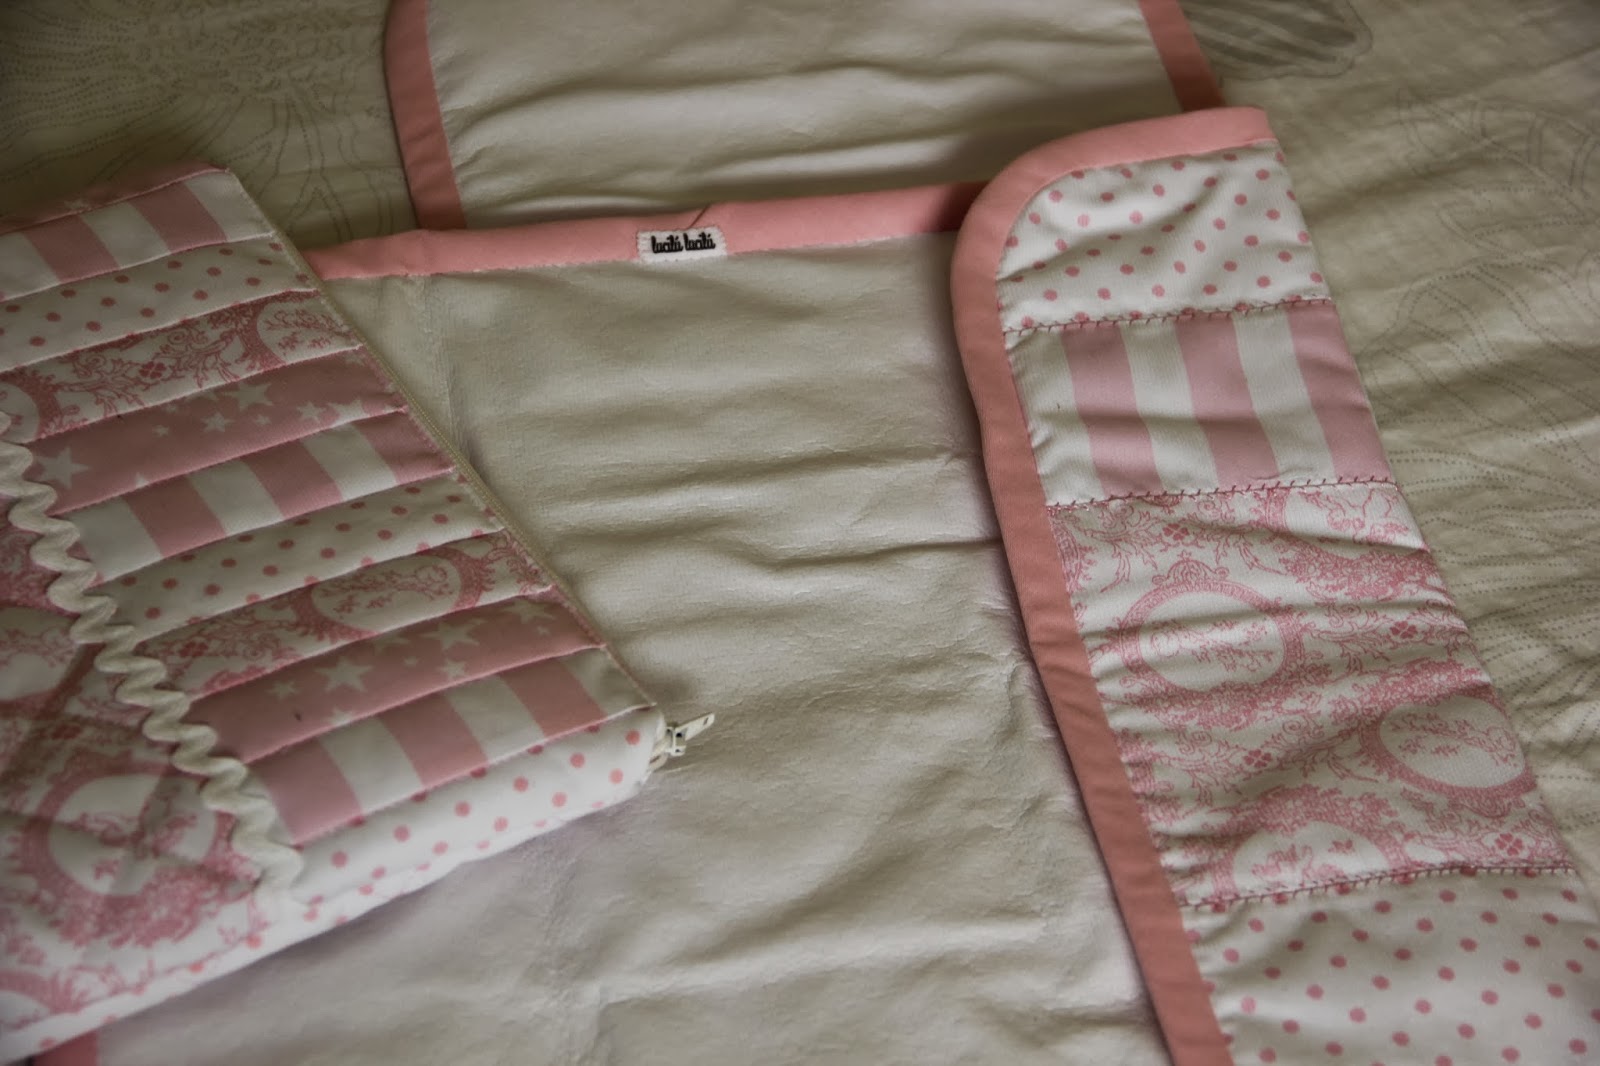
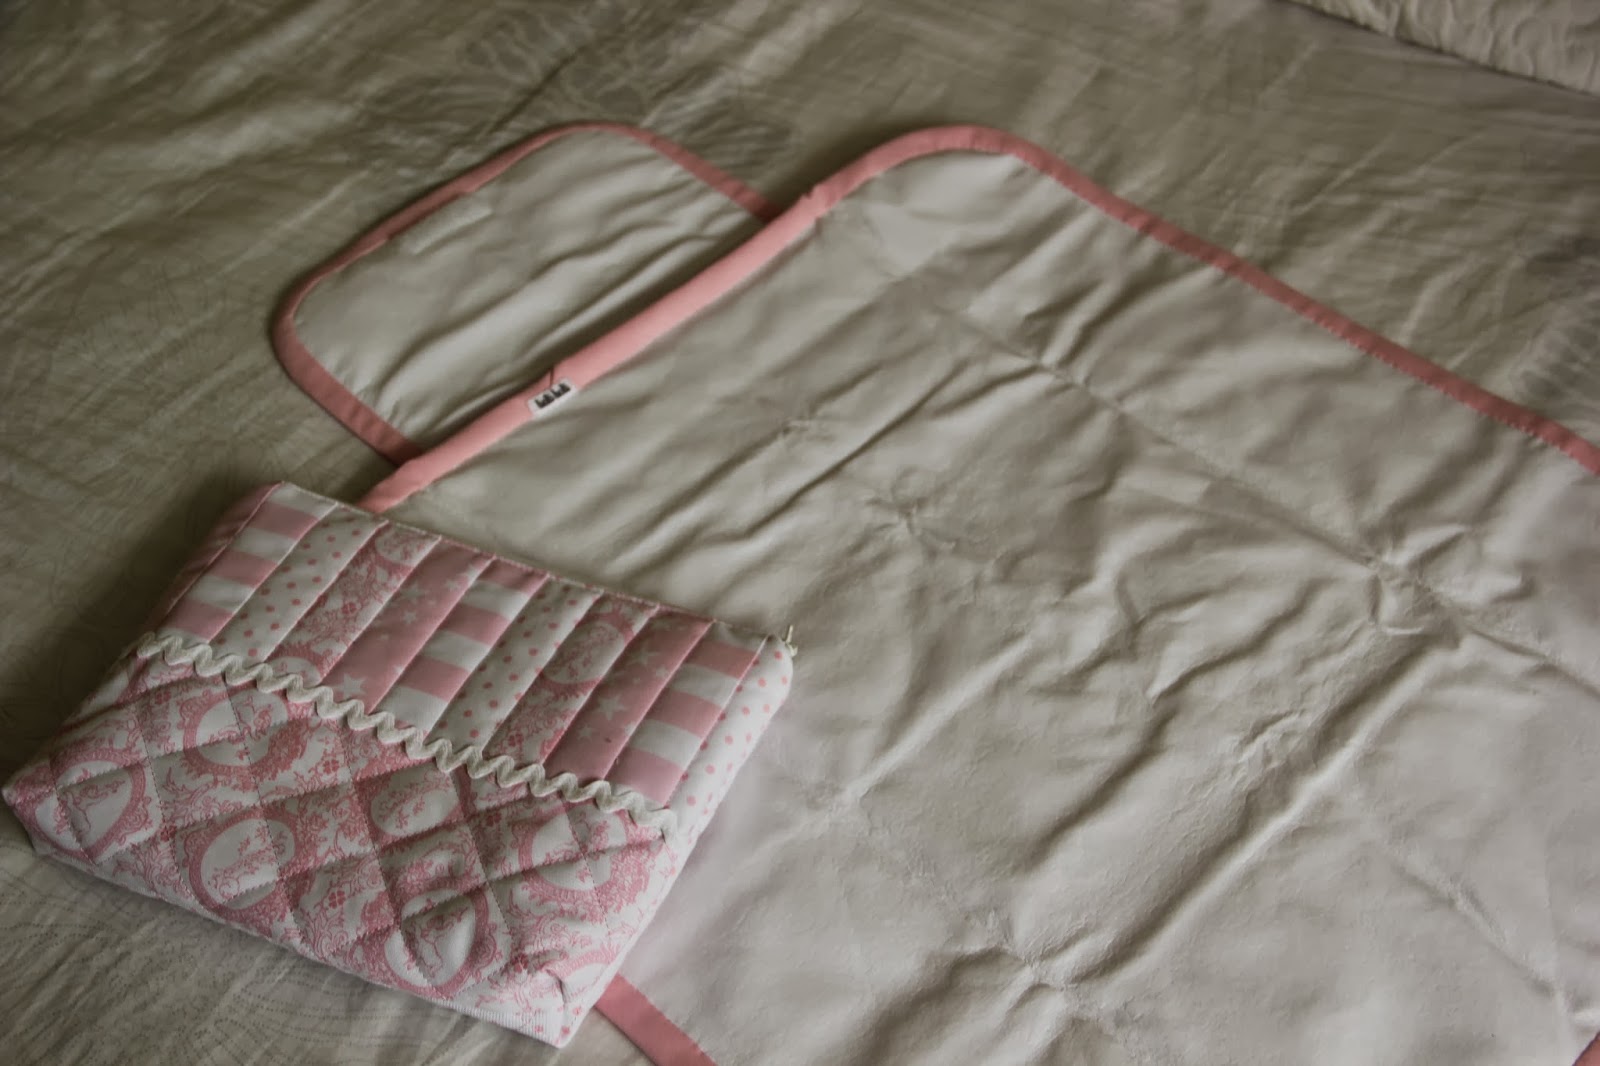
Aquí os muestro ejemplos de los diferentes cambiadores que he hecho. También podéis verlos en:
Here I show you examples of different baby changers I’ve done. You can also see them at: