valisette – toilet bag
Hola!!
¿Qué tal? Hace bastante que no publico, lo sé… Sorry!! Me fui unos días de viaje y estoy con algún encargo y además me estuve haciendo un vestido para una boda… y veía que llegaba la boda y estoy sin vestido! Pero llegó! Y quedó super chulo. Ya os enseñaré las fotos del vestido en otro post. Y también me ha salido trabajo nuevo.. en el Museo del Prado. Así que por eso no he podido publicar… a ver si esta semana que viene que ya estaré más libre me organizo y preparo algunos tutoriales.
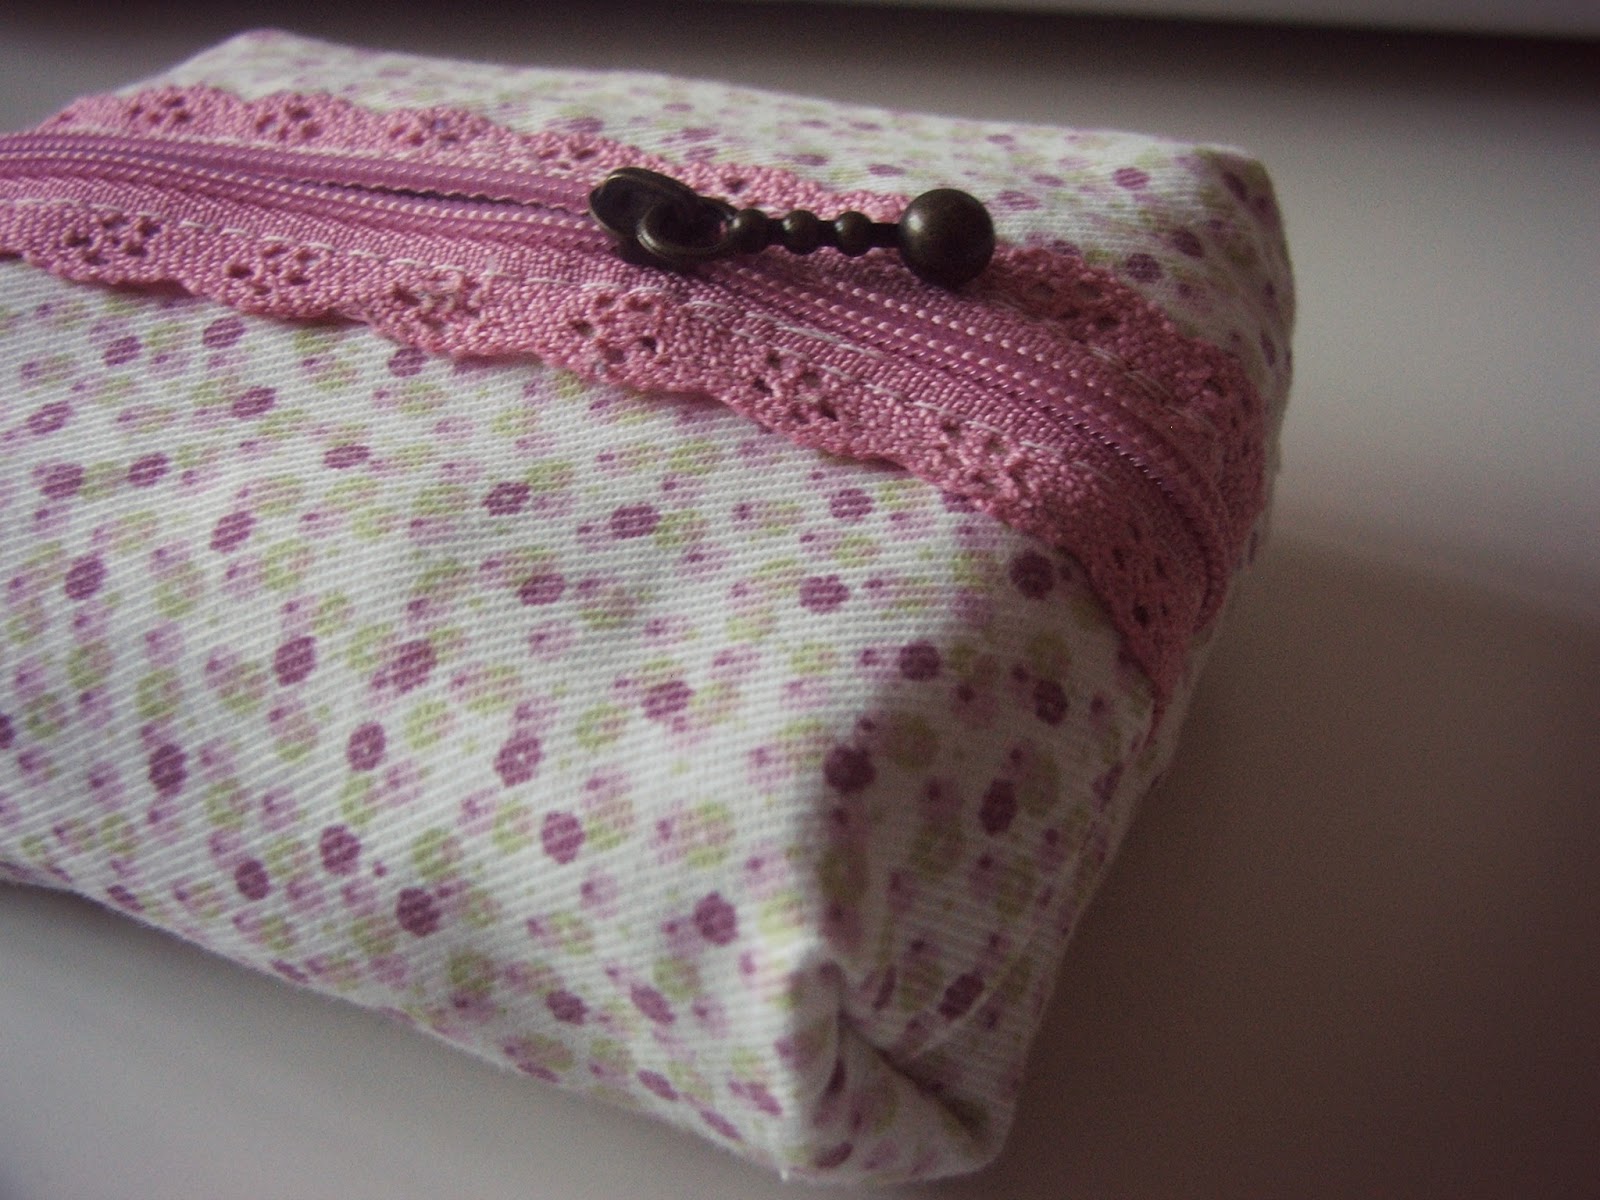
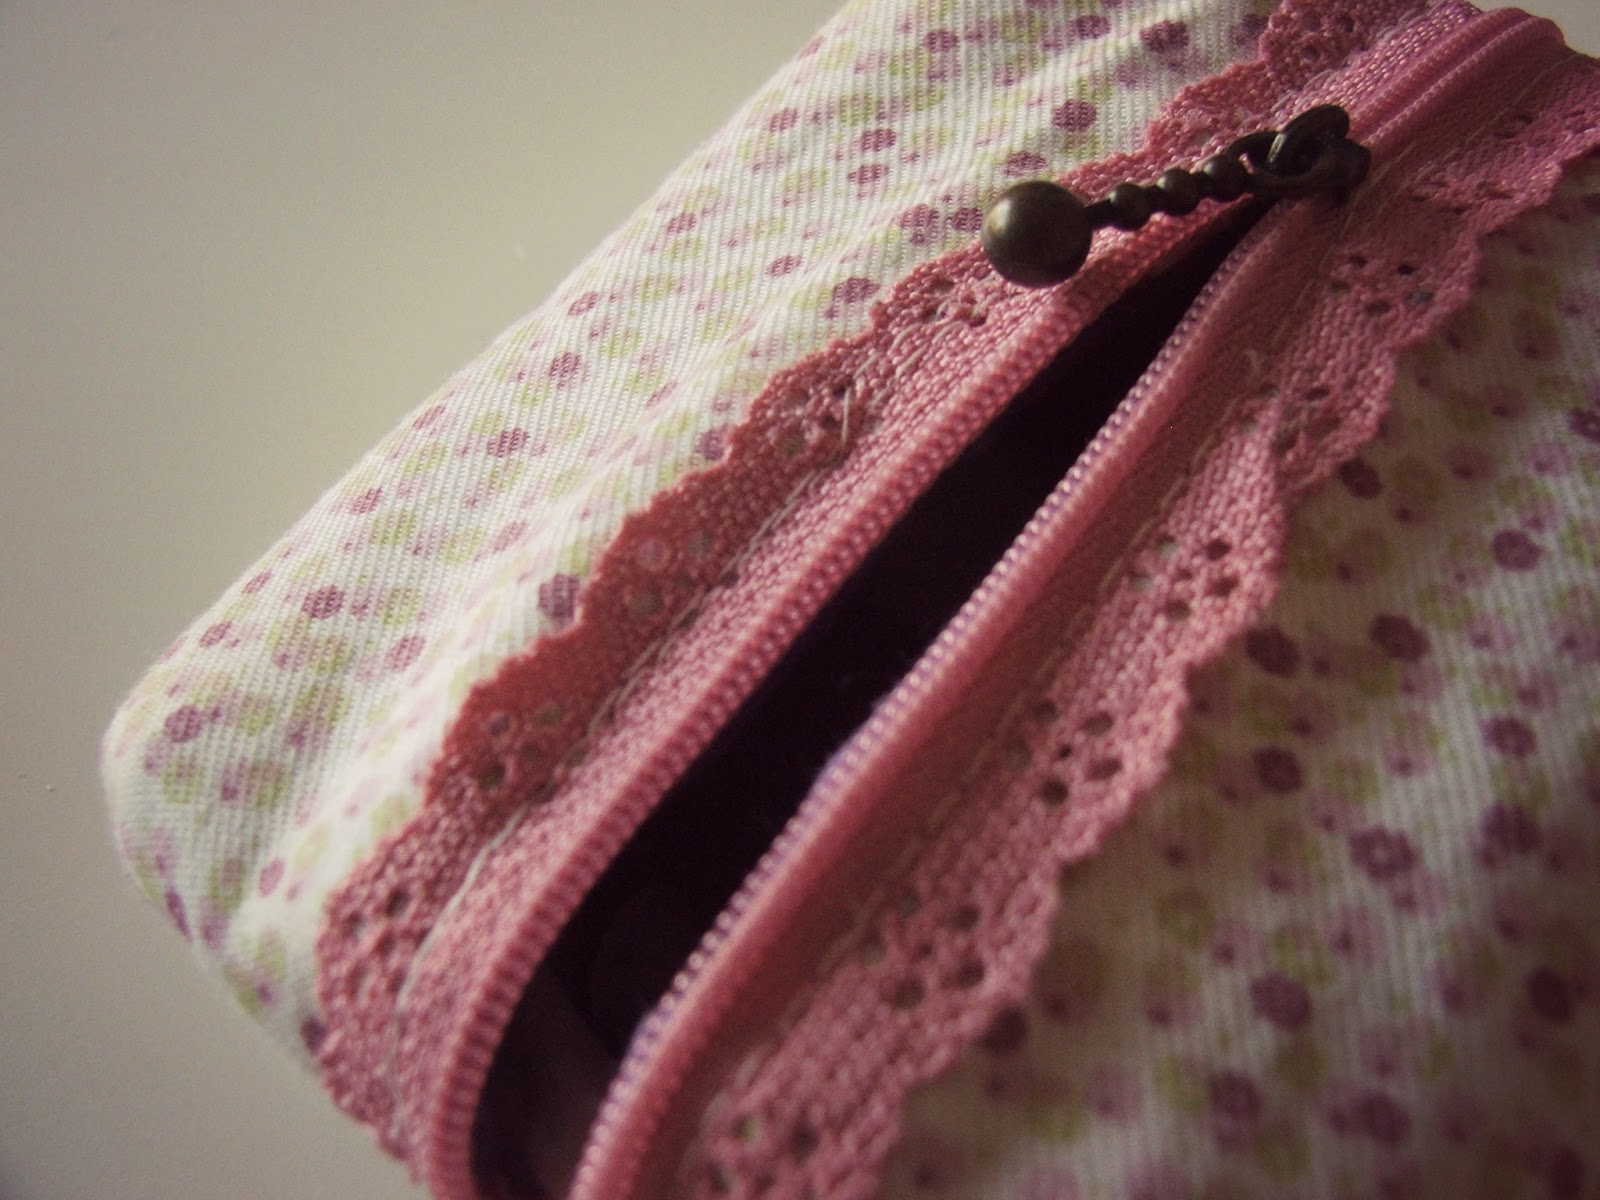
Aún así, hoy os traigo un tutorial nuevo! ¿Os acordáis que hace poco os enseñé a hacer un neceser con cremallera? Si queréis recordarlo lo tenéis AQUÍ. Hoy os traigo algo parecido… ¿qué os parece esta valisette con cremallera de puntilla?
La hice ya hace algunas semanas, y le he dado mucho uso. Para guardar cualquier cosita para llevar en el bolso, cosas que tienes en casa sueltas y luego nunca encuentras, maquillaje…
Vamos con el DIY!
Materiales:
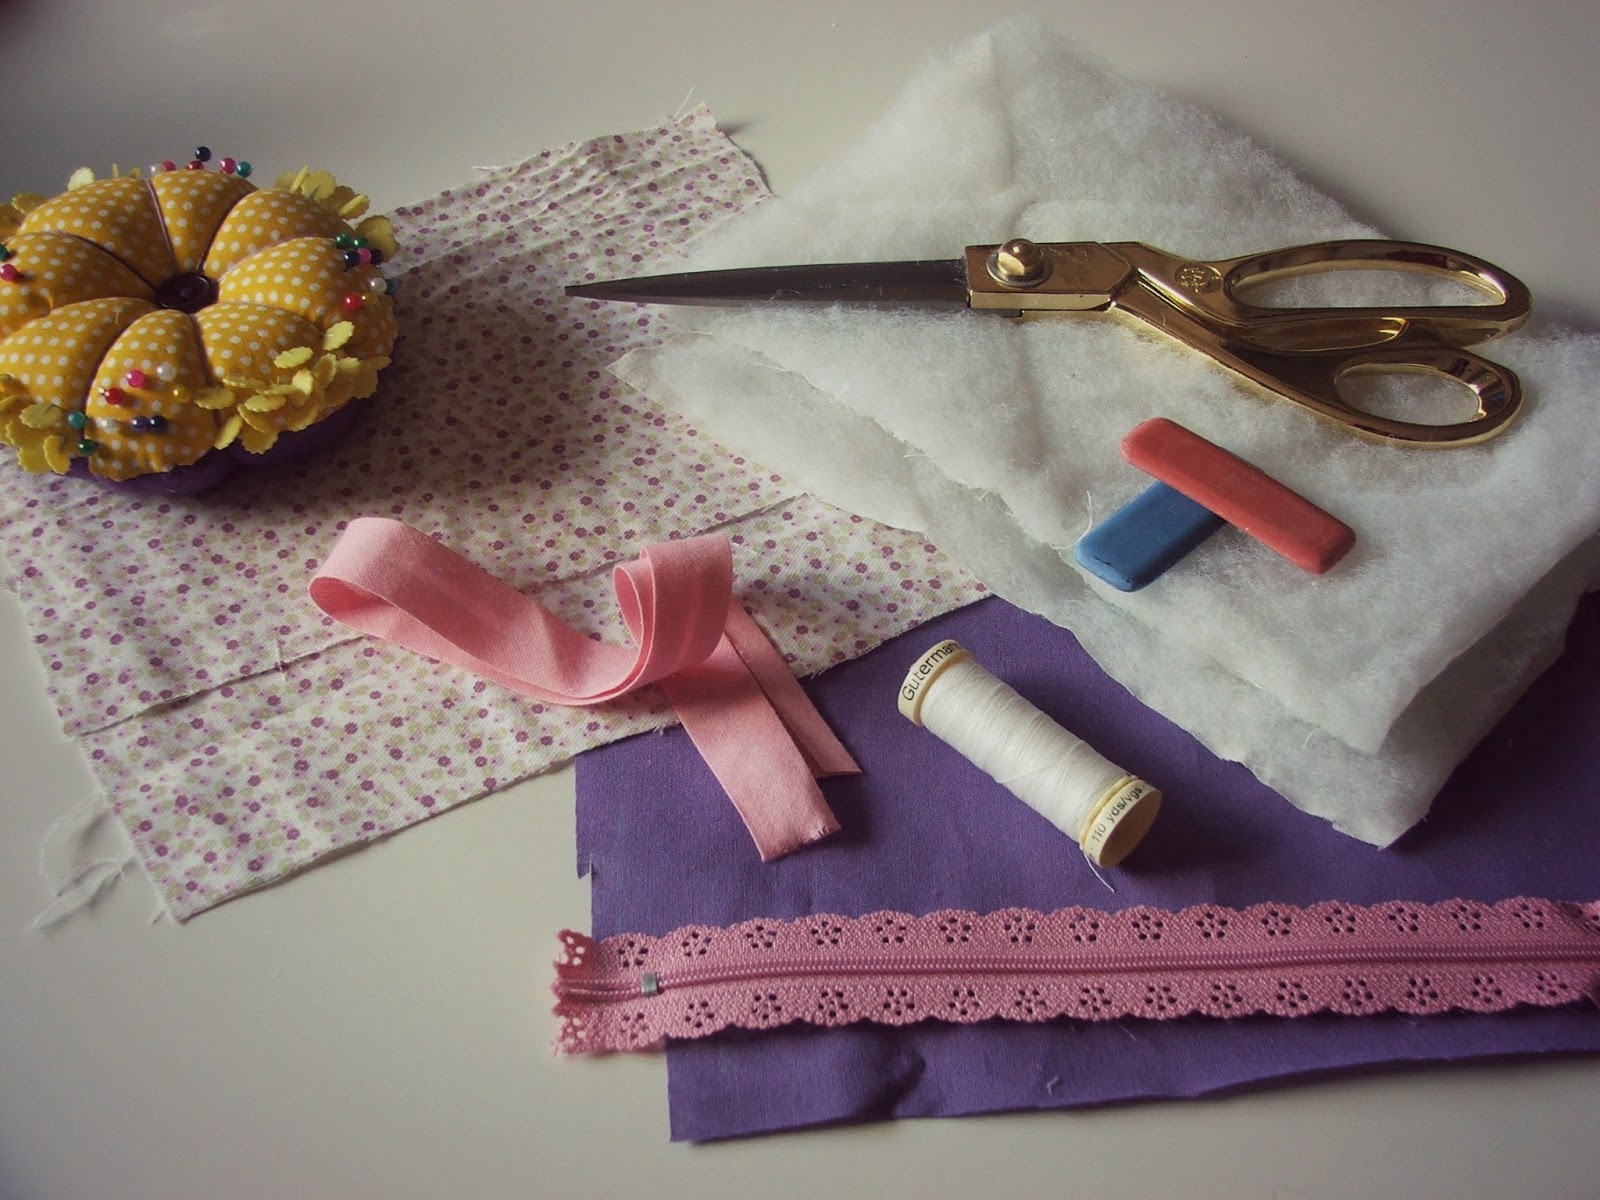
- Dos trozos de tela interior, dos de tela exterior, y dos de guata o entretela, de 16 x 22 cm cada uno.
- Medio metro de bies.
- Una cremallera con puntilla de 20cm.
- Materiales de costura: hilo, tijeras, marcadores, alfileres…
DIY:
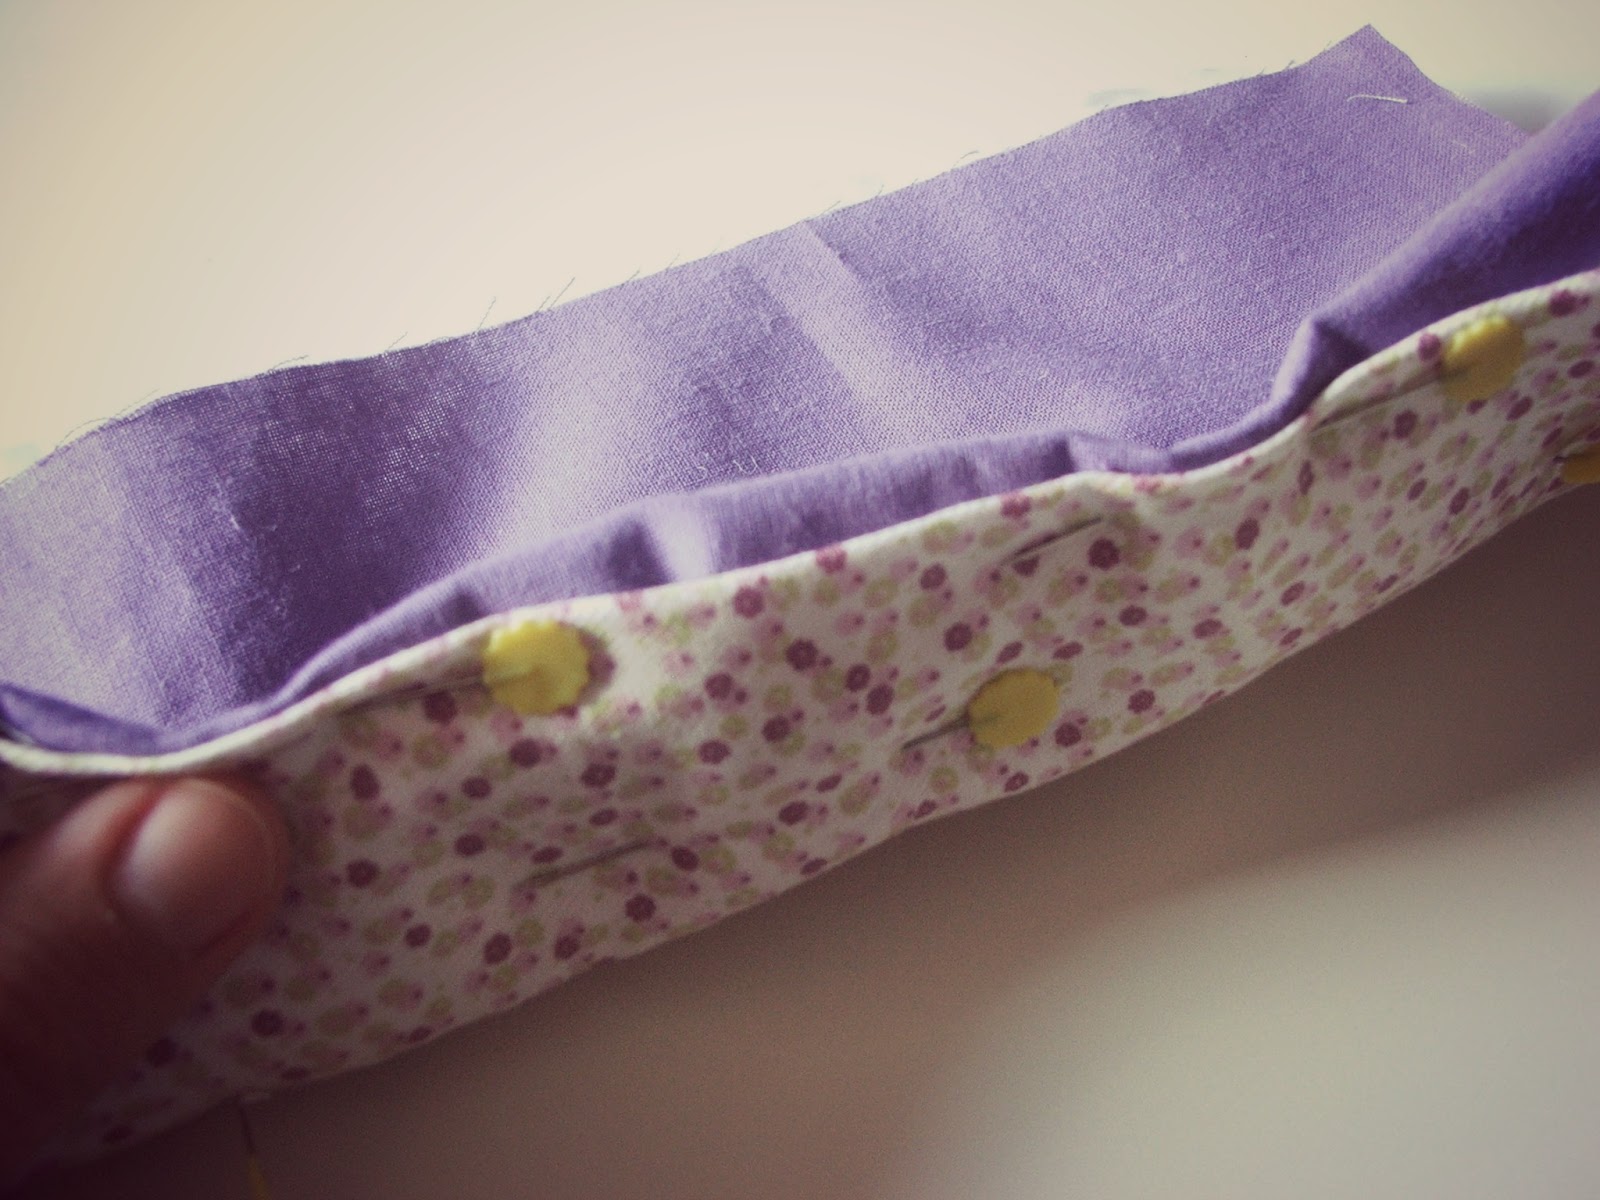
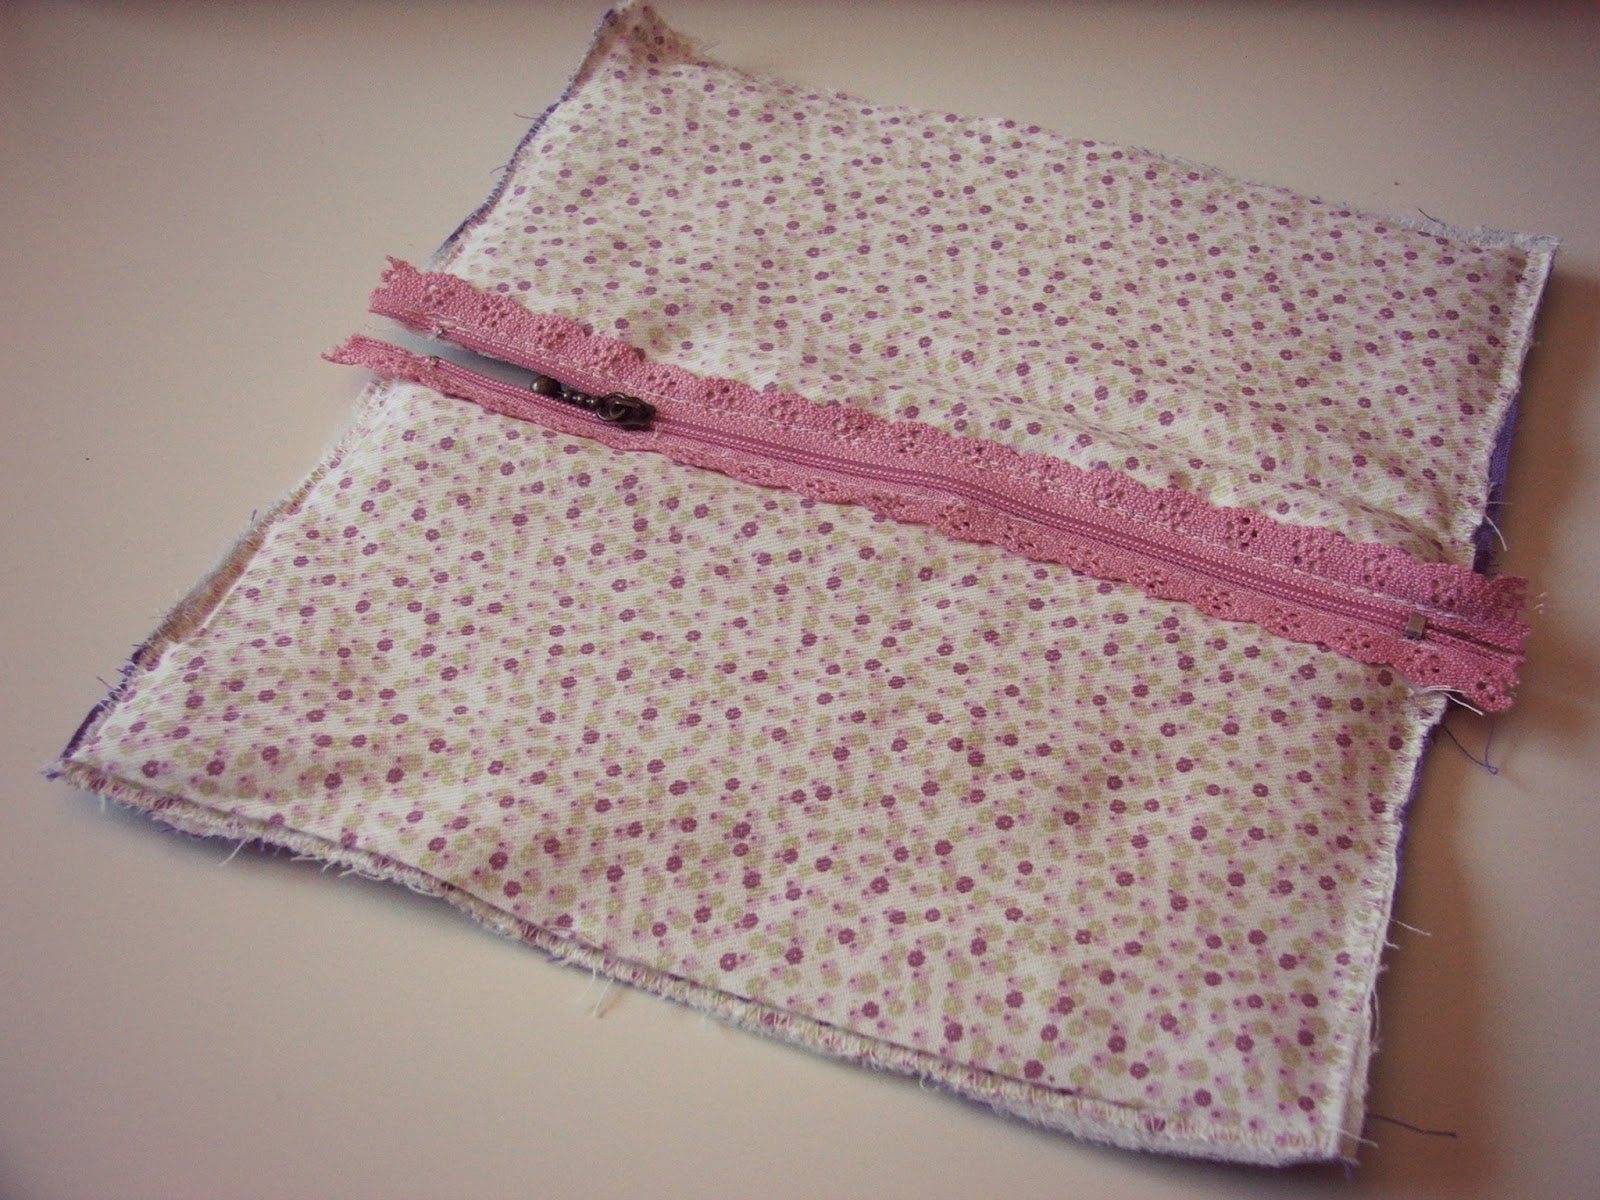
Paso 1: Hacemos una especie de sandwich con las telas. primero la tela exterior con el lado bueno hacia fuera, después la guata o entretela, y por último la tela interior o forro. Como veréis en la foto, el borde de uno de los laterales de las telas interior y exterior van dobladas hacia dentro, aproximadamente 1cm, escondiendo la guata. Fijamos con alfileres esta parte. Aquí si queréis podéis pasarle una costura para tenerlo ya más afianzado, antes de poner la cremallera.
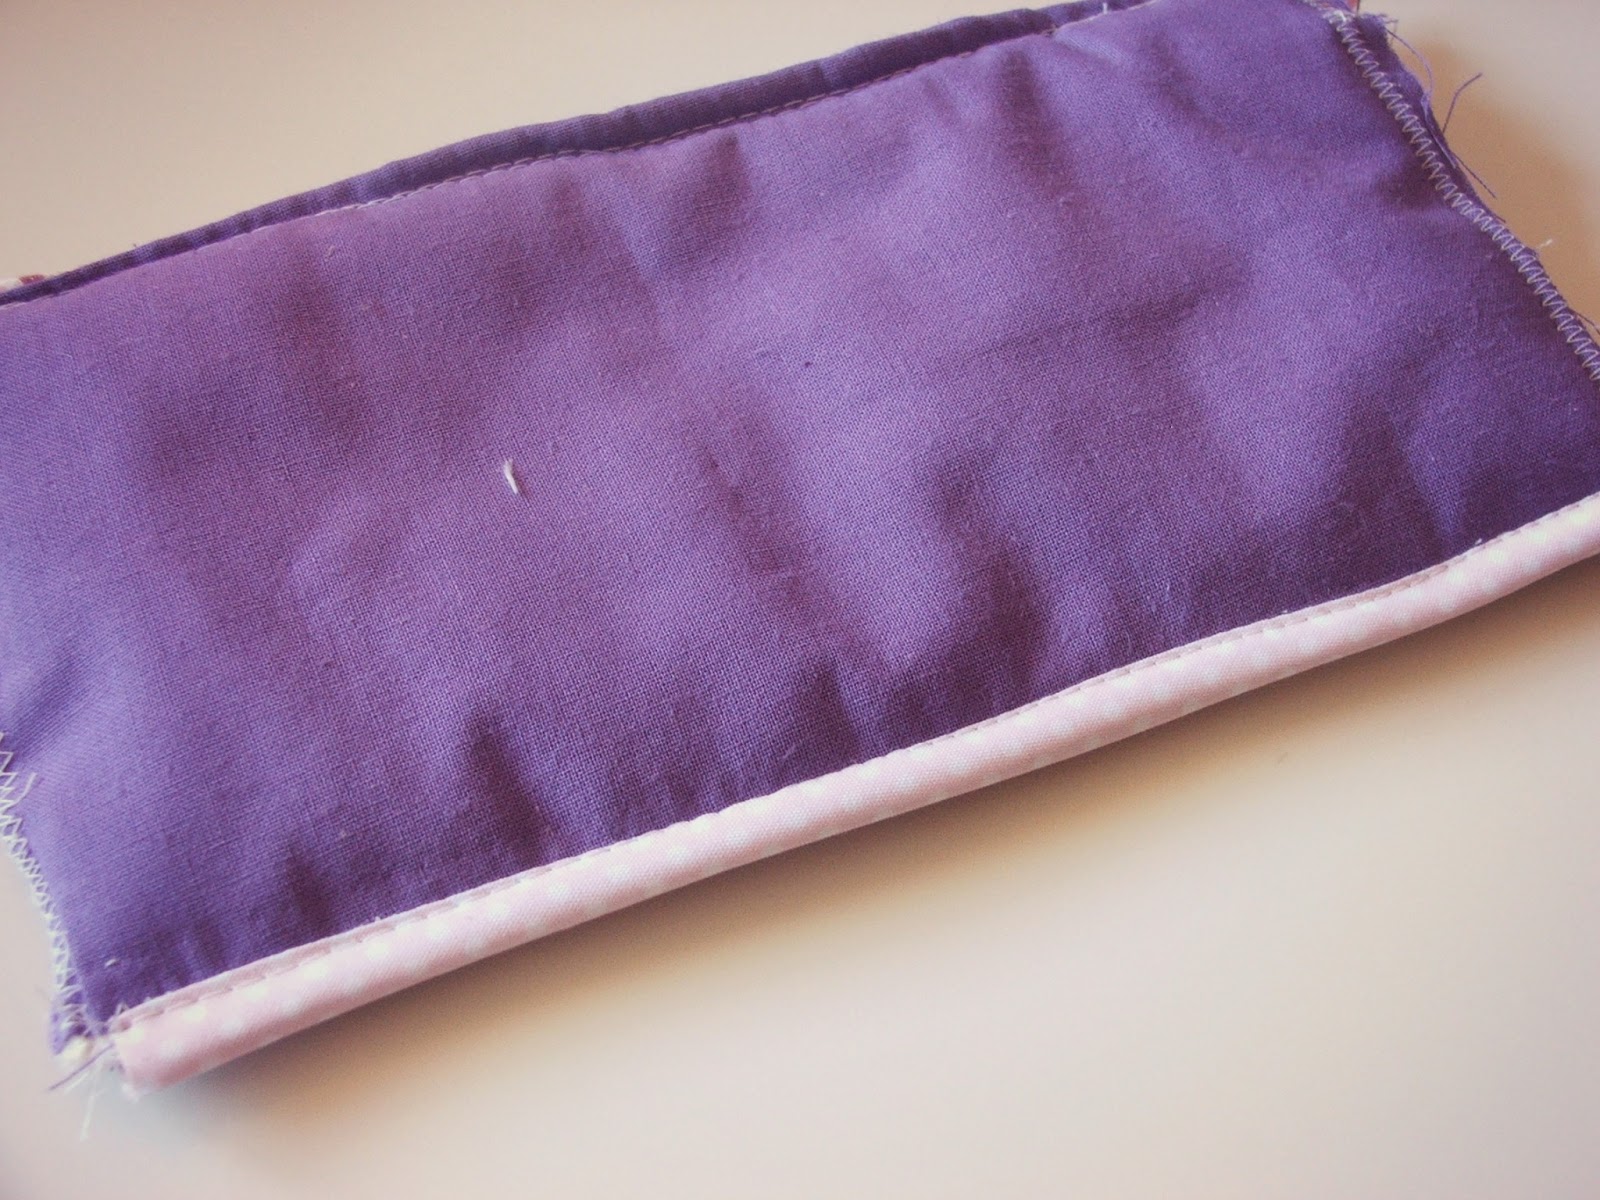
Paso 4: Doblamos por la cremallera, con las caras exteriores enfrentadas. Recordad dejar la cremallera abierta hasta la mitad más o menos para luego poder darle la vuelta. Cosemos el borde opuesto a la cremallera. Y le ponemos el bies.
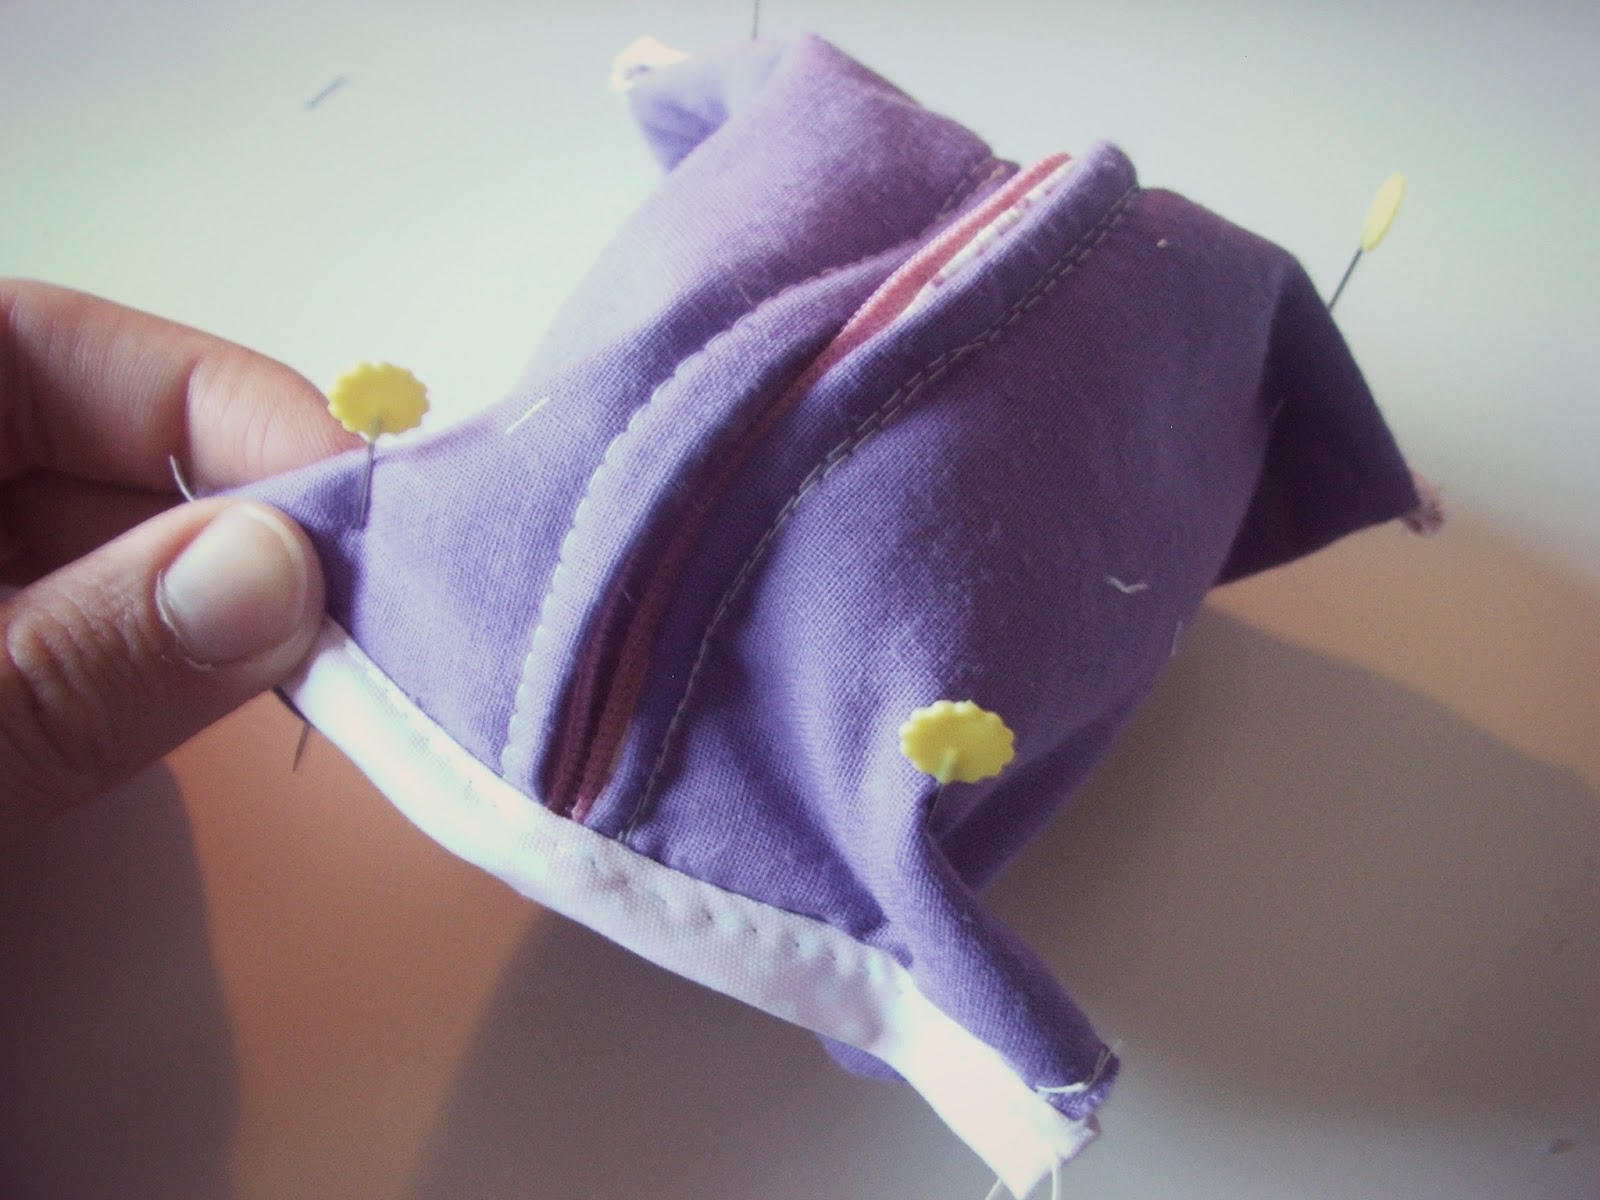
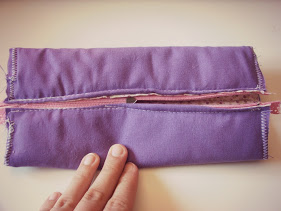
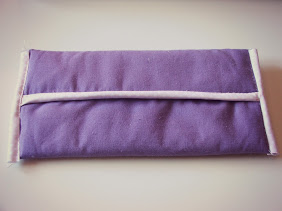
Paso 5: Ahora doblamos como veis en la foto, dejando la cremallera en el medio. Y cosemos los laterales pasando por encima de la cremallera. También les ponemos un bies.
 |
 |
Paso 6: Para darle volumen al neceser tenemos que cortarle las esquinas, pero antes tenemos que ahuecar la valisette. Lo hacemos como se ve en la foto. Marcamos con alfileres las cuatro esquinas a dos centímetros más o menos, si la queréis más alta tenéis que dejar más centímetros. cosemos las cuatro esquinas y cortamos el sobrante.
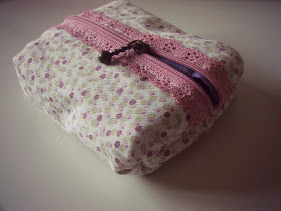
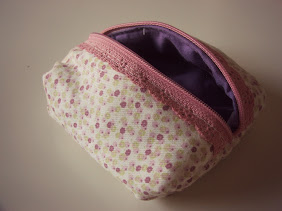
Le damos la vuelta y ya tenemos nuestra valisette terminada.
 |
 |
Espero que os haya gustado el tutorial, y si tenéis cualquier duda, como siempre, me decís!
Un besito!
Hi!!!
How’s everything? First of all…. sorry for not posting a lot lately… I went away for a few days, and I’ve been sewing a couple of things that people asked me for. Also I went to a wedding yesterday and I’ sewed the dress I wore… I managed to finish it on time! And the result was great! I’ll post the pictures soon! And I got a new job at the Prado Museum too! So well, that’s why I haven’t been able to publish anything… I’ll try to find more time for new tutorials!
Anyway, there’s a new DIY today! Do you remember that a few weeks ago I posted a purse tutorial? If you want to have a look at it again, click HERE. So today we have something similar… what do you think of this toilet bag with lace edge zip?
I made it a couple of months ago and I’ve used it a lot. Mine is very small, and I use it for little things that I have in my bag, like make up, clips, etc.
Let’s start with the DIY then!
Materials:
- Two 16 x 22 cm pieces of inside fabric, two of outside fabric, and two of wadding.
- 1/2 m of bias tape.
- A 20 cm lace edge zip.
- Sewing materials: thread, scissors, tailor’s chalks, pins…
DIY:
Step 1: We have to sandwich the wadding with the exterior and the interior fabric. First we place the exterior piece of fabric facing up, then the wadding, and lastly the interior fabric. As you can see in this picture (HERE), we have to fold 1 cm of one of the long sides of each piece of fabric (interior and exterior) to hide the wadding. We put pins to keep it in place. And we can sew this side before sewing the zip so that it doesn’t move.
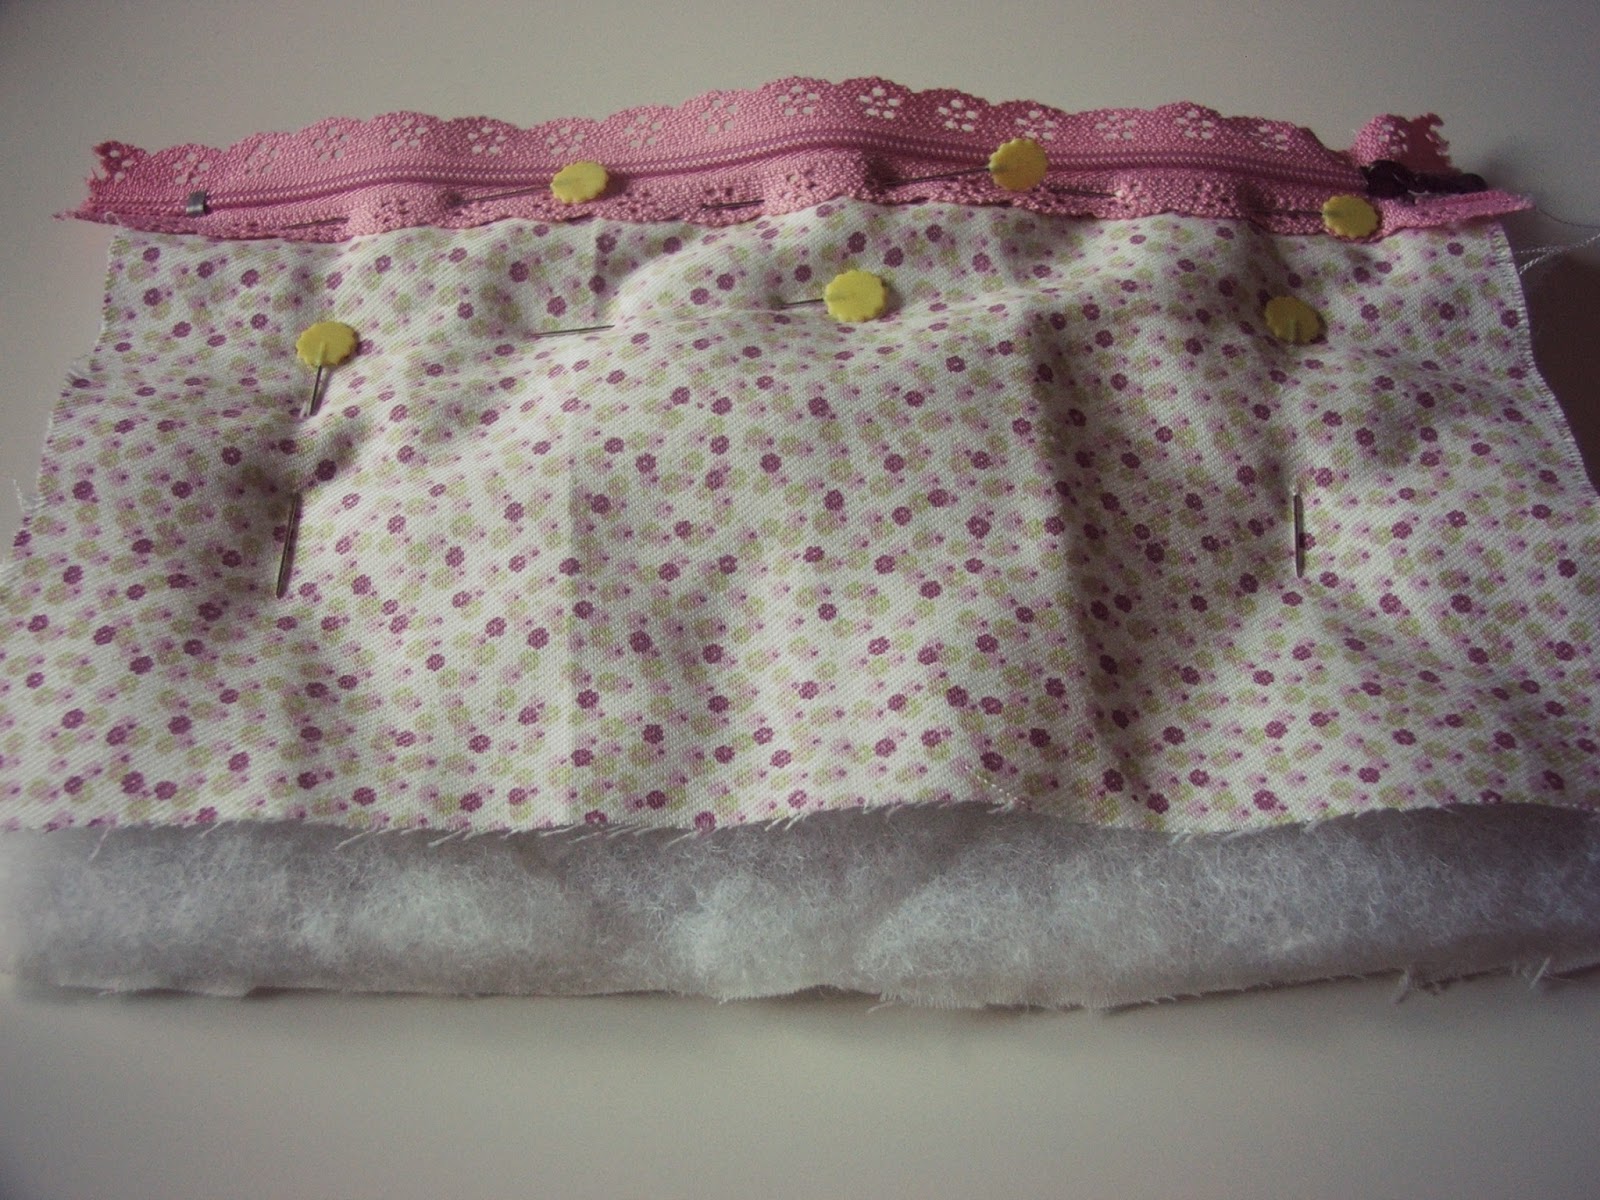
Step 2: Now we have to sew the zip. We pin it to the fabric and then we sew it. (Picture HERE)
Step 3: We have to repeat steps 1 and 2 with the other three pieces of fabric, sew the zip, and then we sew all the rectangle with a zigzag stitch. (Picture HERE)
Step 4: We fold the rectangle with the right sides facing each other, leaving the zip in the centre. Remember to leave the zip a bit open, so that we can turn it around later. And then we sew the edge opposite the zip, and we sew the bias tape to this edge. (Picture HERE)
I hope you enjoyed the tutorial. As I always say, if you have any doubts give me a shout.
Xx.


