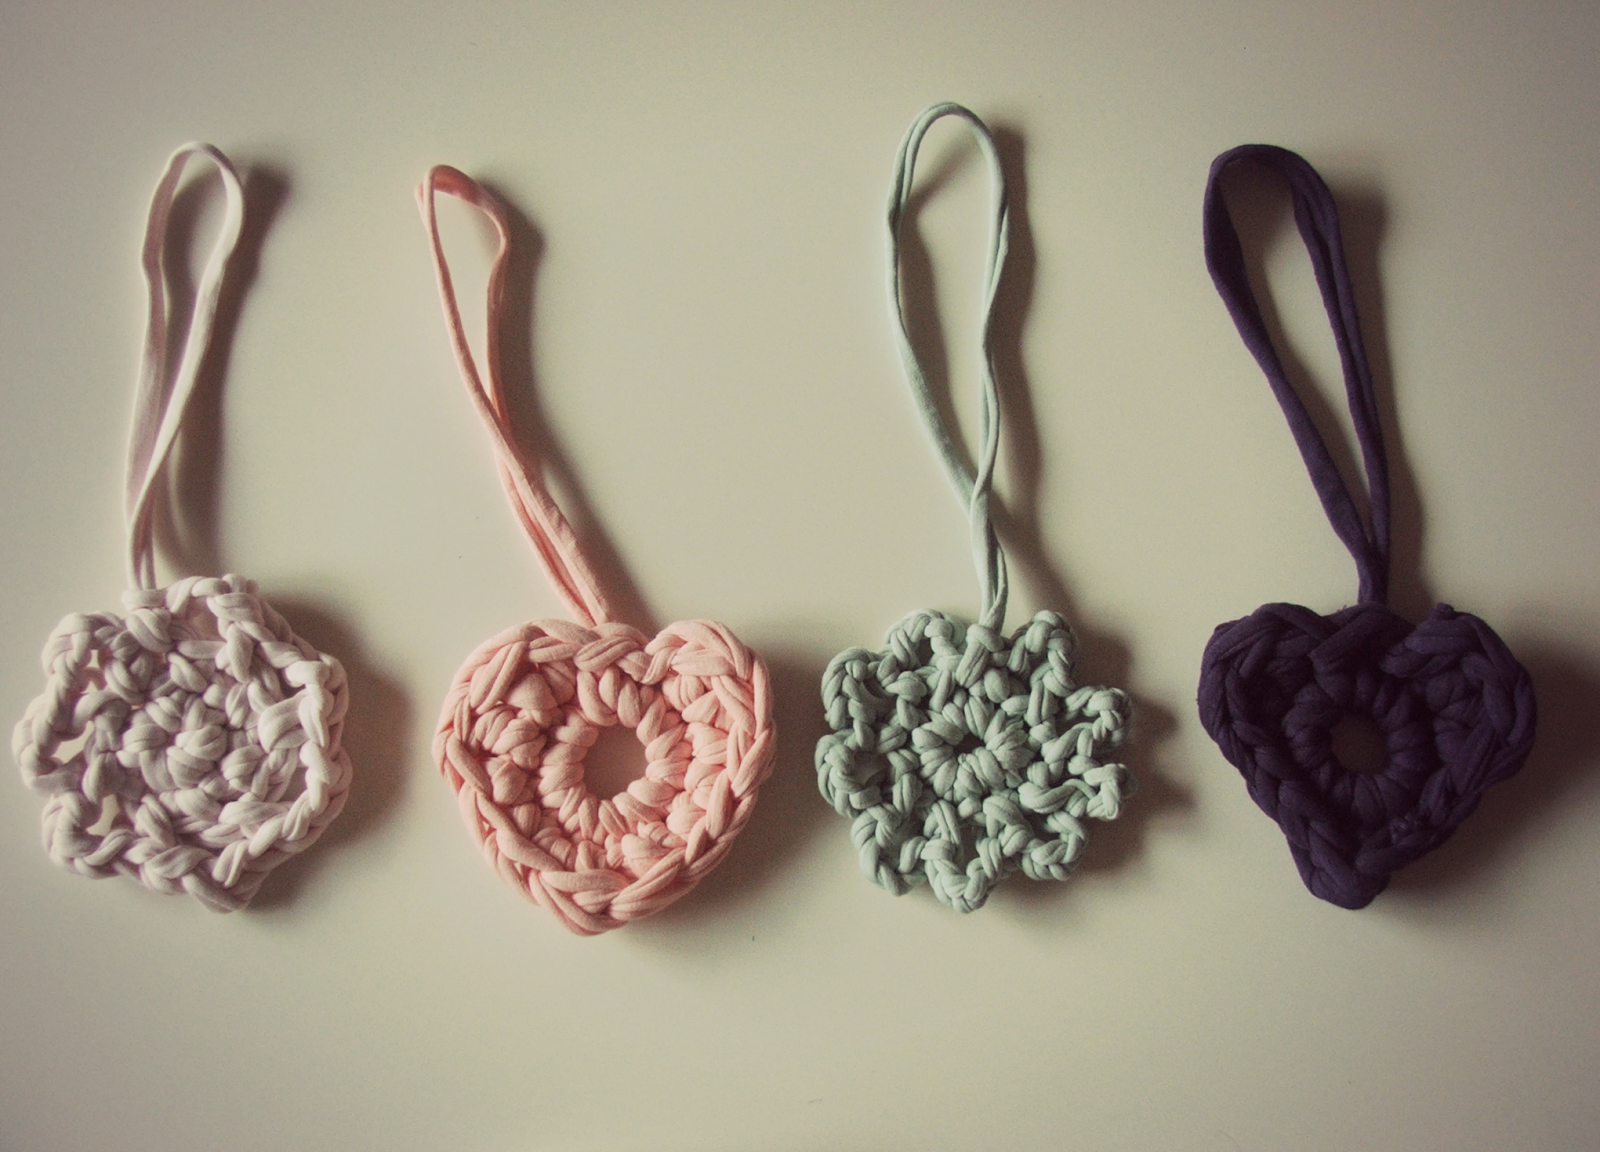
tiradores de trapillo – zpagetti decoration
Hola de nuevo! (Scroll down for English version)
¿Qué tal estáis? Yo, a partir de ahora tendré más tiempo libre, así que espero poder publicar más a menudo. Además estoy empezando a coserme mi propia ropa y estoy muy ilusionada, ¡deseando enseñaros los resultados!
Bueno, de momento os traigo algo más de trapillo. También me estoy poniendo las pilas en este ámbito que tanto me relaja y la verdad que están quedando cosas muy chulas. También vendrán pronto los resultados, acompañados de tutoriales claro!
Pues vamos con el DIY de hoy.
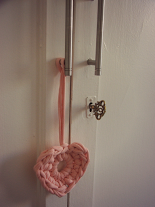
¿Recordáis que hace tiempo puse el tutorial de un llavero en forma de flor de trapillo? Pues una amiga me dio la idea de usarlo como colgadores para los pomos de las puertas de los armarios… ¡y me puse a ello!
Y es que usar nuestras manualidades para decorar nuestras casas es un gran idea, ¿no os parece?
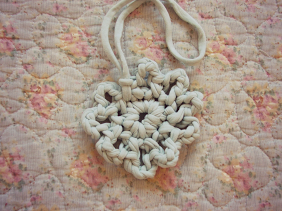
En este caso hice 4 colgadores, dos en forma de flor, y dos en forma de corazón. Los cuatro de diferentes colores. El tutorial del que tiene forma de flor lo tenéis AQUÍ. Y ahora, vamos con el DIY del tirador en forma de corazón.
Materiales:
– Trapillo.
– Tijeras.
– Un ganchillo del número 10 o 12, dependiendo del grosor del trapillo.
Paso a paso:
- Primero realizaremos un anillo mágico de 13 puntos.
- Una vez hecho esto, vamos a hacer 2 puntos altos en el primer punto del anillo mágico.
- Después hacemos 1 punto alto en el siguiente punto del anillo mágico.
- Y a continuación 3 puntos bajos, uno en cada uno de los puntos siguientes.
- Ahora hacemos un punto alto en el siguiente punto del anillo.
- Y repetimos todo lo que hemos hecho hasta ahora, pero al revés, es decir: 3 puntos bajos (uno en cada uno de los puntos siguientes), 1 punto alto en el siguiente punto, y 2 puntos altos en el último punto del anillo mágico.
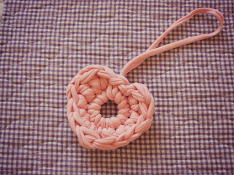
¡Y ya está! ¿Fácil, verdad? Recordad, que si tenéis dudas con los puntos, podéis pinchar AQUÍ para volver a la entrada en la que puse un enlace con vídeos a todos los puntos.
 |
 |
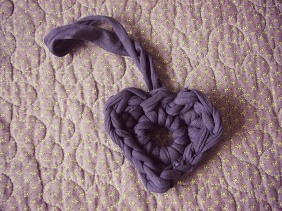 |
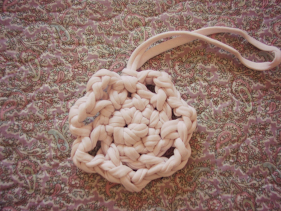 |
¡Espero que os haya gustado y que lo hagáis para darle un toque diferente a vuestras casas!
Un besito.
Marta.
ENGLISH VERSION
Hi again!
How are you? I’m not bad, from now on I’ll have more free time, so I hope to be able to post more often. And also, I’m starting to start to sew my own clothes. I’m very excited about it! Hope to show you the results soon 🙂
Well, today I have a new zpagetti DIY. I’m cracking on with zpagetti, I find it very relaxing and I’m learning a lot and making cute things. Of course, you’ll see the results soon, that will come with more tutorials!
So let’s start with today’s DIY. Do you remember that some time ago I made a zpagetti flower-shaped keyring? It turns out that a friend suggested using them as door-handle decorations. So I did it! Using the crafts that we make for our home decoration is a great idea, don’t you think?
I made 4 of them, 2 flower-shaped ones and 2 heart-shaped ones. And all of them are made in different colours. You can find the tutorial of the flower-shaped one by clicking HERE. And now, let’s start with the heart-shaped door-handle decoration tutorial.
Materials:
- Zpagetti.
- Scissors.
- Crochet hook number 10 or 12, depending on the width of the zpagetti yarn.
DIY
- First we have to make a magic ring of 13 stitches.
- Once we’ve done that, we make 2 double stitches on the first stitch of the magic ring.
- Then we make 1 double stitch on the following stitch of the magic ring.
- And next we have to make 3 single stitches, one on each of the following stitches of the magic ring.
- And now, we have to repeat everything, but the other way round. So it will be: 3 single stitches (one on each of the next stitches of the magic ring), then 1 double stitch on the next stitch, and 2 double stitches on the last stitch of the magic ring.
And that’s it! Easy peasy. Remember that if you still have doubts with how to make the different stitches, you can click HERE to see the post were I put a link with videos of all of them.
I hope that you liked it and that you feel like making it to give your home a different look!
Xx.
Marta.


