Funda móvil con bolsillo para tarjeta DIY
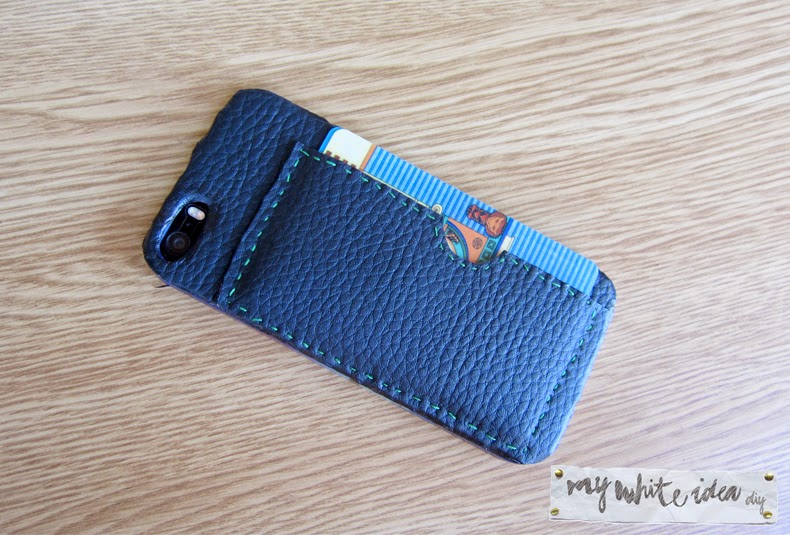
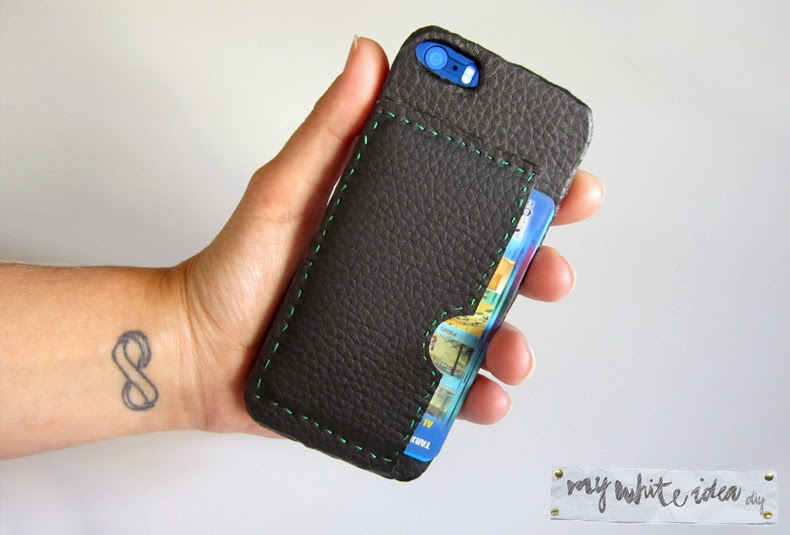
Si hay algo que no suelo hacer es DIY pensando en el género masculino, por eso hoy os traigo un DIY pensando 100% en ellos. Seguro que muchos de vosotros lleváis cartera solo para llevar las tarjetas, por eso hoy os traigo un DIY para que transformes una carcasa de móvil simple, en una carcasa tarjetero.
Está hecha con las medidas de un iphone, pero la idea se puede adaptar a casi cualquier modelo de móvil. La idea la saqué al ver esta funda, pero al ver el precio, decidí hacer mi versión hand made!
I know that I don’t usually make DIY for mens, but this DIY is 100% for a mens.
I´m sure that a lot of you, carry wallets only for carry the cards, because of that, I made this mobile cover for carry your cards.
The measures are for an iphone, but you can adapt the DIY for all the phone models. I take the idea from this cover but it is very expensive!
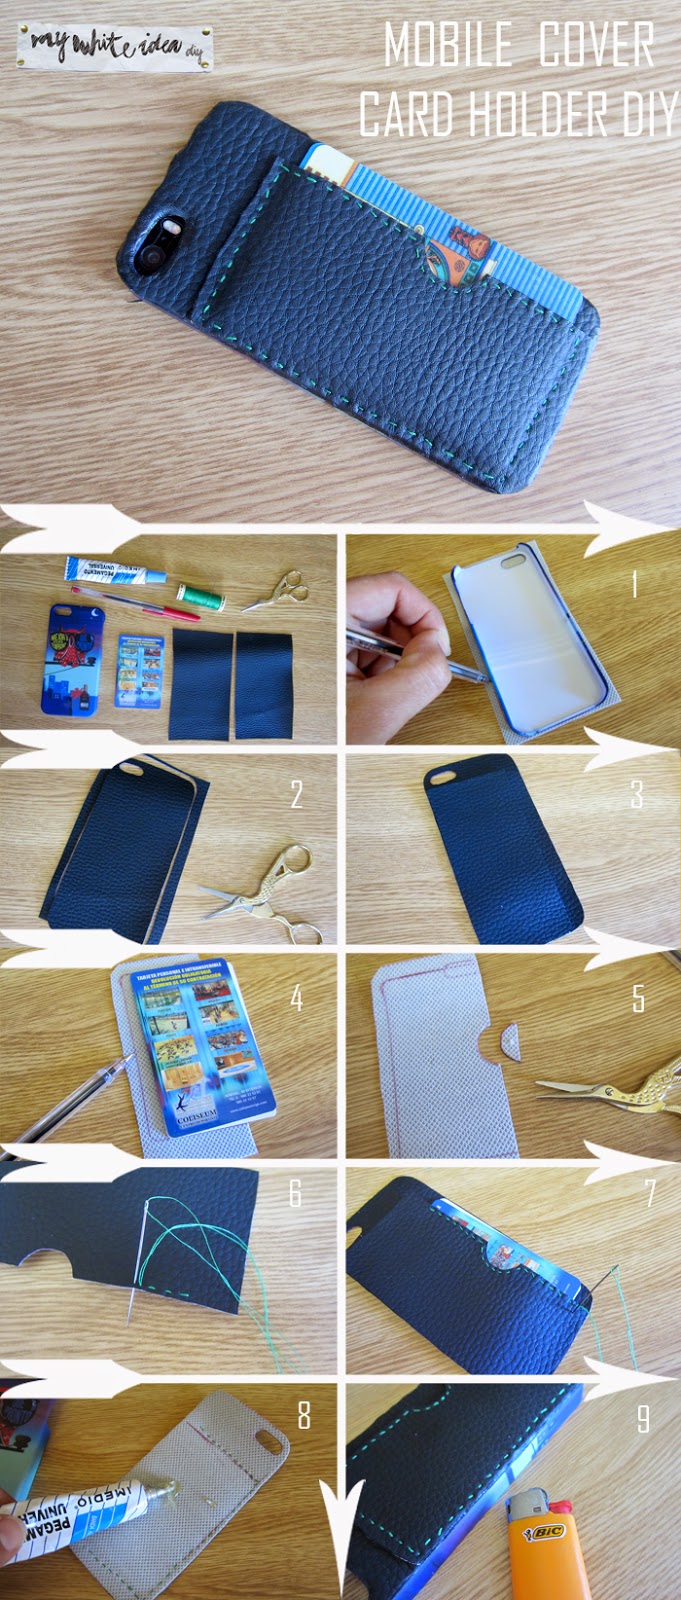
Materiales: Carcasa rígida, polipiel, tijeras, hilo y aguja, pegamento, boli y mechero
Paso 1: Contornear con un boli el contorno de la carcasa
Paso 2: Recortar la polipiel
Paso 3: Cortar el otro trozo 1 cm más estrecho y 1 cm más abajo del agujero de para la cámara (esto depende de la colocación de la cámara)
Paso 4: Comprobar que el largo es superior al de una tarjeta
Paso 5: Cortar un semicírculo
Paso 6: Comenzamos a coser el segundo trozo, por el lado que tiene el semicirculo.
Paso 7: Colocamos las tarjetas y comenzamos a coser los 2 trozos.
Paso 8: Colocar pegamento y pegarlo a la carcasa.
Paso 9: Con un mechero y mucho cuidado, quemar los laterales.
Materials: mobile cover, leatherette, scissors, needle and thread, glue, pen and lighter
Step 1: Make the contour of the cover
Step 2: Cut Leatherette
Step 3: Cut a piece 1 cm narrower slice and 1 cm below the hole for the camera (this depends on the placement of the camera)
Step 4: Check that the length is bigger than a card
Step 5: Cut a semicircle in the middle.
Step 6: We begin to sew the second piece (the side that has the half circle)
Step 7: Put all the cards and begin to sew the two pieces.
Step 8: Place glue in the back and paste to the cover.
Step 9: With a lighter and carefully, burn the sides.
Espero que os guste y gracias por los comentarios!
I hope you like it and thanks for the comments!


