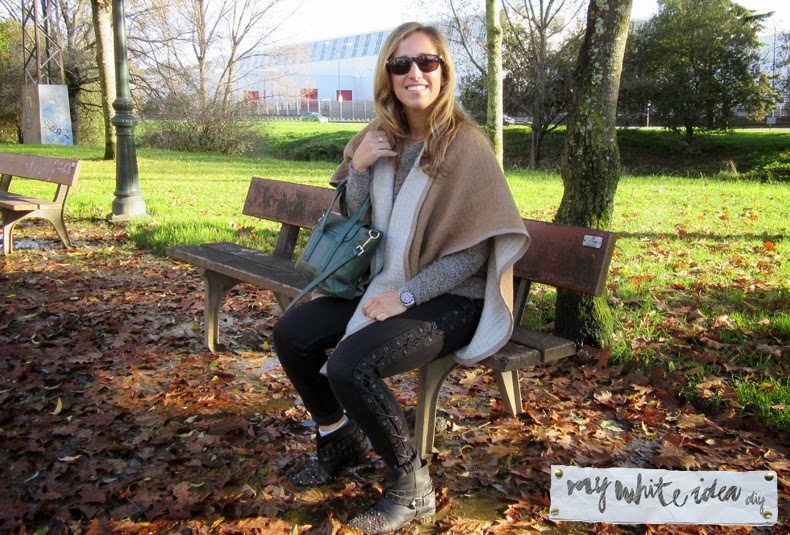
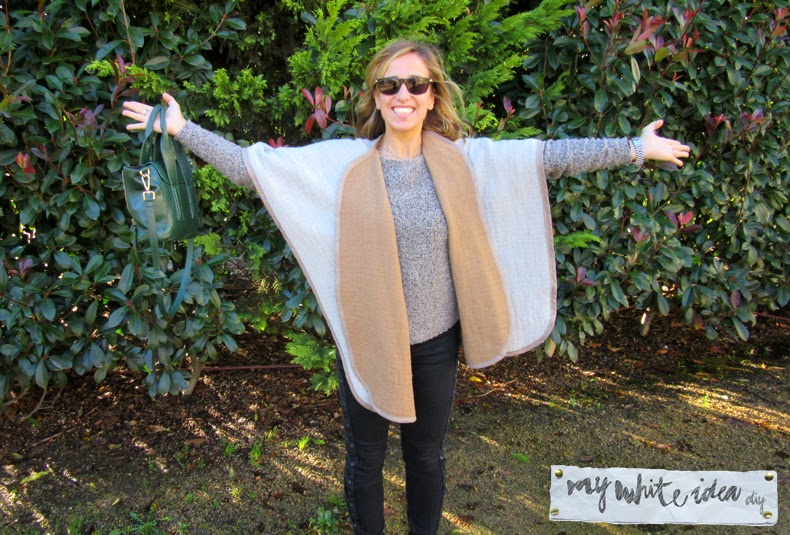
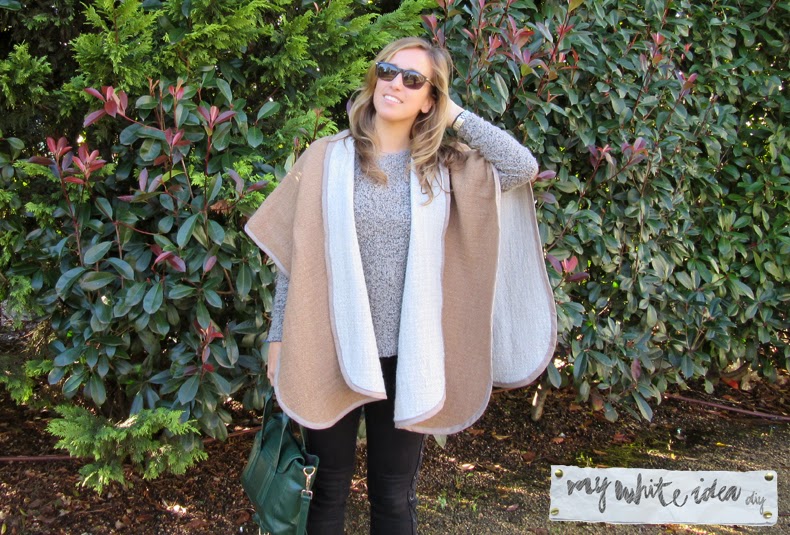
LA CAPA-MANTA REVERSIBLE DIY MÁS FÁCIL
No tengo ninguna duda, es imposible hacer una capa-manta más sencilla que esta, incluso de puede hacer cosiendo a mano, si si, a mano, aunque te va a llevar más tiempo que a máquina, como es obvio.
Una de las cosas que más me gusta es que es reversible, y es que no se vosotros, pero siempre he sido muy fan de los 2×1, sobre todo cuando se trata de prendas de ropa.
Una de las cosas complicadas de la costura es el patronaje, pero en este caso el patrón que seguí es muy sencillo, así que no hay escusas!
I’m sure that this is the most easy blanket cape DIY, and also It is reversible!
You can make it without a sewing machine (but It’s more quickly with the machine)
The pattern is very easy and you don’t need more than 30 minutes, there’s no excuse
I’m sure that this is the most easy blanket cape DIY, and also It is reversible!
You can make it without a sewing machine (but It’s more quickly with the machine)
The pattern is very easy and you don’t need more than 30 minutes, there’s no excuse
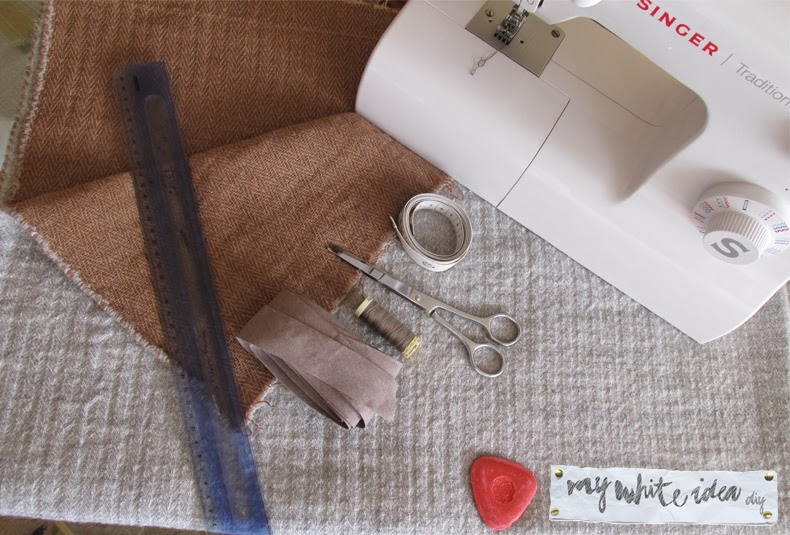
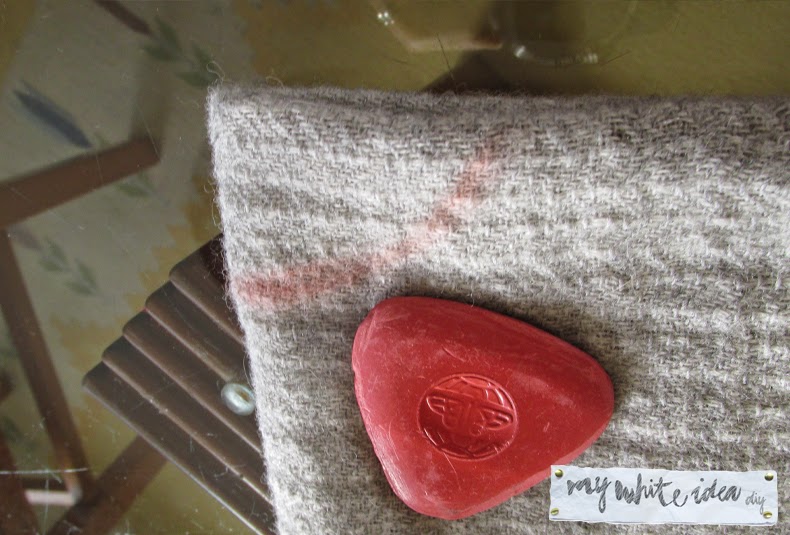
Necesitaremos, hilo, aguja, tijeras, cinta métrica, tiza, máquina de coser y tela reversible.
Yo la tela la compré en retales Lidia por 4 €, la tela es un paño de lana de 2 caras, os recomiendo que si vais a hacer cualquier proyecto con tela, acudáis a una tienda de retales, puedes encontrar auténticas maravillas a muy buen precio!
We need thread, needle, scissors, meter, chalk, sewing machine and fabric (wool fabric)
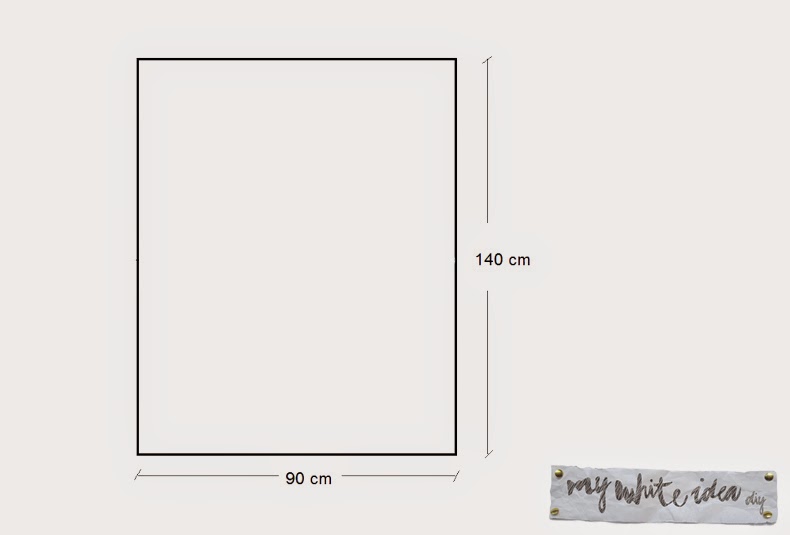
Estas son las medidas de la tela, si quieres que te quede más tela colgando por los brazos tendrás que aumentar el ancho.
These are the measures of the fabric, if you want more fabric hanging by the arms, increase the width.
These are the measures of the fabric, if you want more fabric hanging by the arms, increase the width.
Doblamos la tela a la mitad del largo, a continuación a la mitad del ancho y cuadramos la tela, es decir, cortamos para que el rectángulo sea simétrico.
Cut the fabric according your measures
Cut the fabric according your measures
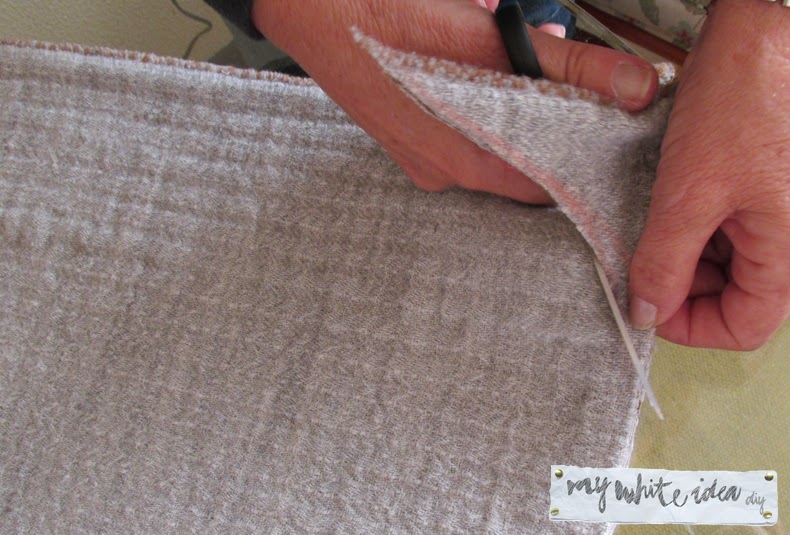
De forma opcional, se pueden redondear los extremos, para que queden iguales, doblamos a lo ancho, y con la tiza dibujamos un cuarto de círculo, y a continuación cortamos. Cortamos las 4 capas juntas para que nos quede simétrico.
If you want, you can round the corners as I did
If you want, you can round the corners as I did
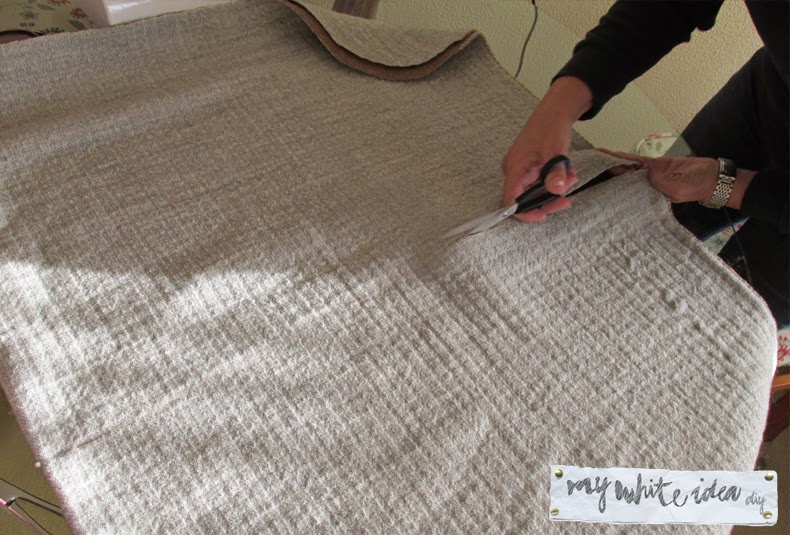
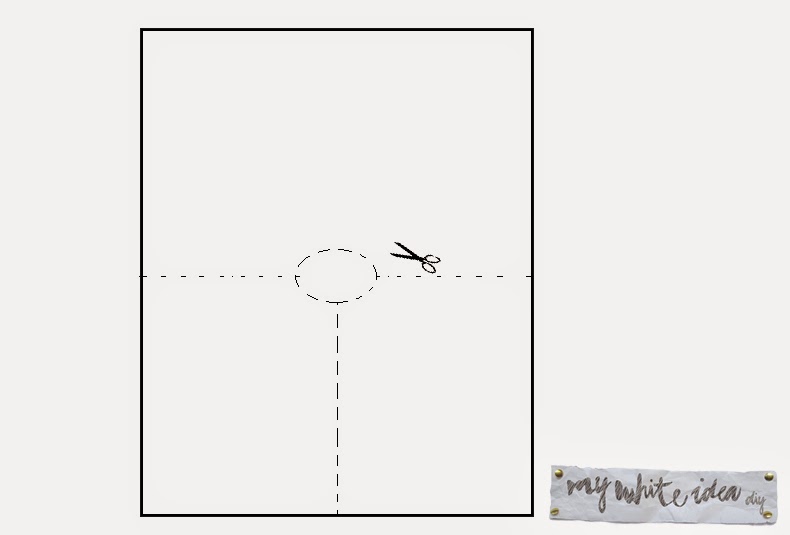
Cortamos por la mitad tal y como se ve en el dibujo y en la foto, tener cuidado en cortar solo una capa, para que quede recto, lo mejor es antes marcar con una tiza la línea donde vamos a cortar.
En mi caso también redondeé la parte delantera al igual que los laterales.
Fold in a half and cut in the middle like the image, be carefully and don’t cut the other part of the fabric
En mi caso también redondeé la parte delantera al igual que los laterales.
Fold in a half and cut in the middle like the image, be carefully and don’t cut the other part of the fabric
A continuación cortaremos el cuello, lo más sencillo es volver a doblar en cuatro y trazar un cuarto de círculo y cortar tal y como se ve en las imágenes.
Cut the neck as in the image
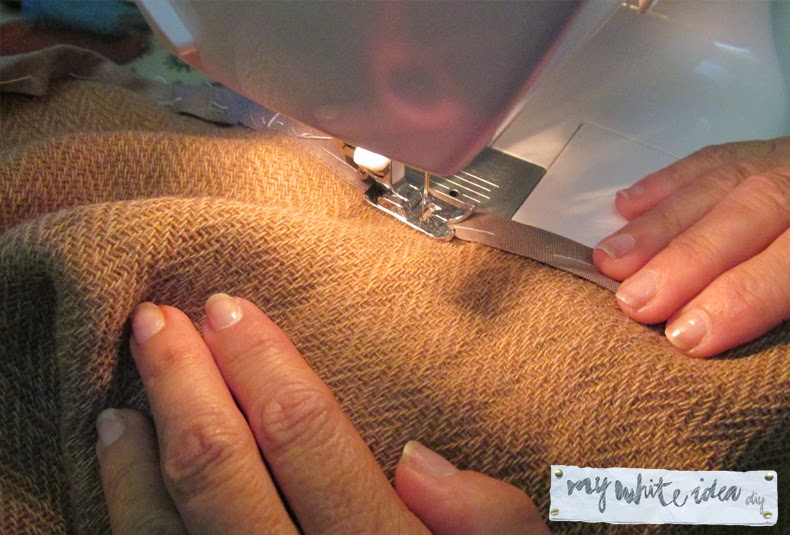
Por último colocaremos el bies, este paso es opcional (y sin duda el más tedioso), ya que se puede coser a una distancia de 1-2 cm del borde y deshilachar con la ayuda de una alfiler, algo que puede dar un toque más desenfadado a la capa.
Como decía al principio, se puede coser a mano, sobre todo si dejas los bordes deshilachados, sinceramente, la opción de coser el bies a mano la veo bastante complicada.
The last step is sew the bias, but if you want, you can sew at 1 cm or 1,5 cm from the edge and fray the edge.
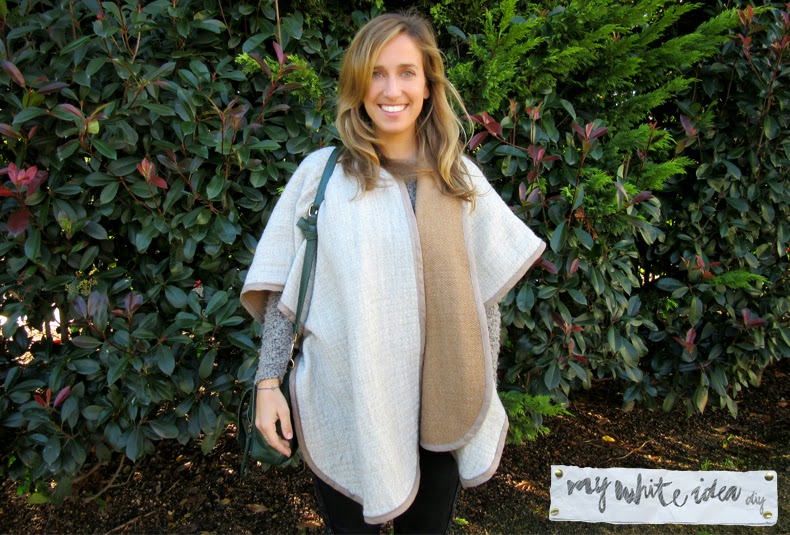
Y listo, ya tenemos nuestra capa-manta hecha, necesitarás entre 30 minutos y 1 hora en hacerla (todo depende de lo mañosa que seas con la máquina o si lo coses a mano)
30 minutes after, we will have a great blanket cape DIY!
Espero que os guste y muchas gracias por los comentarios!
I hope you like it ant thanks for the comments!
I hope you like it ant thanks for the comments!


