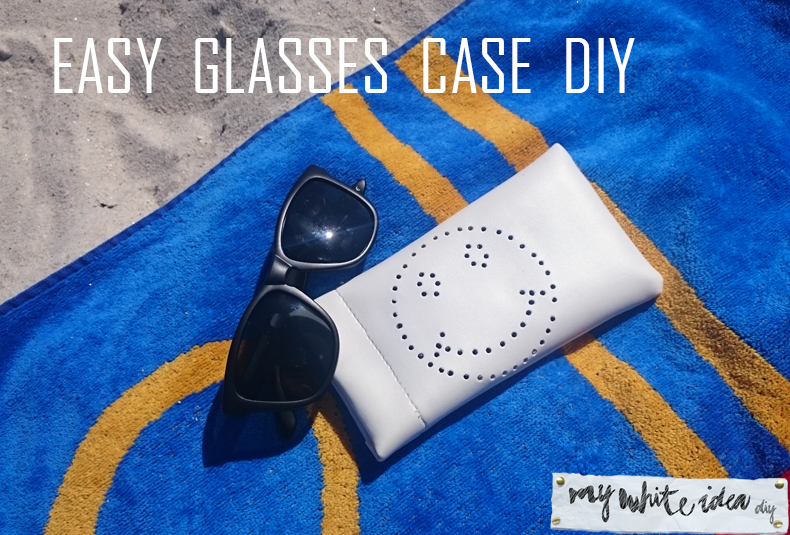
EASY GLASSES CASE DIY
Viendo estas fotos me entra una morriña de verano, además justo hoy acaba de entrar la ciclogénesis en Galicia.
Hoy os traigo un DIY muy sencillo, útil y simpático, estoy segura que a más de uno esa carita feliz le ha arrancado una sonrisa, y es que yo soy de las que pienso que estar rodeada de objetos que transmitan buen rollo hace que los días sean mucho mejores!
Este estuche para gafas DIY se hace en muy poco tiempo y lo mejor es que cumple su función sin ocupar mucho espacio.
Seeing these pictures I miss the summer because today the weather in Galicia is awful!
Today I show you a very simple, helpful and friendly DIY, I»m sure that more than one smile when you see this happy face. I think that being surrounded by objects that transmit good vibes makes your day better!
This glasses case DIY is done in a very short time and the best of this DIY is that don»t take up a lot of space in your bag.
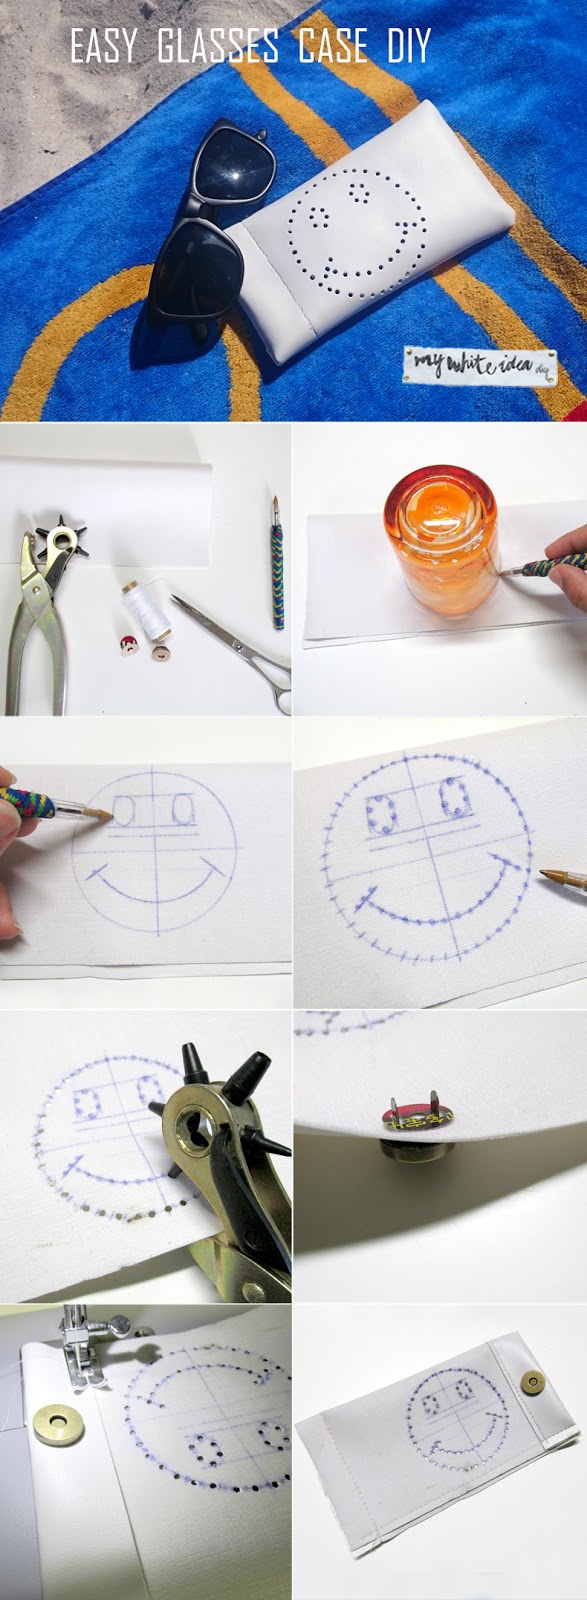
Materiales:
Trozo de polipiel de 20x 20cm
Cierre de imán
Tijeras
Aguja e hilo
Bolígrafo
Sacabocados
Paso 1: Con la ayuda de un vaso, dibujar una circunferencia en el lado interior de la tela
Paso 2: Dividir la circunferencia en 4 trozos y dibujar la boca y los ojos de forma simétrica, para hacer la boca yo me ayudé del vaso y para hacer los ojos hice 2 líneas paralelas y los dibujé lo más iguales posibles.
Paso 3: Dibujar puntitos por todo el contorno, intentando que queden a la misma distancia unos de otros.
Paso 4: Con el sacabocados hacer los agujeros en las marcas que hemos hecho anteriormente.
Paso 5: Colocamos los cierres en el borde centrado. para que las 2 partes del imán coincidan, primero colocar uno, doblar a la mitad, y comprobar donde debe ir la otra parte. La parte donde van las patillas debe estar en la parte interior de la tela.
Paso 6: Doblamos la parte superior y cosemos (Yo cosí a máquina, pero a mano se cose perfectamente e incluso se podría pegar con pegamento textil.
Paso 7: Doblamos a la mitad y cosemos los bordes a 1/2 cm del borde, antes de coser, comprobar que los imanes coinciden. Al igual que antes, yo lo cosí a máquina, pero se puede coser a mano o pegar.
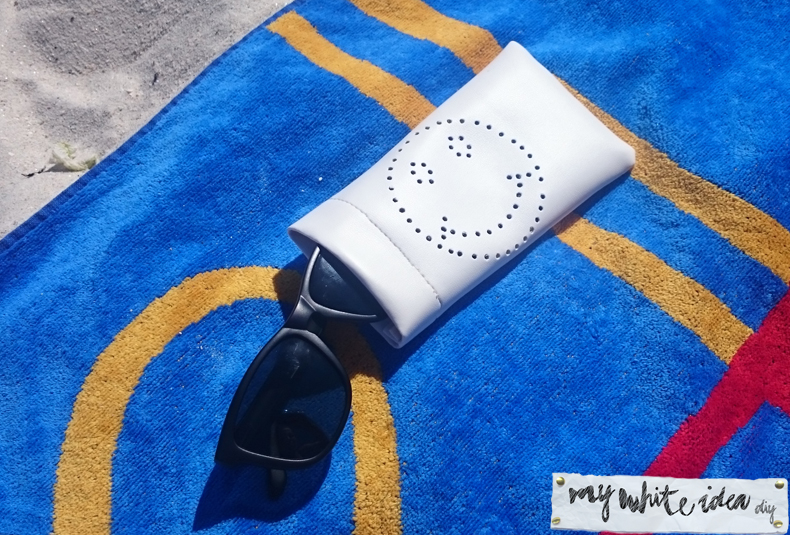
Y listo, ya tenemos un estuche para las gafas original y muy feliz!
Materials:
Leatherette piece 20x 20cm
Magnet closure
Scissors
Needle and thread
Pen
Punch
Step 1: With a glass, draw a circle on the inner side of the fabric
Step 2: Divide the circle into 4 parts and draw the mouth and eyes symmetrically, to make the mouth, use the glass and to make the eyes, make 2 parallel lines and draw as equal as possible.
Step 3: Draw dots in all the perimeter, trying to draw points at the same distance from each other.
Step 4: With the punch, make the holes in the points.
Step 5: We put the magnet closure on the edge centered. First, place one of the part of the magnetic closure, fold in half, and place the other part. The part where are the pins is in the inside of the fabric.
Step 6: Fold the top and sew (I use the sewing machine, but you can sewn by hand or paste it).
Step 7: We folded in half and sew the edges (1/2 cm from the edge), before sewing, check that the magnets overlap. As before, I sewed by machine, but can be sewn by hand or paste it.
And presto, we have an original and a very happy cover for the glasses!

Espero que os guste y gracias por los comentarios!
I hope you like it and thanks for the comments!