TUTORIAL SCRAPBOOK: POSTALS PER QUALSEVOL CELEBRACIÓ.
Ja sabeu com ens agrada a Les Antònies fer les postals amb les nostres pròpies mans i, a més, que siguin personalitzades. En aquest post us volem mostrar dues idees fàcils i ràpides de fer.
Començarem donant-vos unes orientacions generals. Amb un full A4 farem el sobre. Retallarem un quadrat de 21cmx21cm, es a dir, l’amplada del full i seguirem les passes del tutorial d’un post anterior que trobareu aquí.
Per fer la postalescollim una cartolina del color que vulguem i retallem guiant-nos per la mesura del sobre: si el sobre fa 12cmX14cm, retallem la cartolina 11’5cmX37cm; heu de tenir en compte que la postal serà doble i l’hem de plegar per la meitat, per això els 37cm. Sobretot heu de fer-la una mica més petita que el sobre per poder-la posar dintre sense trencar-lo.
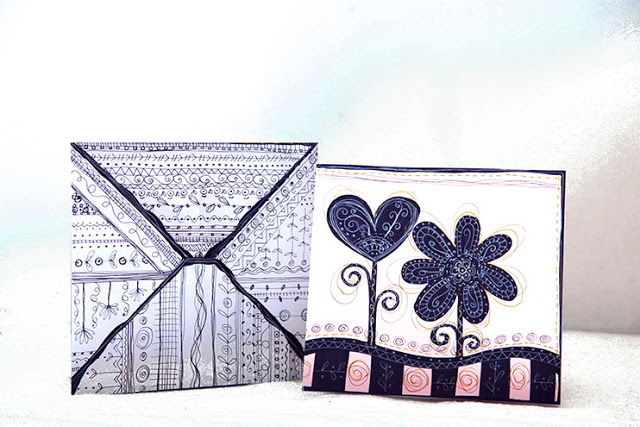
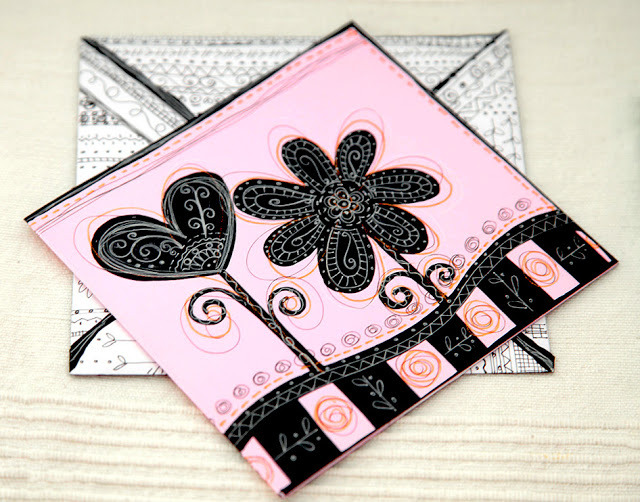
Com podeu veure, nosaltres hem fet dos estils diferents. Per la postal rosa amb el sobre blanc, hem treballat amb retolador negre de punta gruixuda, retolador negre de punta fina, retolador metal·litzat bronze i retolador blanc per fer els detalls; també hem decorat la part del darrera de la postal encara que més lleugera i com a continuació de la portada. El sobre l’hem cobert totalment de doodles fets amb retolador punta fina; hem intentat dissimular els plecs del sobre amb els dibuixos.
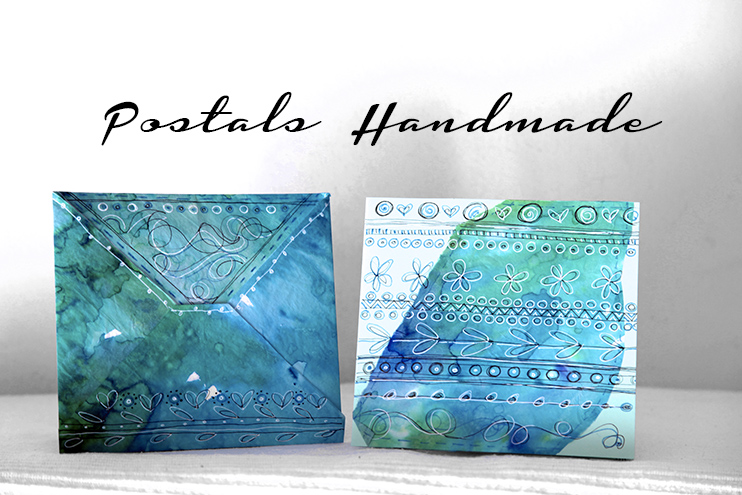
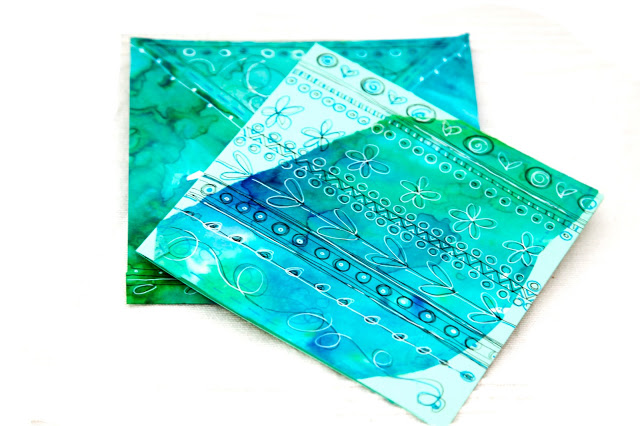
Per la postal verda i blava hem seguit altre sistema; un vegada tenim el sobre amb els plecs marcats, abans de muntar-lo, enganxem al damunt un paper de seda tintat amb aquarel·les. Ja muntat, l’hem acabat de decorar amb retolador punta fina negre, retolador metal·litzat blau i retolador blanc. A la postal hem seguit el mateix criteri: sobre una cartolina verda, al davant hem enganxat un trosset de paper de seda tintat, com el del sobre, i amb els mateixos materials hem fet la decoració. Al darrere també hem fet un detall continuant el disseny.
Esperem que aquestes idees us inspirin per fer les vostres postals personalitzades i porteu felicitat als qui les rebin.
UNA POSTAL PER CADA OCASIÓ!!!
TUTORIAL SCRAPBOOK: POSTALES PARA CUALQUIER CELEBRACIÓN.
Ya sabéis como nos gusta a Les Antònies hacer las postalescon nuestras propias manos y, además, que sean personalizadas. En este post os queremos mostrar dos ideas fáciles y rápidas de hacer.
Empezaremos dándoos unas orientaciones generales. Con una hoja A4 haremos el sobre. Recortaremos un cuadrado de 21cmx21cm, es decir, del ancho de la hoja y seguiremos los pasos del tutorialde un post anterior que encontraréis aquí.
Para hacer la postal escogemos una cartulina del color que queramos y recortamos guiándonos por la medida del sobre: si el sobre es de 12cmX14cm, recortamos la cartulina 11’5cmX37cm; se ha de tener en cuenta que la postal será doble y la tenemos que plegar por la mitad, por esto los 37cm. Sobretodo tenéis que hacerla una poco más pequeña que el sobre para poder ponerla dentro sin romperlo.
Como podéis ver, nosotras hemos hecho dos estilos diferentes. Para la postal rosa con el sobreblanco, hemos trabajado con rotulador negro de punta gruesa, rotulador negro de punta fina, rotulador metalizado bronce y rotulador blanco para hacer los detalles; también hemos decorado la parte de detrás de la postal aunque más ligera y como continuación de la portada. El sobre lo hemos cubierto totalmente de doodles hechos con rotulador punta fina; hemos intentado disimular los pliegues del sobre con los dibujos.
Para la postal verde y azul hemos seguido otro sistema; una vez tenemos el sobre con los pliegues marcados, antes de montarlo, pegamos encima un papel de seda tintado con acuarelas. Ya montado, lo acabamos de decorar con rotulador punta fina negro, rotulador metalizado azul y rotulador blanco. En la postal hemos seguido el mismo criterio: sobre una cartulina verde, delante hemos pegado un trozo de papel de seda tintado, como el del sobre, y con los mismos materiales hemos hecho la decoración. Detrás también hemos hecho un detalle continuando el diseño.
Esperamos que estas ideas os inspiren para hacer vuestras postalespersonalizadas y llevéis felicidad a quienes las reciban.
¡¡¡UNA POSTAL PARA CADA OCASIÓN!!!
SCRAPBOOK TUTORIAL: POSTCARDS FOR ANY CELEBRATION.
You know how like to Les Antònies make a postcardwith our own hands and, in addition, they are personalized. In this post we want to show two ideas easy and quick to make.
We»ll start by giving you some general orientations. With an A4 paper sheet we will do the envelope. We cut a square of 21cmx21cm, that is to say, the width of the page and follow the steps from the tutorial of a previous post that you will find here.
To make the postcard we choose a cardboard of colour that we want and cut according to the measure of the envelope: if the envelopeis 12cmX14cm, cut the cardboard 11″5cmX37cm; notice that the postcard will be double and we have to fold in half, so the 37 cm. You must have to do the postcard a little smaller than the envelope to put it inside without breaking it.
As you can see, we have two different styles. For pink postcard with white envelope, we have worked with thick-tipped black marker, fine-tip black marker, bronze metallic marker and white marker to make the details; we»ve also decorated the back of the postcard although lighter and as a continuation of the cover. The envelope has been fully covered in doodles made with fine tip marker; we have tried to disguise the folds of the envelope with the drawings.
For the green and blue postcard we followed other system; once we have the envelopewith the folds marked, before mounting it, attach on a silk paper tinted with watercolours. Already assembled, we»ve just decorate with blue metallic marker, black fine tip marker and white marker. In the postcard we followed the same criterion: on a green cardboard, we stuck a piece of paper of silk dyeing, such as the above, and with the same materials we have made decoration. On the back we have also done a detail going on the design.
We hope that these ideas will inspire you to make your custom postcards and bring happiness to those who receive them.
A POSTCARD FOR EVERY OCCASION!!!


