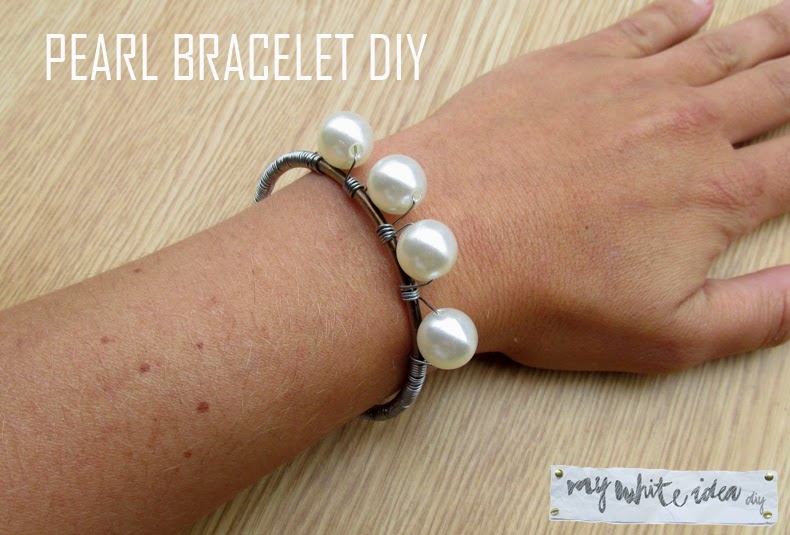
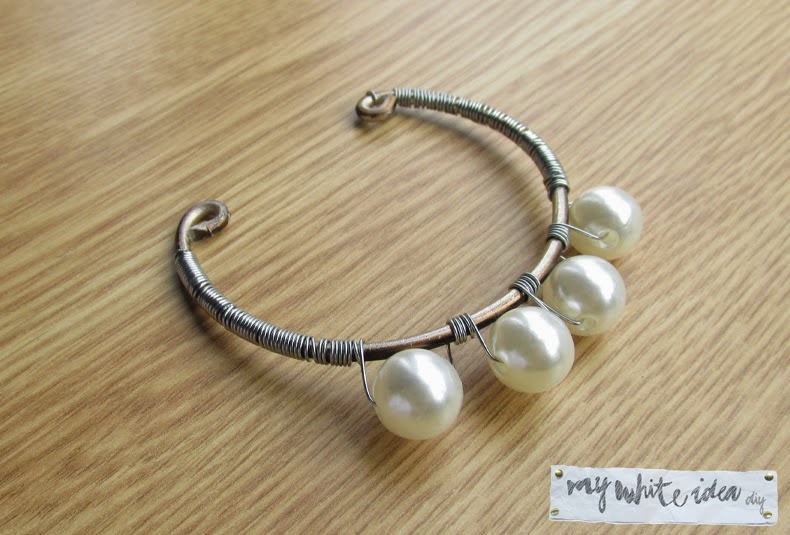
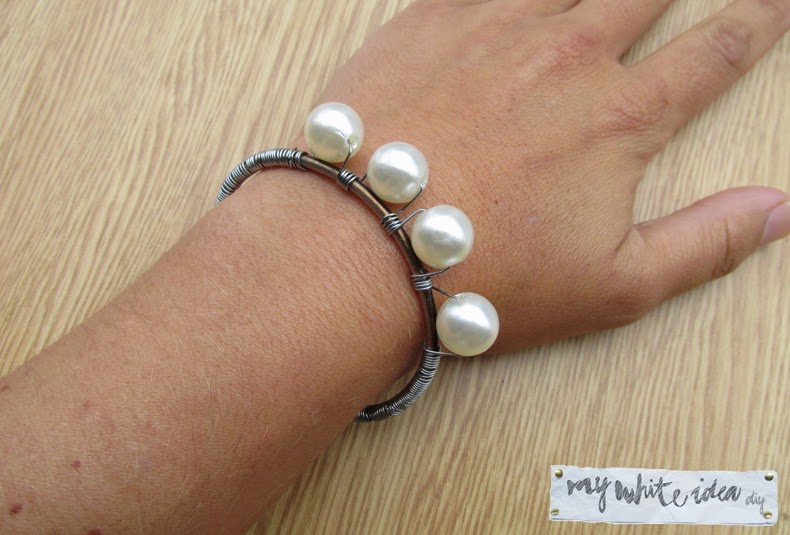
Brazalete de perlas DIY
Por fin es viernes, esta semana se me ha pasado muy lenta, incluso pensé que mi reloj atrasaba! pero no, son los daños colaterales de septiembre.
Ya tardaba en hacer un DIY con perlas, y es que llevaba varios días viéndolas en el cajón de materiales, no tenía muy claro que hacer, pero cuando encontré un viejo brazalete, lo vi claro. Y es que esta temporada al igual que la temporada pasada, se siguen llevando las mucho.
Finally it’s Friday, this week was very slow, even I thought my watch was not working! but I think there are the collateral damage of September
I can’t stay away from the DIY with pearls, I love them! I had seen several days the pearls in my drawer of materials, I was not sure what to do, but when I found an old bracelet, it became clear. And this season like last season, pearls are once again in vogue!
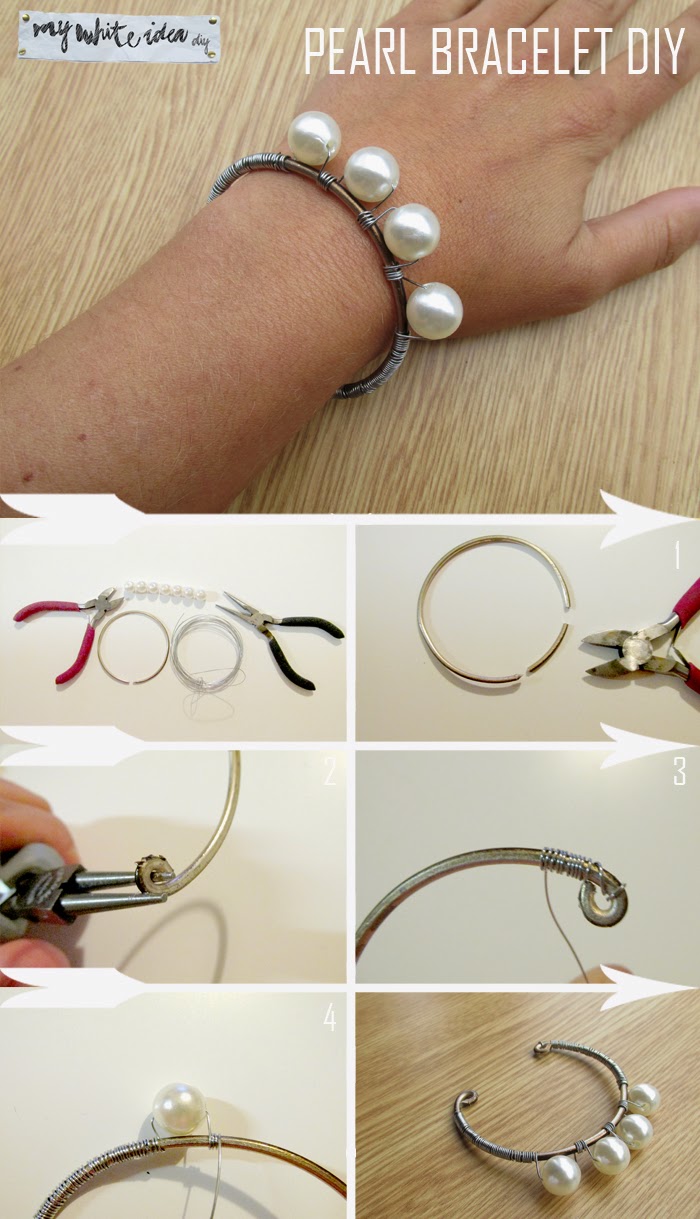
Materiales: Perlas, Pulsera rígida (o alambre grueso), Alambre fino y Alicates
Pasos:
1- Cortar un trozo de la pulsera
2- Doblar los extremos como en la foto
3- Comenzar a enroscar el alambre fino
4- en la parte superior de la pulsera, hacer una «U invertida» con el alambre e introducir una perla. Continuar enroscando y repetir el proceso con las siguientes perlas.
5- Continuar enroscando el alambre hasta el final de la pulsera.
Materials: Pearls, Rigid Brcelet (or thick wire), fine wire and pliers
Steps:
1-Cut a piece of the bracelet
2- Fold the ends as in the photo
-3 Begin to wind the fine wire
4- In the upper part of the bracelet, make an «inverted U» and introduce the pearl . Continue winding and repeat the process with the following pearls.
5- Continue winding the wire to the end of the bracelet.
¿ Os gustan las perlas tanto como a mi?
Do you like DIY with pearls?
Un beso enorme y gracias por los comentarios!
I hope you like it and thanks for the comments!
Do you like DIY with pearls?
Un beso enorme y gracias por los comentarios!
I hope you like it and thanks for the comments!


