Individuales de cordón
Hola! Cómo están?
El DIY de hoy está inspirado en un proyecto de hace algún tiempo: canastos hechos con cordón de algodón.
El paso a paso es casi el mismo, aunque algo más fácil. Así que si no se animaron con los canastos porque los encontraron medios complicados, esta es su oportunidad.
El look de estos individuales es muy simple, natural, y su uso, sumamente versátil.
Materiales:
- Cordón de algodón trenzado de 6 u 8 mm: Les recomiendo comprarlo en la trenzaduría Fraile, que queda en calle Ñuble.
- Máquina de coser
- Bolas de madera
- Tijeras
• • •
Placemats made from cotton rope
Hi! How are you?
Today’s DIY is inspired by a project from a while back: baskets made from rope.
The step-by-step is almost the same, but a little bit easier. So if you didn’t feel like making the baskets because you found them very complicated, this is your opportunity.
The look of these placemats is very simple, natural and they’re really versatile in terms of their uses.
Materials:
- Platted cotton rope 6 or 8mm diameter: I recommend getting is in the shop Fraile which is on Nuble
- A sewing machine
- Wooden beads
- Scissors

Prepara la máquina de coser con la puntada en zigzag más grande y larga. Corta unos 4 metros de cordón, aunque el largo dependerá del diámetro que quieres que tenga tu individual.
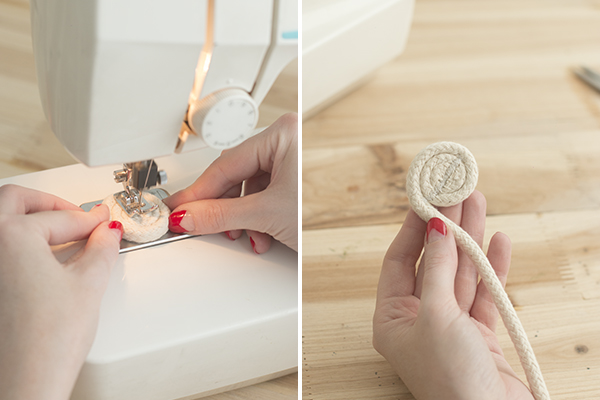
Dobla uno de los extremos hacia adentro formando un caracol o espiral.
Pasa a la máquina y cose el centro varias veces –hacia delante y atrás- para que no se desarme.
• • •
Set up the sewing machine for the widest and longest zig-zag stitch. Cut about 4 meters of rope, but the length will depend on the size you want for your placemat.
Fold in one end of the string making a spiral or snail shell shape.
Go over this with the sewing machine and stitch the centre several times – going backwards and forwards – so this doesn’t unravel.
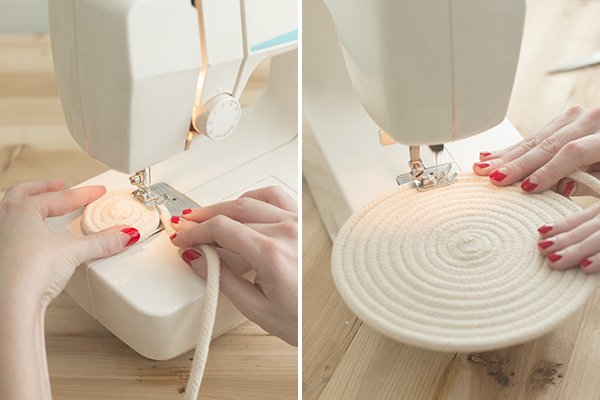
Sigue enrollando y, justo donde se une la base con el resto de cordón, pasa la máquina manteniendo la puntada en zigzag, así unirás ambos lados.
Continúa hasta obtener el diámetro que quieras.
• • •
Keep rolling and every time you complete a full spiral, stitch across with the sewing machine keeping the zig zag stitch, that way it won’t unravel.
Keep going until you reach the desired diameter.
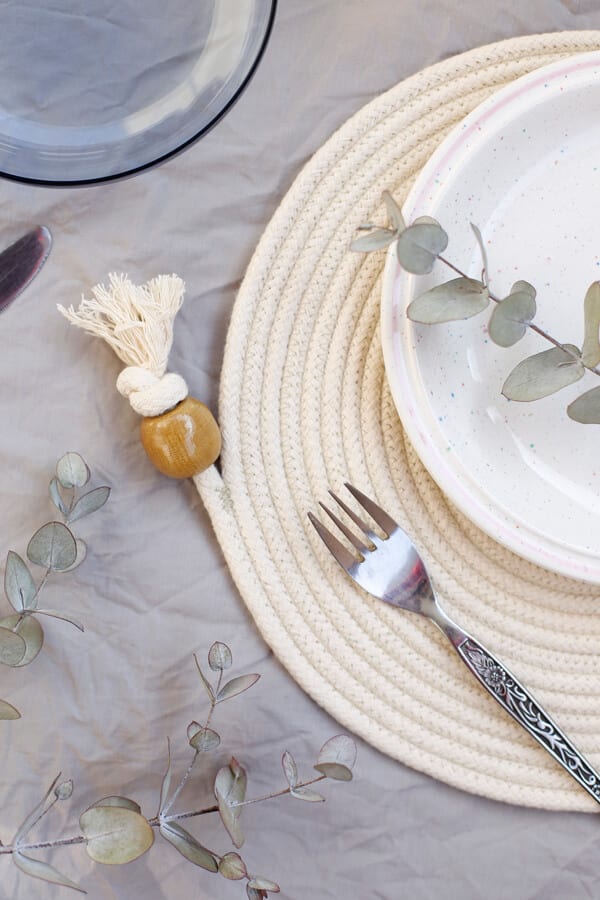
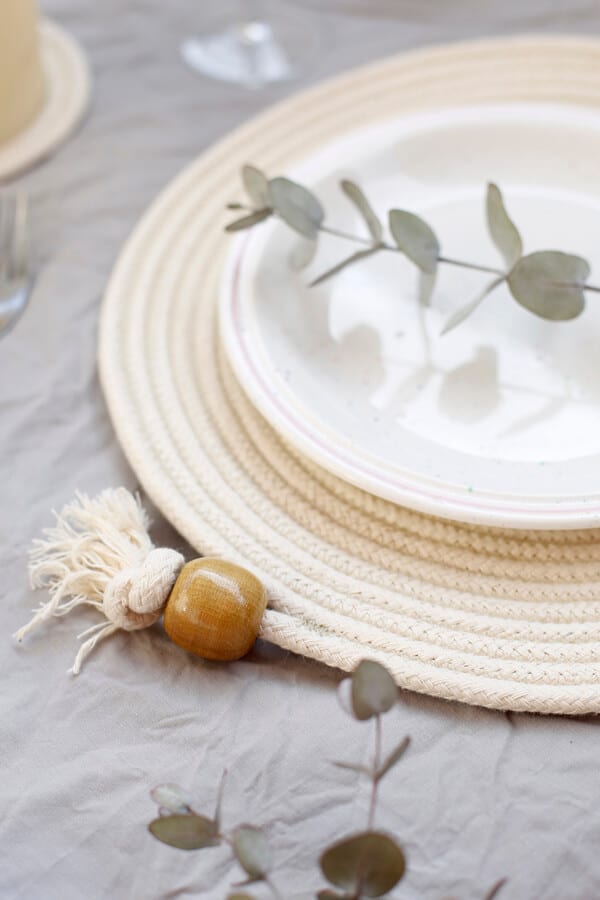
Una vez listo, finaliza la costura con puntadas hacia adelante y hacia atrás. Pasa la borla de madera y anuda. Si es necesario corta el excedente de cordón.
Eso es todo. Ya tienes tus individuales listos.
• • •
Once this is ready, finish off the stitching with stitches back and forward. Thread the wooden bead onto the free end of the rope and tie it off. Cut off any excess string.
That’s it. You have your serving mats.
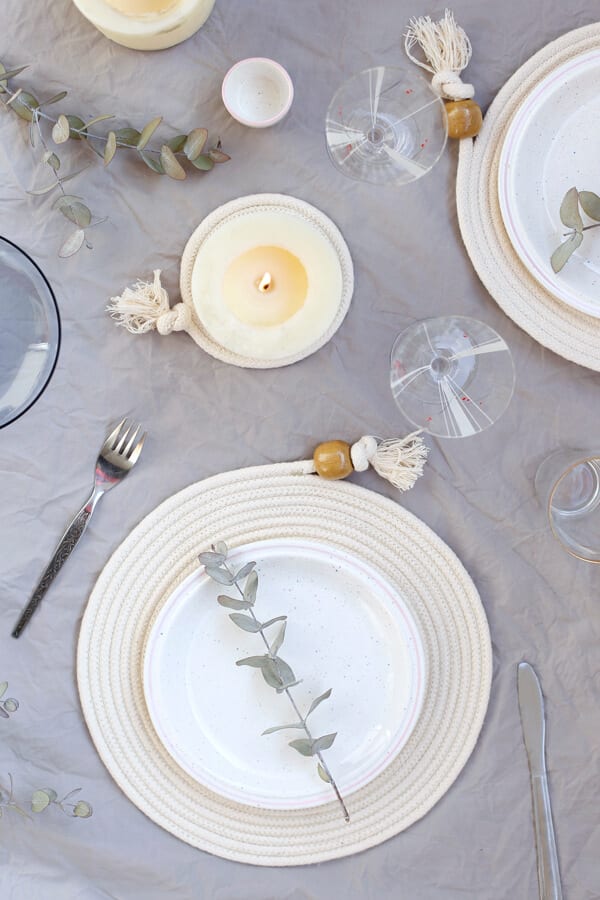
Si quieres agregarle color puedes hacerlo con pintura para tela o teñir previamente el cordón con anilinas.
Espero que les haya gustado.
Un abrazo! Cony
• • •
If you want to add a bit of colour you can use fabric paints or dye your rope beforehand with fabric dye.
I hope you liked it.
A hug! Cony


