Fotos bordadas
El otro día tuve que ir a buscar una maleta a la bodega (para acarrear cosas, no irme de viaje ¬¬), y cuando estaba ahí aproveché de revisar algunas cajas con fotos antiguas. Entre ellas, encontré unas en las que aparecían mis papás en su etapa de pololeo, a comienzos de los años 80. La verdad es que siempre que me topo con fotos de esa época quedo fascinada, ¡me encanta todo de ellas!
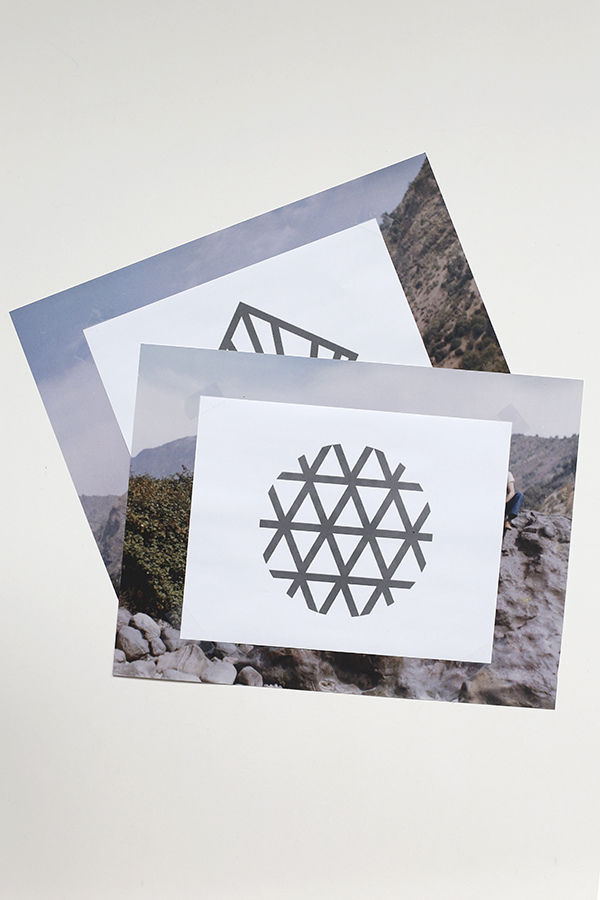
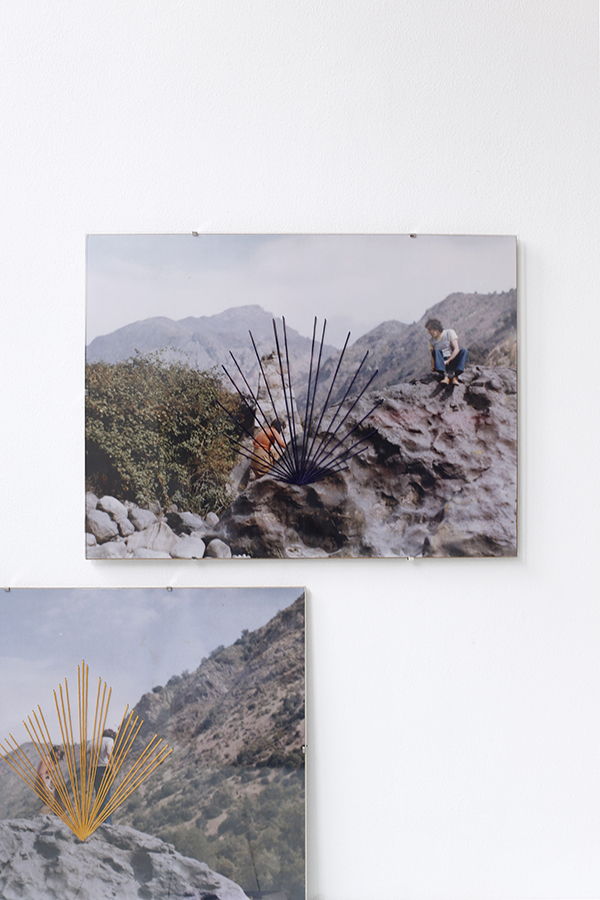
Por eso, quise darles un lugar especial en mi casa con un proyecto de bordado, donde la foto convive con esta técnica de un modo más artístico que decorativo, diría yo. En este caso, incorporé formas geométricas que quedan perfectamente bien con el estilo vintage de las imágenes.
Materiales
- Fotos antiguas
- Forma geométrica impresa
- Scotch
- Alfiler o “chinche”
- Hilo de bordar
- Aguja
- Tijeras
• • •
Embroidered photos
- Old photos
- A printed geometric shape
- Sticky tape
- A sharp pin
- Embroidery thread
- Needle
- Scissors

Lo primero que deberás hacer es imprimir la fotografía del tamaño que quieras. En mi caso le saqué una foto a la imagen con mi cámara, la edité en Photoshop y luego la imprimí en algún local especializado. Les recomiendo que lo hagan en papel couché para que quede más gruesa.
Si prefieres, puedes llevarla directamente a un centro de impresión y pedir que la amplíen.
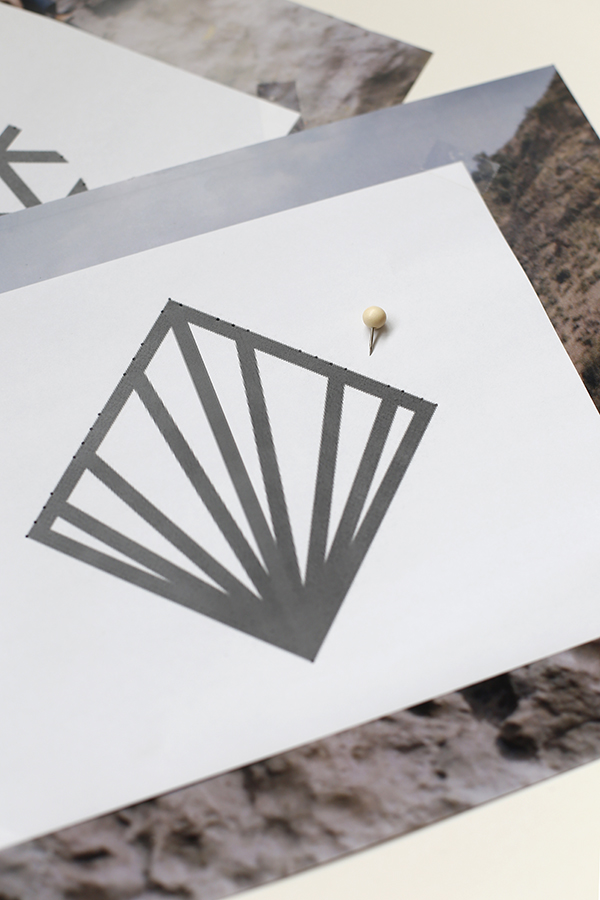
Usa el scotch para fijar la hoja con el diseño geométrico en la foto.
• • •
The first thing you need to do is print the photo to the size you want. In my case I took a photo of the picture with my camera, I edited it using Photoshop and then I printed it in a specialized store. I recommend you use couche paper, this way the photo will be thicker.
If you prefer you can take it directly to the printing store and ask them to blow it up.
Use the sticky tape to fix the sheet with the geometric shape to the photo.
Haz agujeros con el chinche o alfiler en cada esquina de la figura, traspasando ambos papeles.
• • •
Make holes with the sharp pin in every corner of the sheet, perforating both papers.
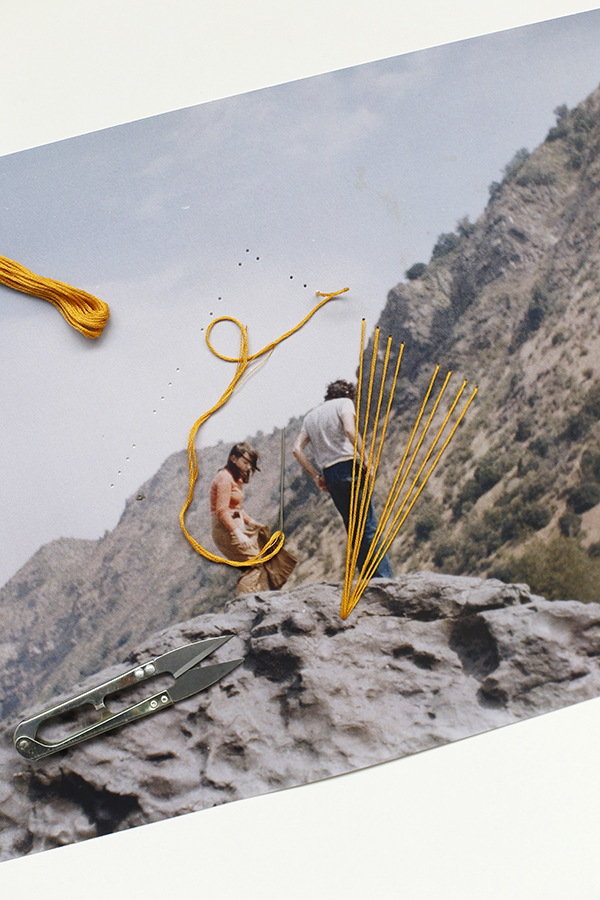
Una vez listo, retira la hoja y comienza a bordar. Hazlo tensando bien el hilo para que las líneas queden rectas.
• • •
Once this is ready, take the sheet out and start to embroider. Do it by stretching the thread enough so the lines are straight.
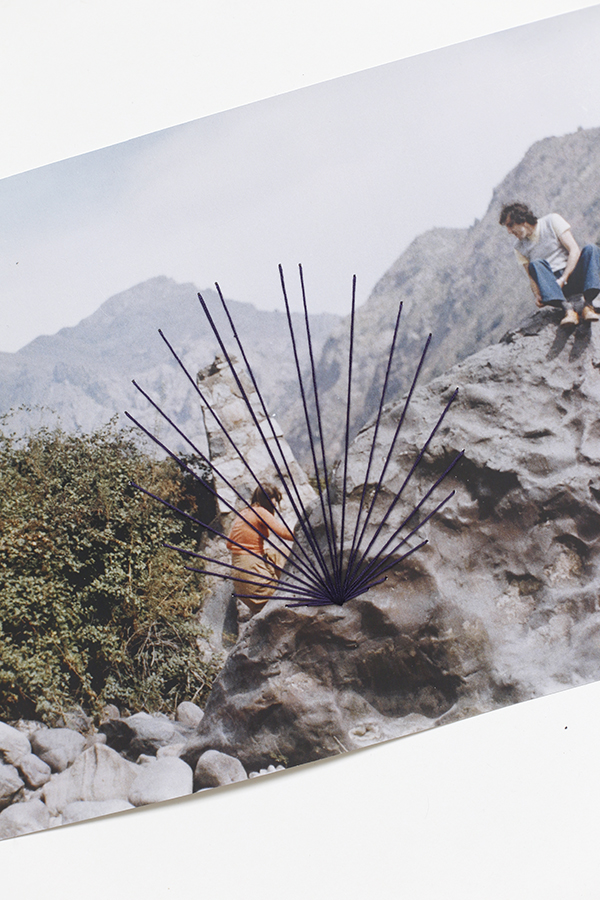
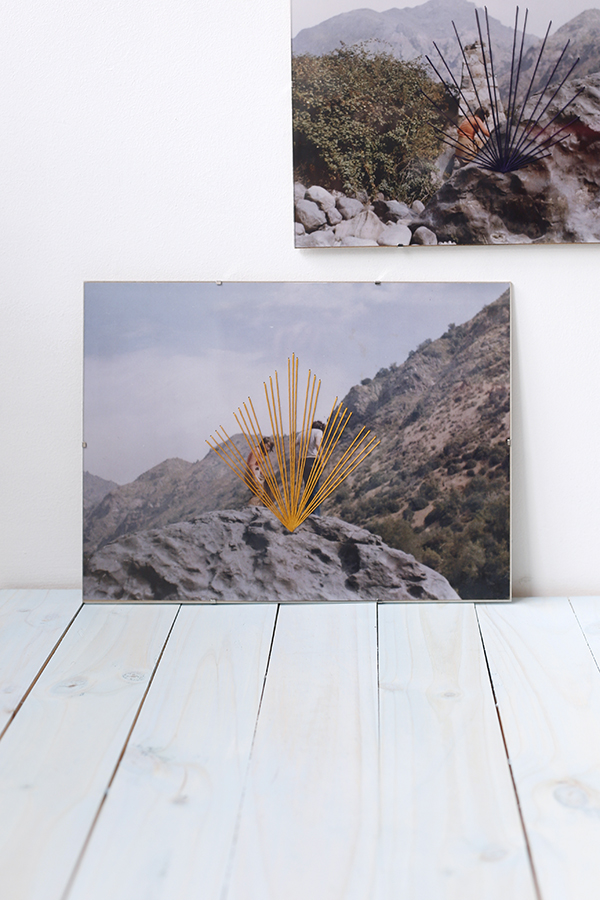
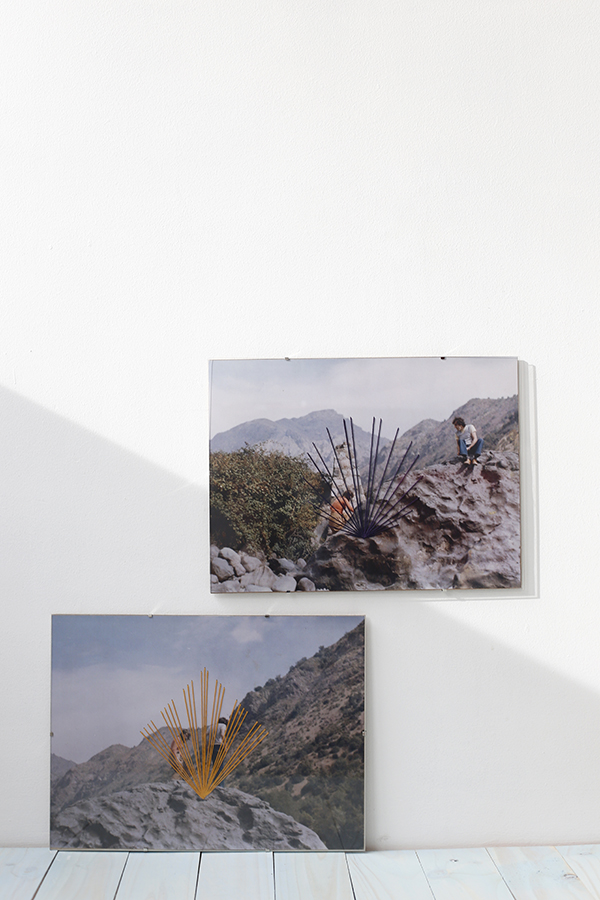
Cuando hayas terminado, enmarca tus fotos y disfruta de tu nueva pieza de arte.
• • •
When you finish, frame your photo and enjoy your new piece of art.
¿Qué dicen?
Yo estoy fascinada con mis maravillosos cuadros.
Espero que les haya gustado!
Cony
• • •
What do you say?
I’m fascinated with my marvellous frames.
I hope you’ve liked it!
Cony


