DIY SWAROVSKI PULSERA COLLAR
¡Hola a todos!
¿ya tenéis preparado vuestro disfraz para Halloween? yo recurriré a mi armario de disfraces y seguiré
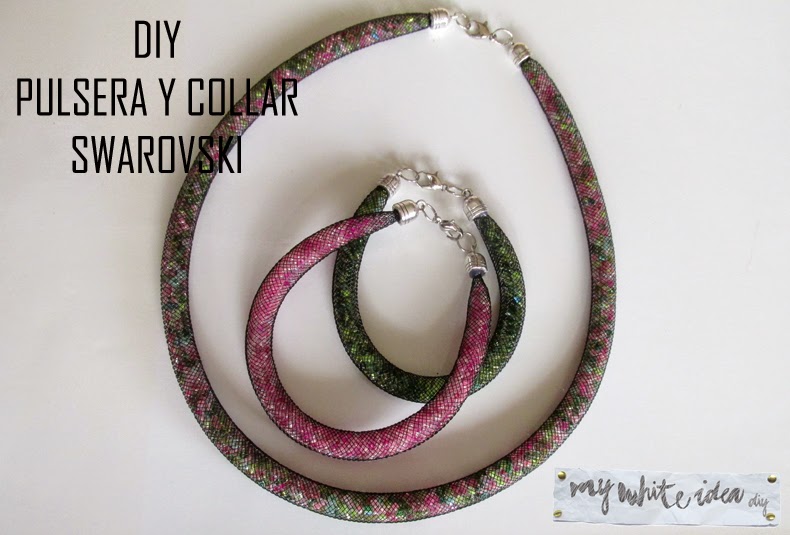
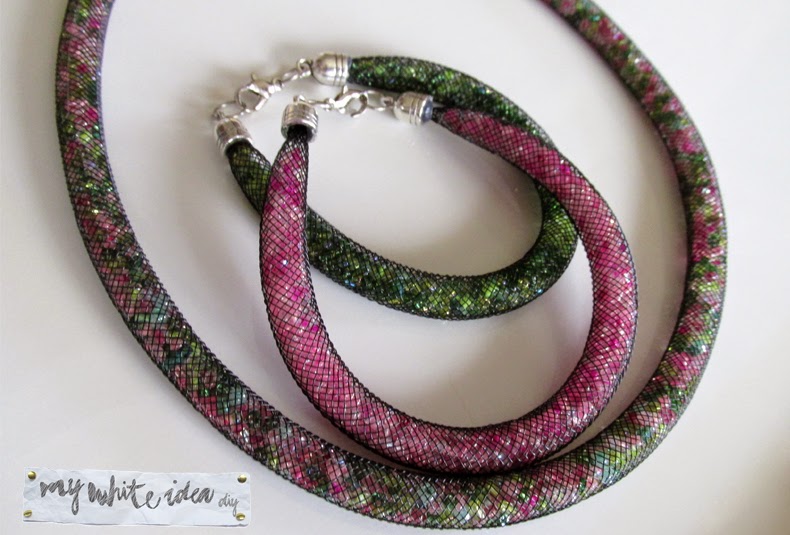
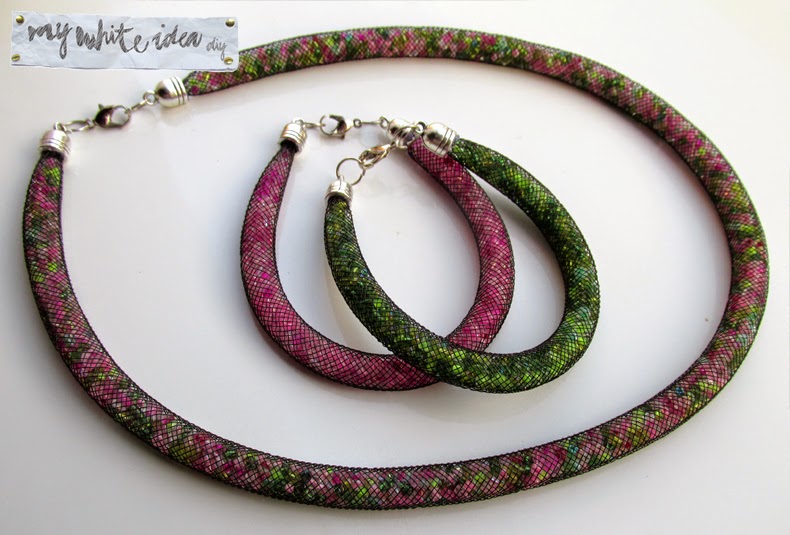
Pero centrémonos en es DIY de hoy, seguro que las más fashionistas ya saben de donde he sacado la inspiración para estas pulseras, pero las que no lo sepan, se trata de un DIY de las nuevas pulseras de Swarovski, eso si, por menos de la décima parte que cuestan las originales.
Este es un DIY de los que se que os gustan, ya que los materiales cuestan muy poco y se hace muy rápido, no me he cronometrado, pero casi puedo afirmar que tardo en hacer la pulsera menos de 1 minuto!! ¿no me crees? ya verás como si 🙂
Hi everyone!
have you got costume for halloween? I´m going to use
THE HAT THEORY
Let´s talk about this DIY, I´m sure that if you love fashion, you know were I took the inspiration for this necklace and bracelets, but if you don´t know, this DIY is inspired in the Swarovski bracelets (but much more cheaper)
I know that you will love this DIY, because it is very easy, the materials are very cheap and you don´t need more than 2 minutes! I think I can make it in less than 1 minute, don´t you believe me? click in MORE 🙂
El tubo de crin lo podéis comprar en cualquier mercería, se suele usar para hacer tocados.
We need:
Tubular crin ribbon, beads, ends, glue gun, scissors, lighter and clousure
Steps:
Measure your wrist, burn one end of the tubular crin ribbon, introduce the beads, burn the other end, paste the ends with the glue gun and place the clousure
We need:
Tubular crin ribbon, beads, ends, glue gun, scissors, lighter and clousure
Steps:
Measure your wrist, burn one end of the tubular crin ribbon, introduce the beads, burn the other end, paste the ends with the glue gun and place the clousure
Espero que os guste y gracias por los comentarios!
I hope you like it and thanks for the comments!
I hope you like it and thanks for the comments!


