DIY collar étnico – ethnic necklace
Hoy tenemos DIY!!! Bieeeen!
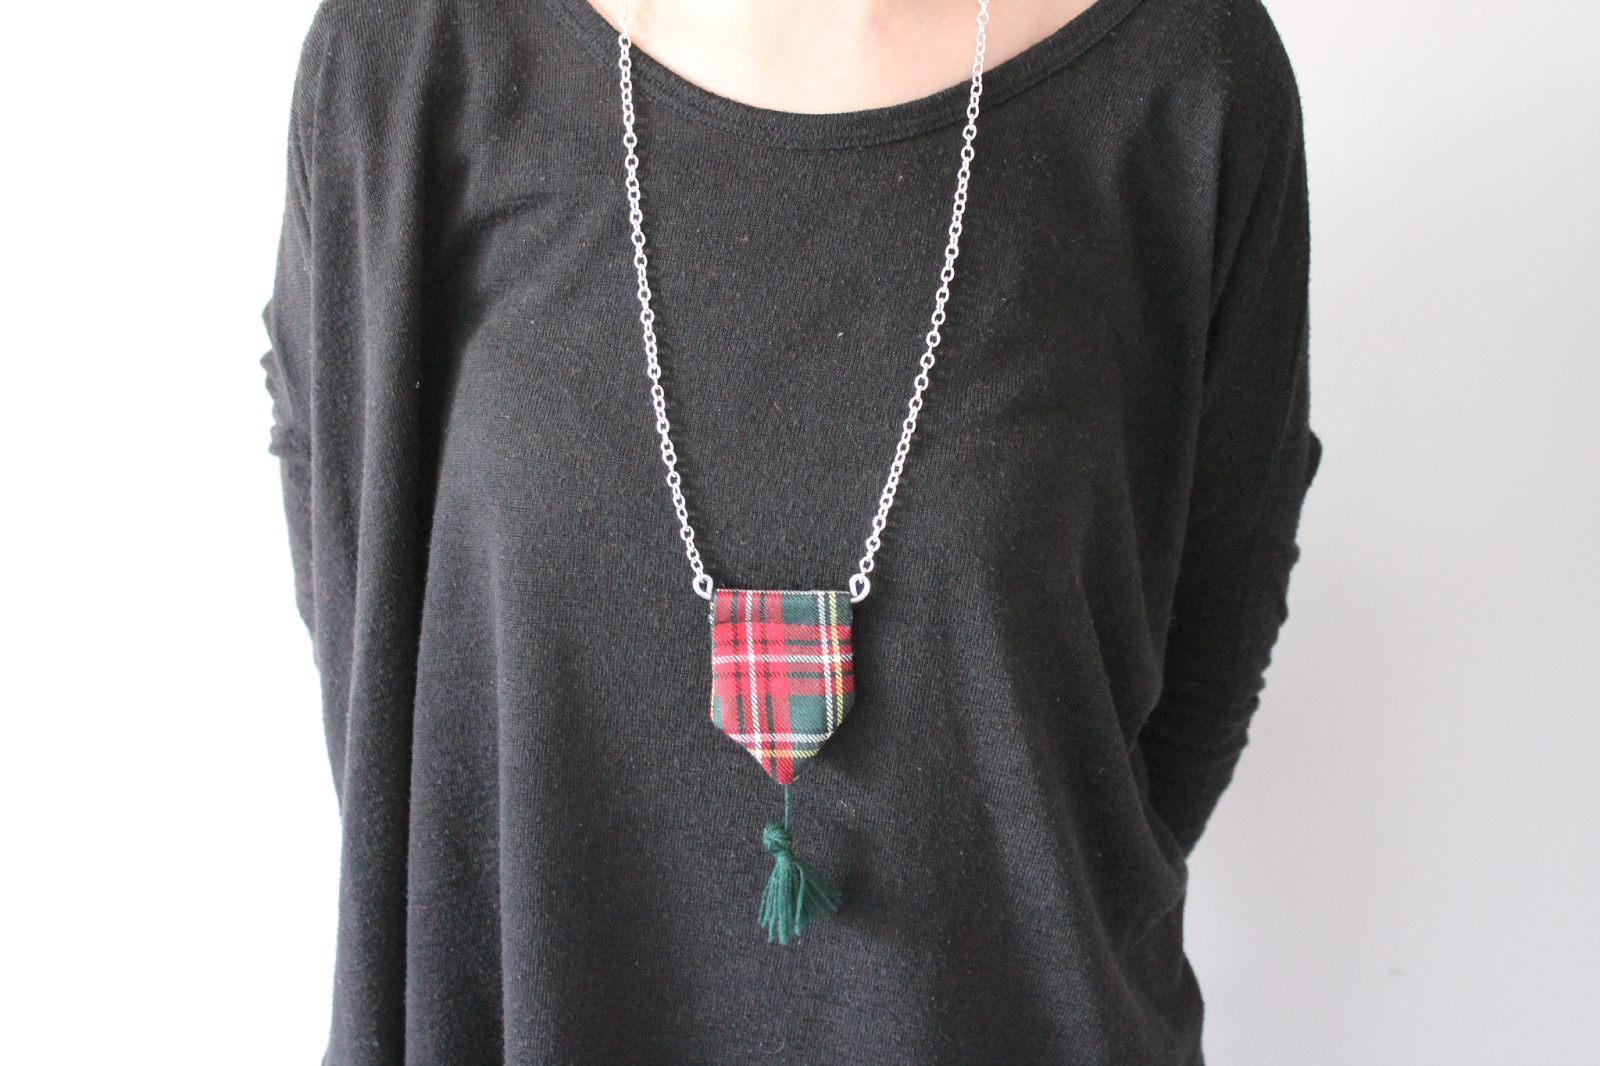
Un collar que seguro os va a encantar. Fácil de hacer y tendencia: banderín étnico con estampado de cuadros escoceses.
Pero antes os quería contar algo. Habréis visto que últimamente publico menos, y he comprobado que aún así mi media de visitas no está bajando, más bien al contrario. Los que tengáis un blog os habréis dado cuenta de que el contenido es una parte importantísima: tiene que ser de calidad, satisfaccer a nuestros lectores y original. Pero casi más importante diría yo es la promoción. Si no promocionamos el blog, es imposible que nos lean. Yo he aprendido a hacerlo gracias al curso de Blanca de Personalización de blogs. Los que conozcáis su blog sabréis que ella cuenta las cosas sin tapujos, sin andarse por las ramas. Y eso mismo hace en sus curso, va al grano. A ella le está yendo muy muy bien con su blog, así que todos sus consejos son bienvenidos para mi. Por eso confío en ella, en sus cursos, en sus consejos, en sus tutoriales, y sin dudarlo lo aplico a mi blog. ¡Y está dando resultado! Gracias a su curso sobre Cómo promocionar tu blog, mis estadisticas no se ven afectadas porque no publique tan a menudo, y estoy consiguiendo más seguidores cada vez. Así que estoy contentísima con el dinero invertido y todo lo que he aprendido en sus cursos.
Me dejo de rollos y vamos a la parte guay, al tutorial.
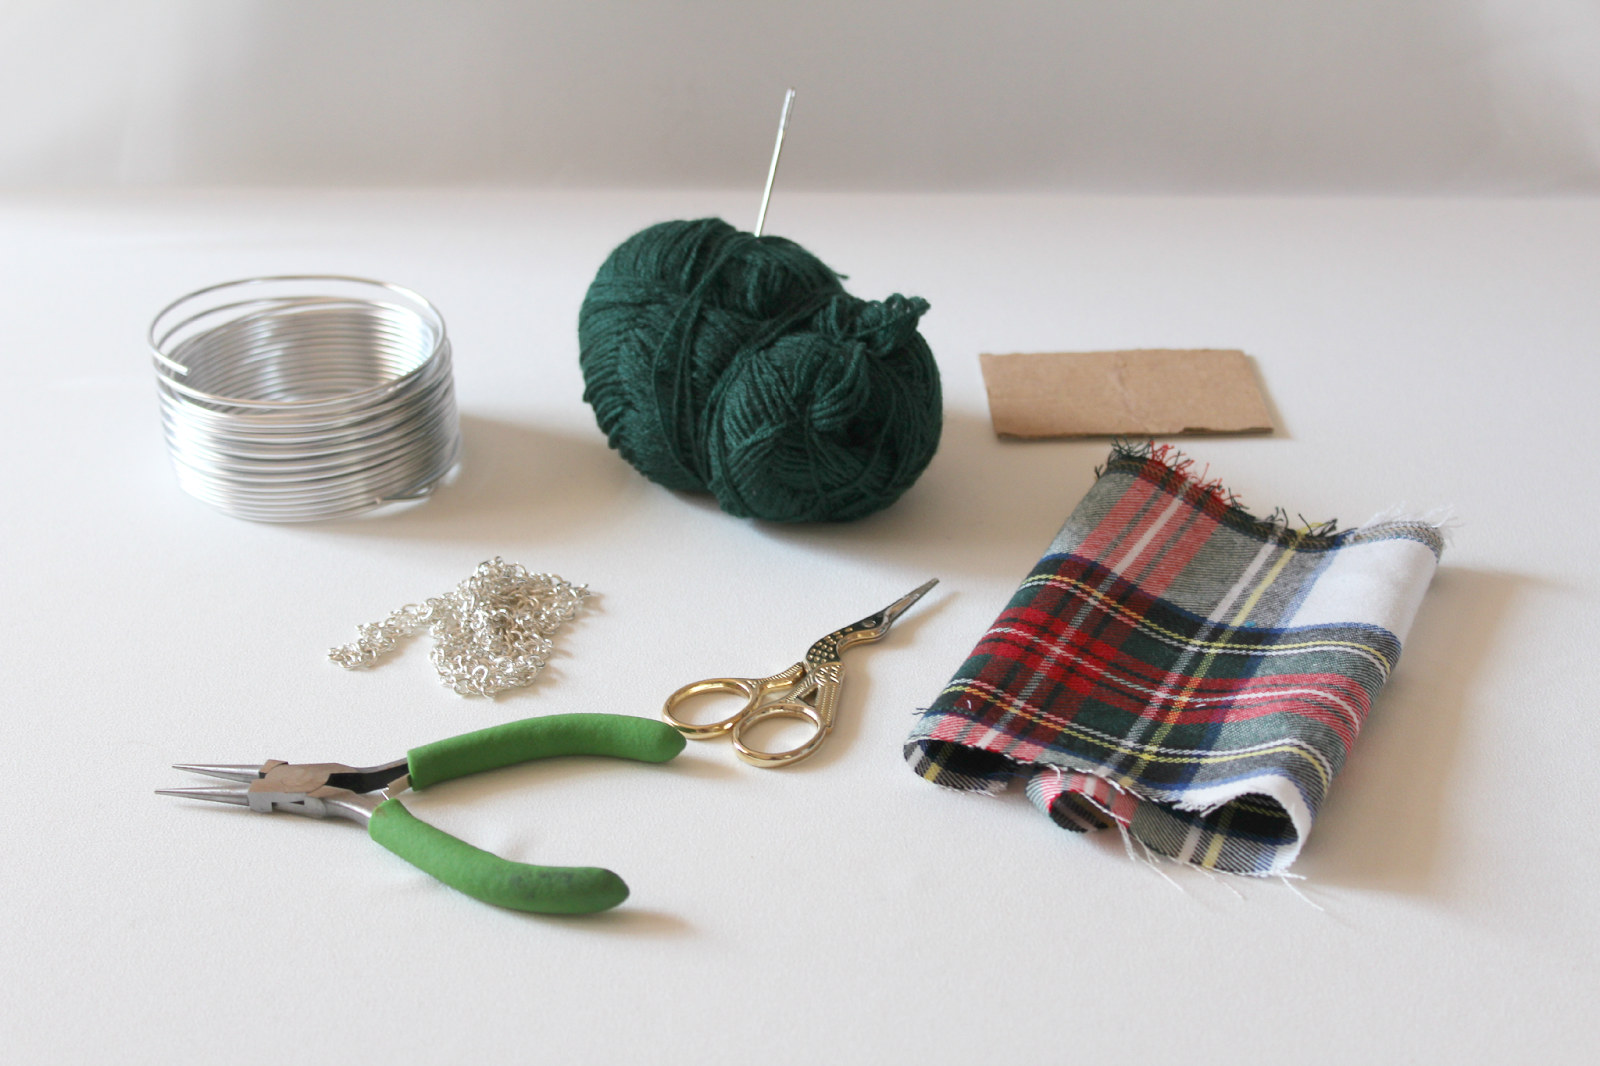
MATERIALES
– Lana.
– Cadena.
– Hilo de aluminio.
– Cartón y papel.
– Alicates de putna redonda.
– Tijeras, aguja, hilo, y máquina de coser (si tenemos).
PASO A PASO
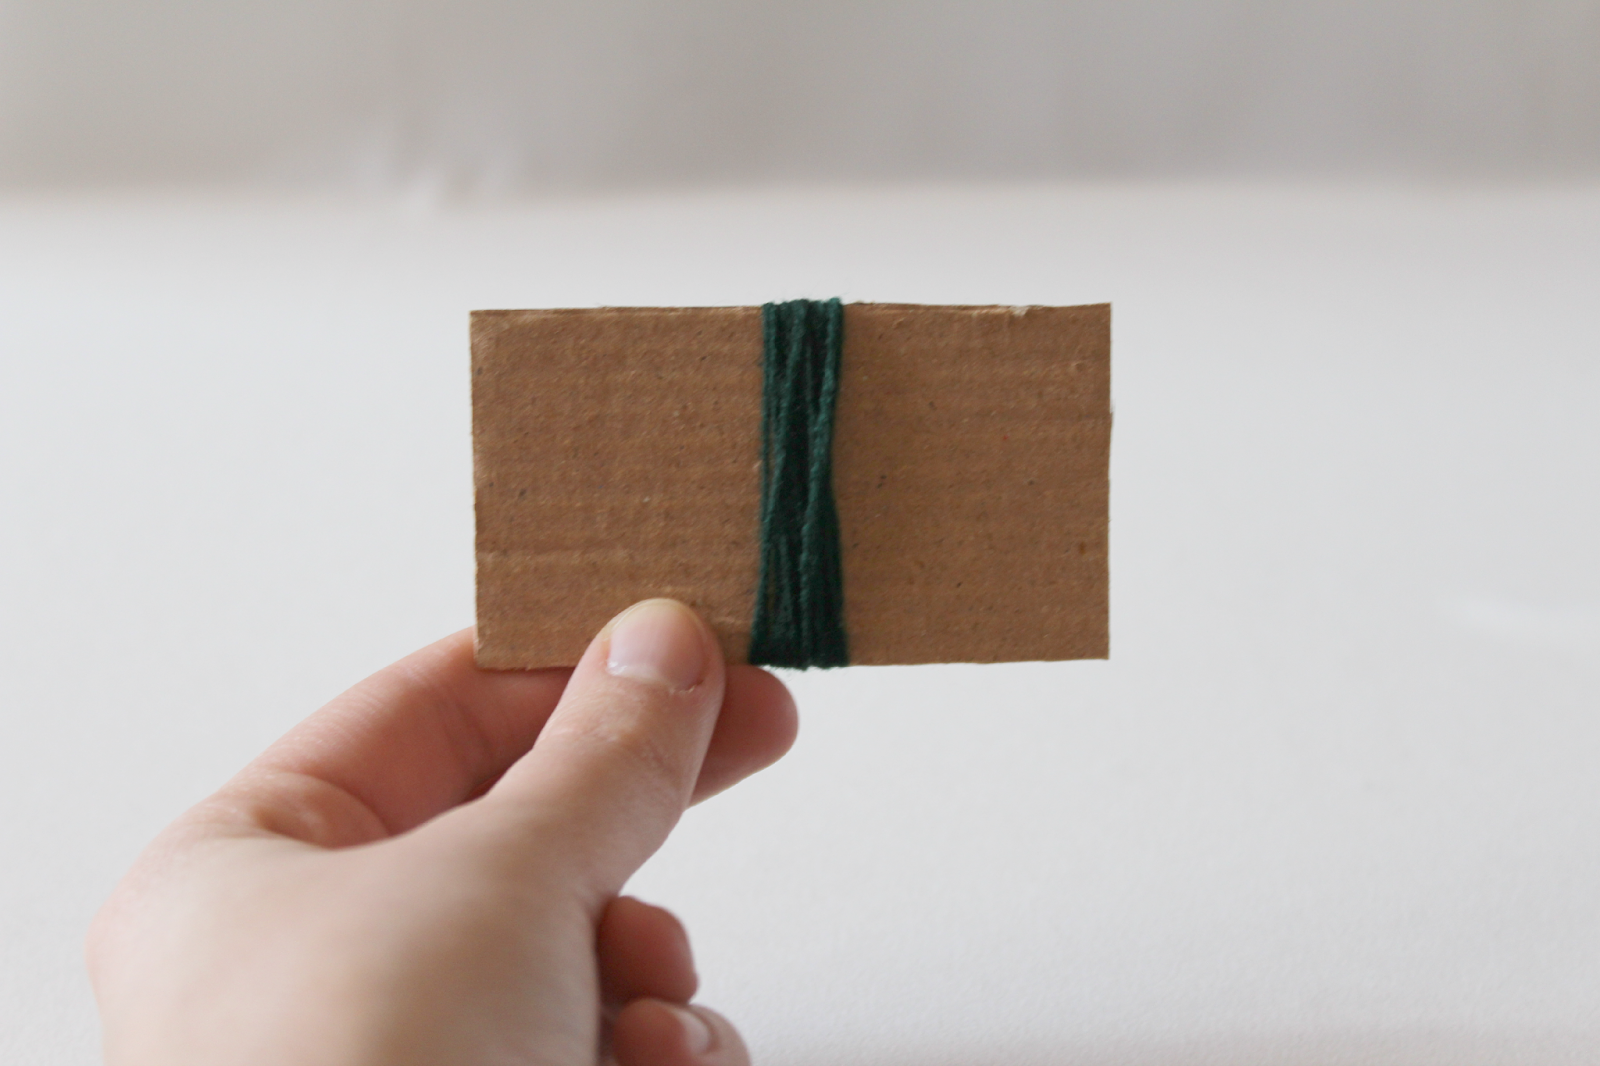
Primero vamos a hacer la borla. Para ello enrollamos lana en el cartón. Yo he dado unas 20 vueltas. Pasamos la lana por detrás de las vueltas que hemos dado y hacemos un nudito. Cortamos por la parte de abajo la lana.
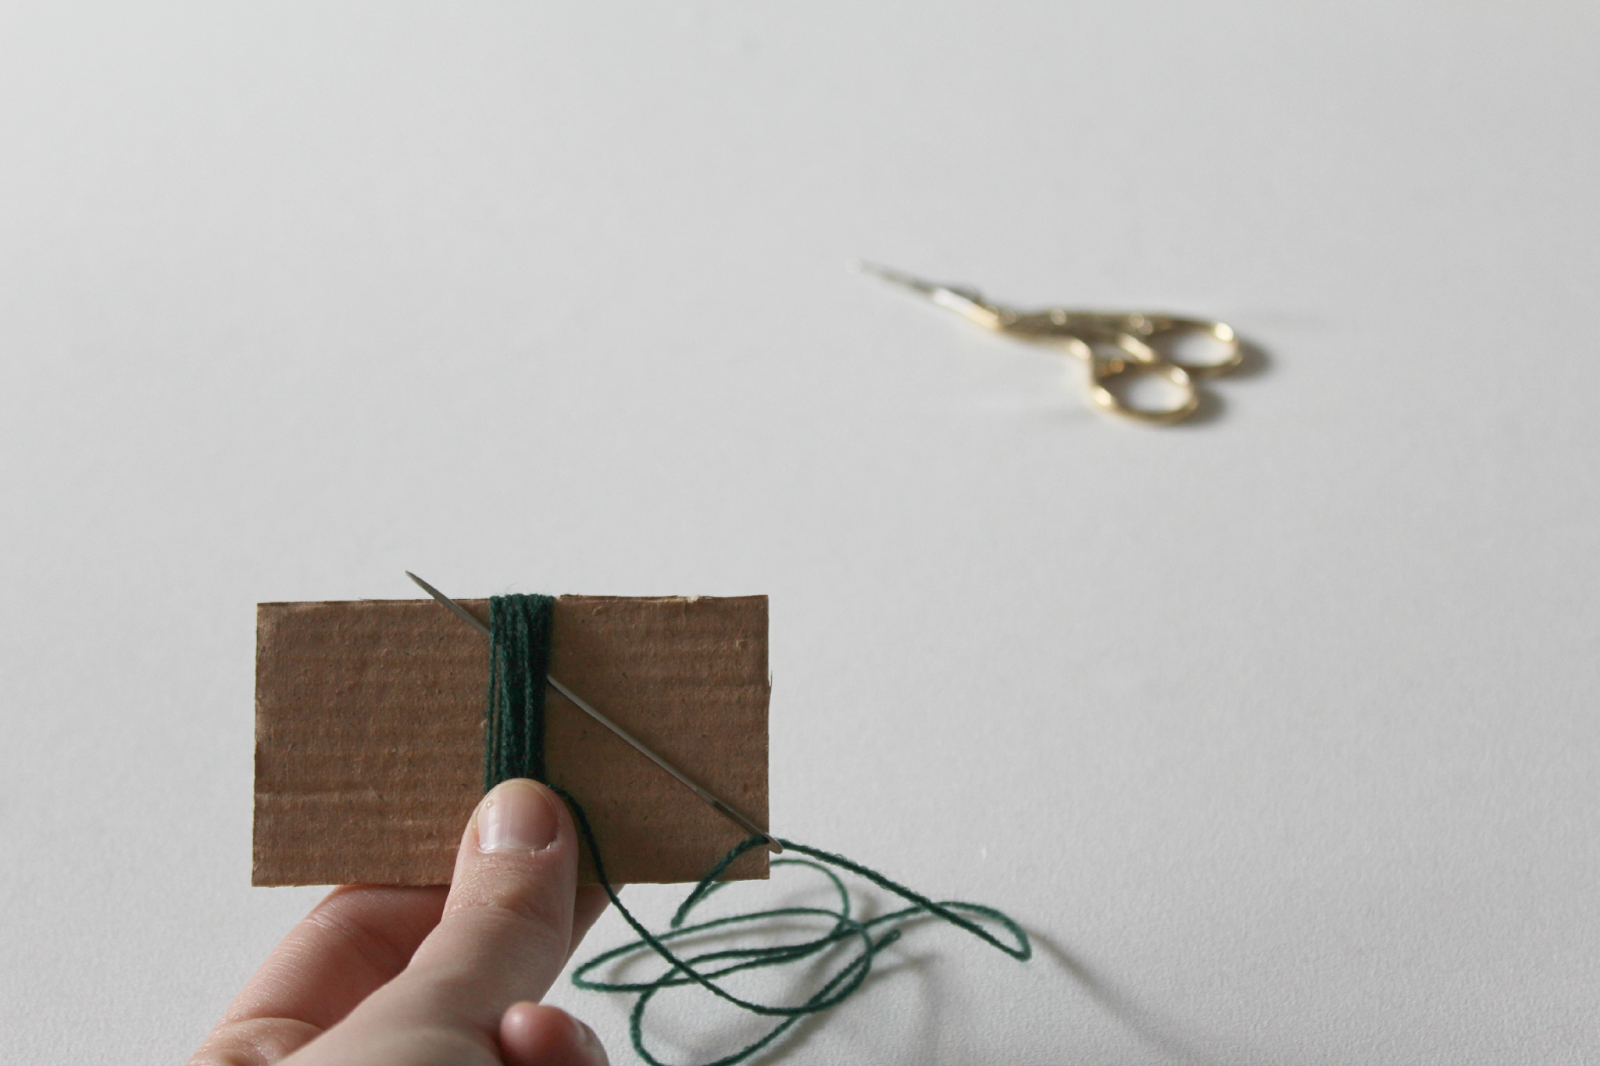
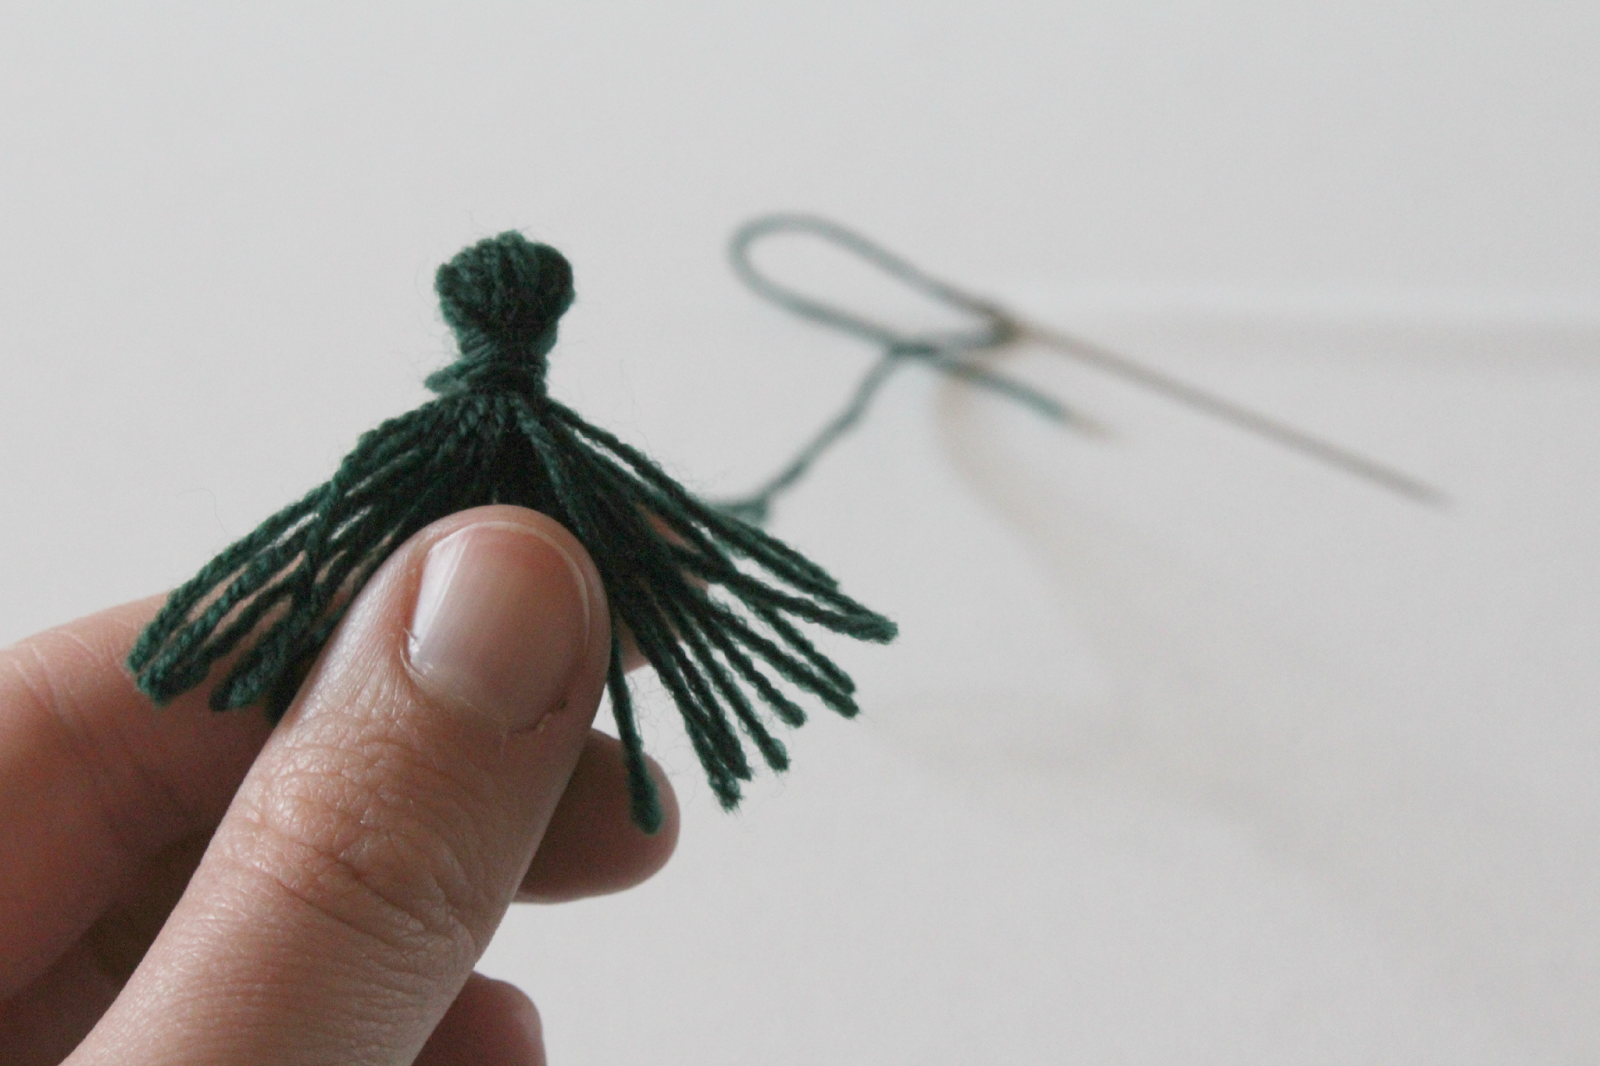
Damos un par de vueltas alrededor de las tiras de lana formando una bolita. La anudamos y sacamos la hebra de lana por arriba.
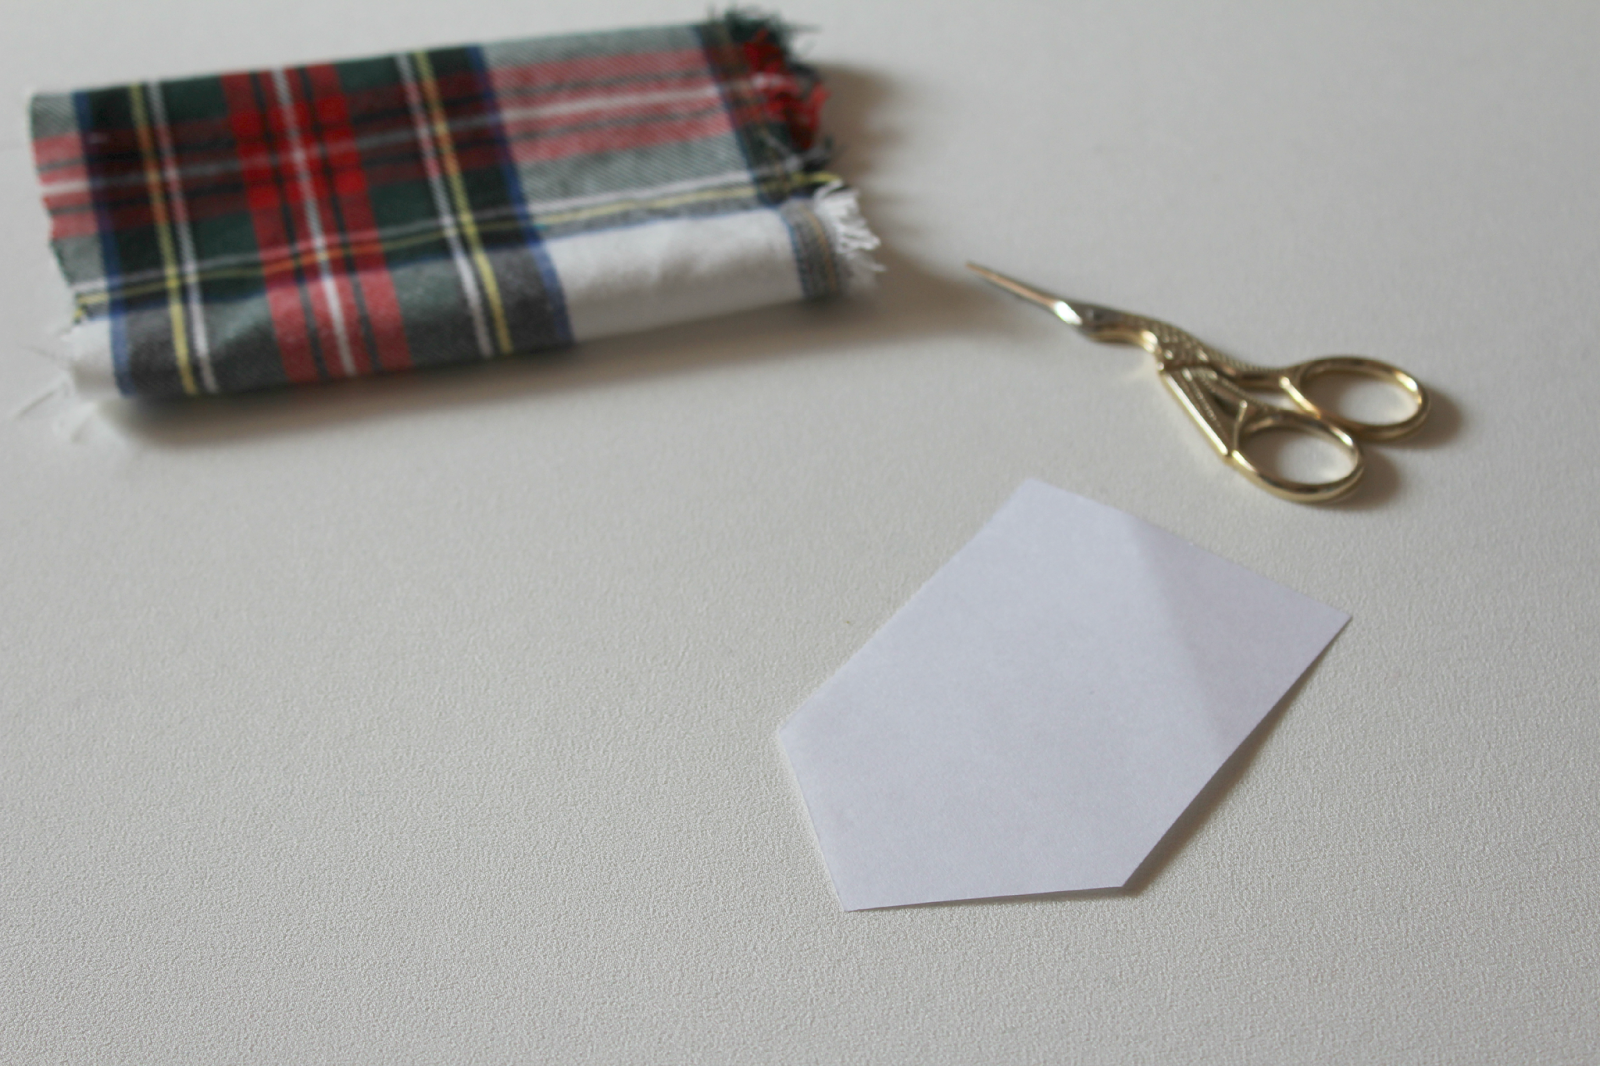
Ahora hacemos el banderín. Primero lo dibujamos en un trocito de papel. El que yo he hecho es de 6cm x 10cm. Lo copiamos dos veces en la tela y recortamos.
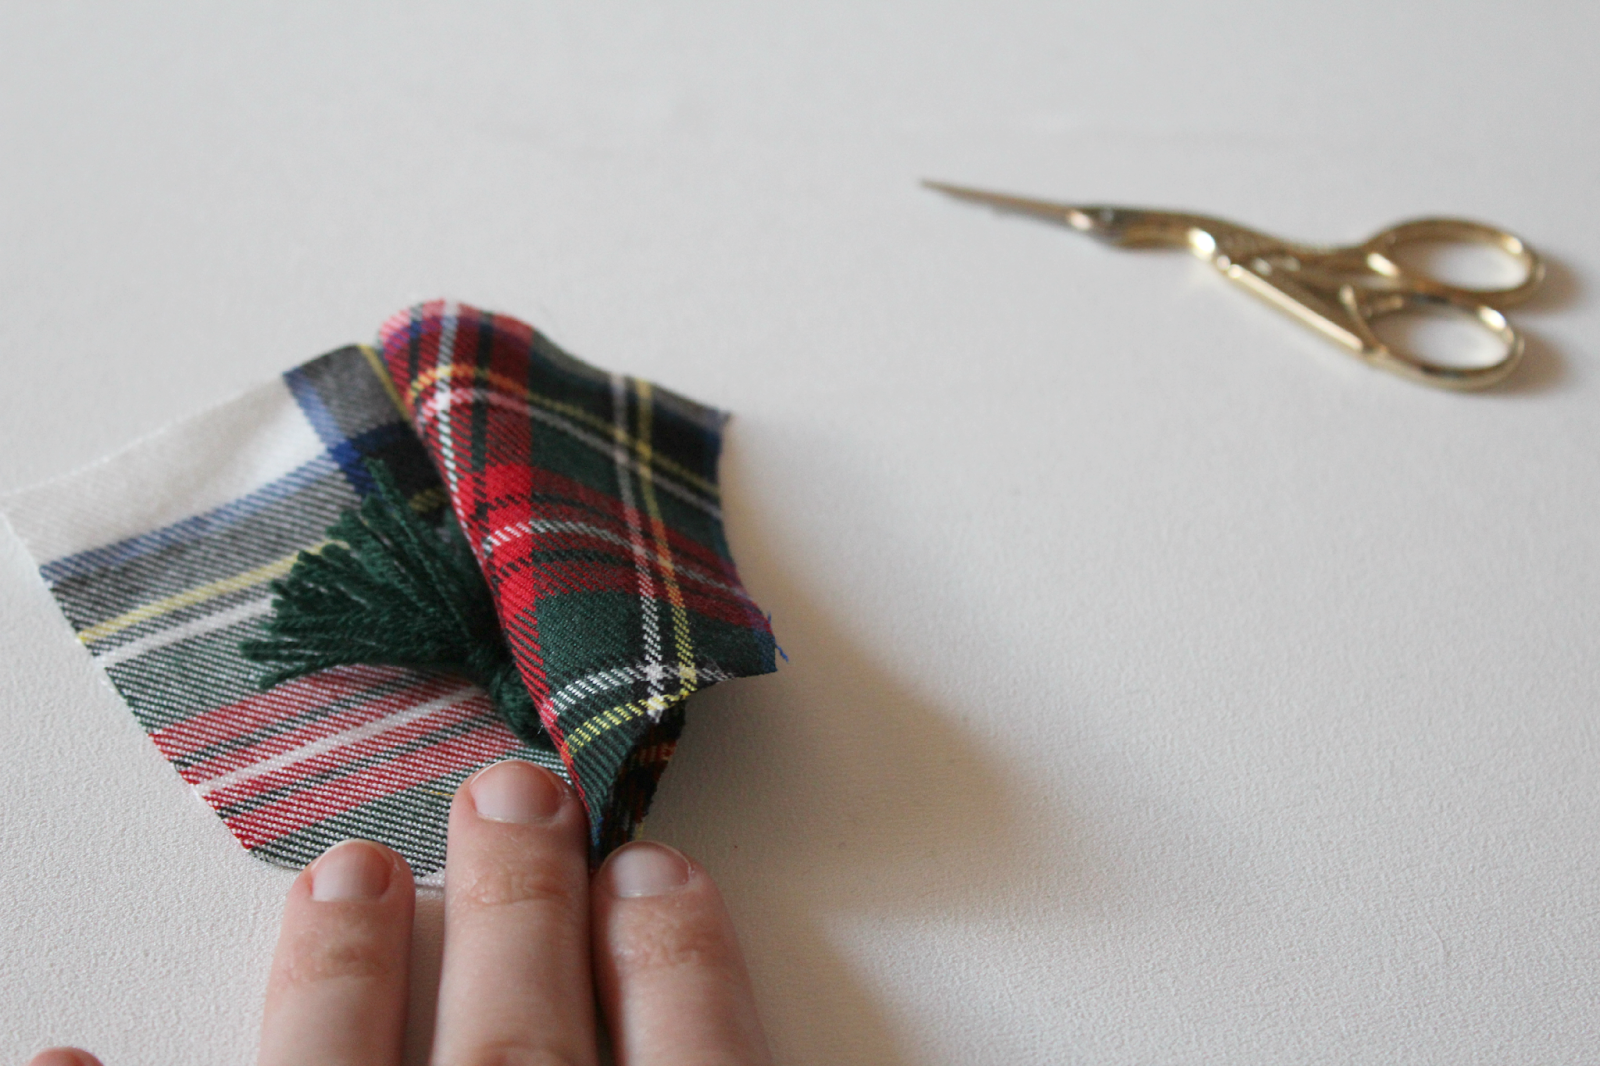
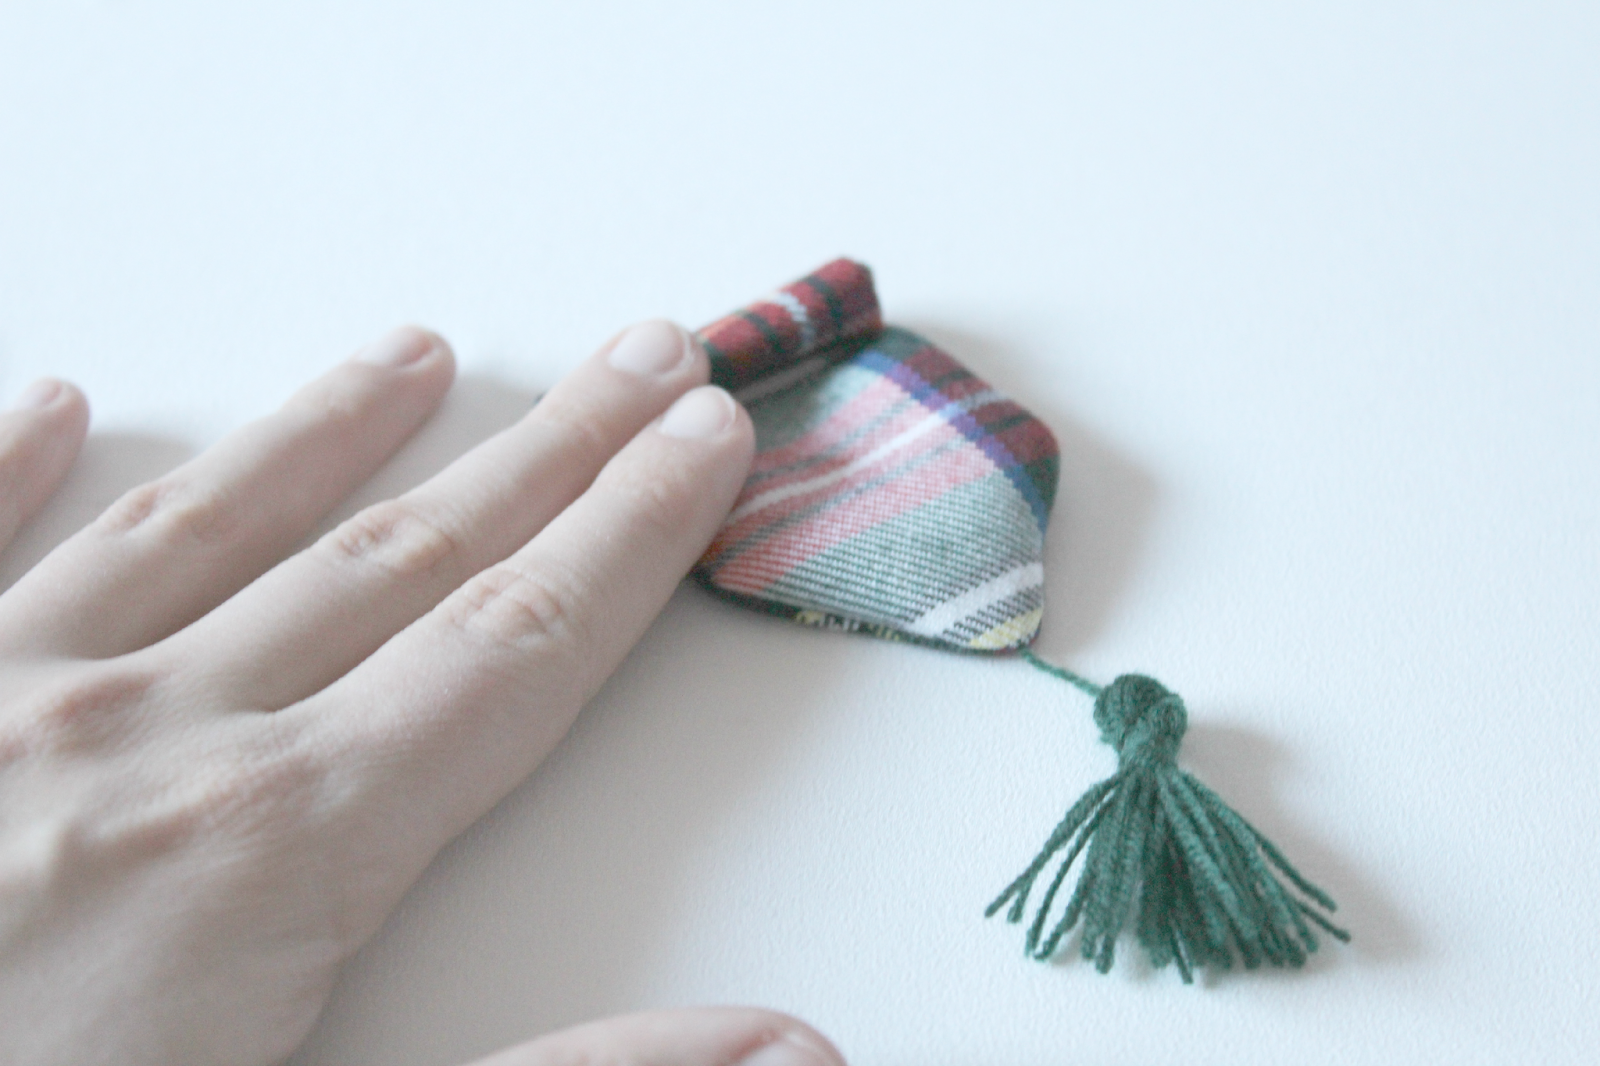
Cosemos las dos telas, con los lados del derecho hacia dentro, y colocamos la borla dentro del banderín con la ebra que habíamos sacado por el pico del banderín., como se ve en la foto. Cosemos todos los lados excepto el de arriba del todo.
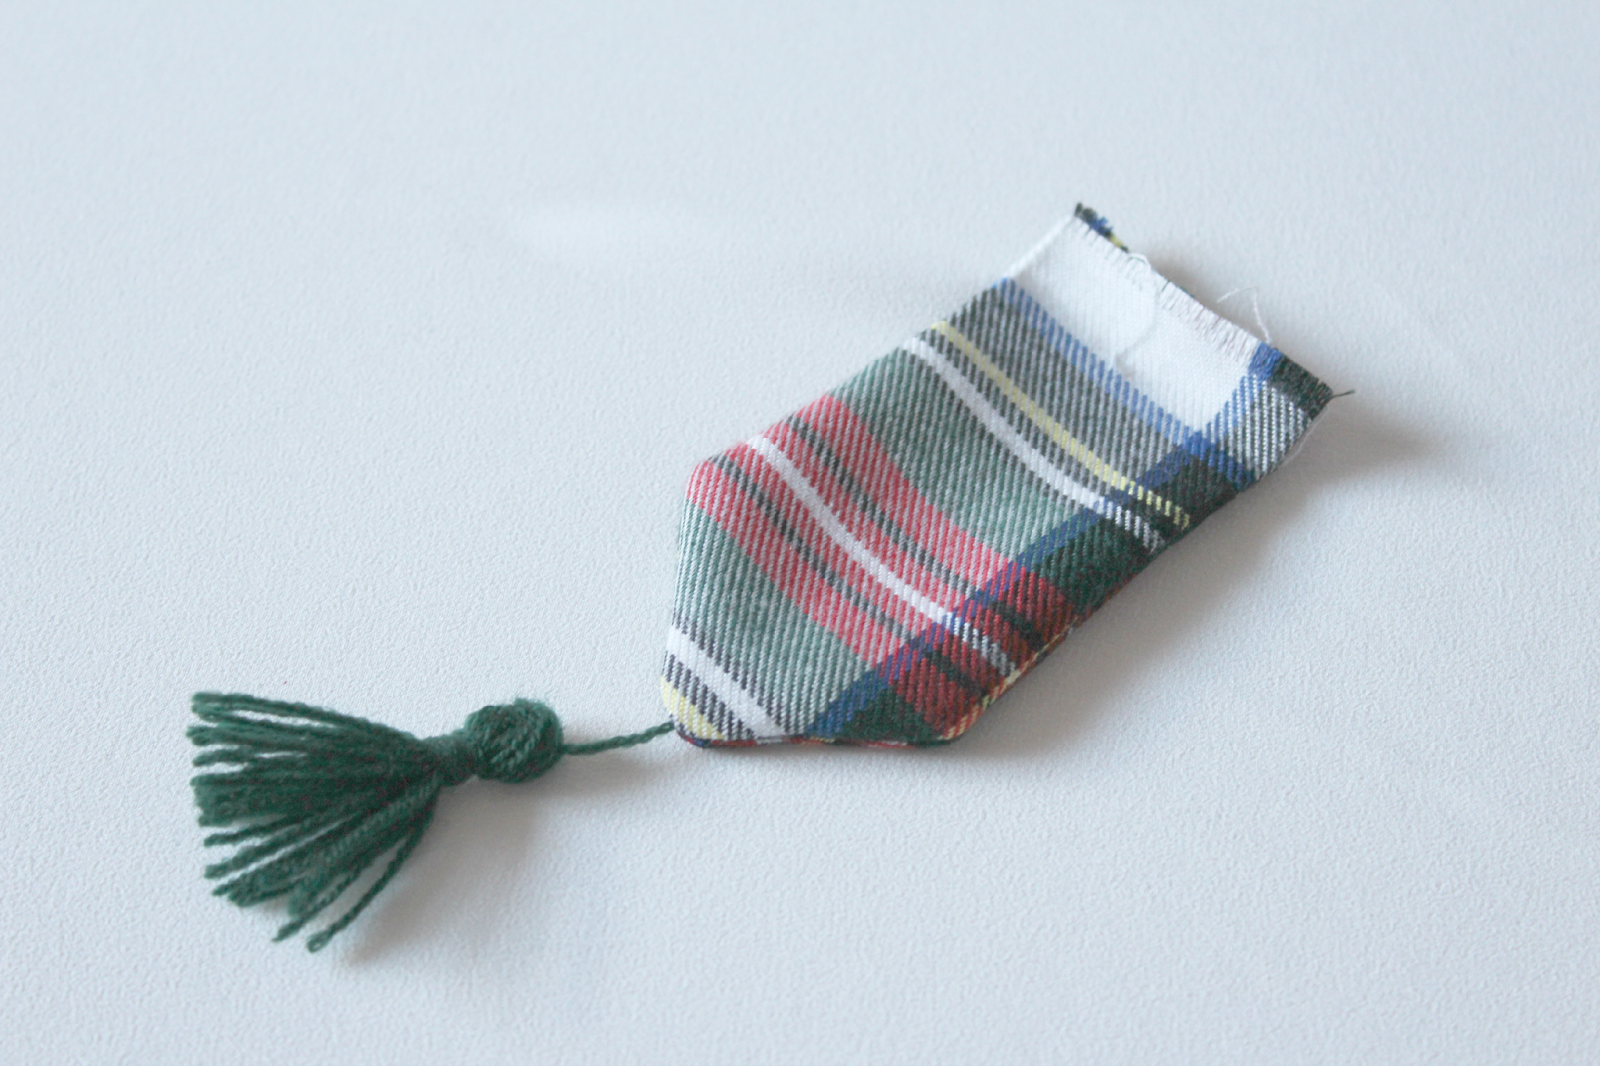
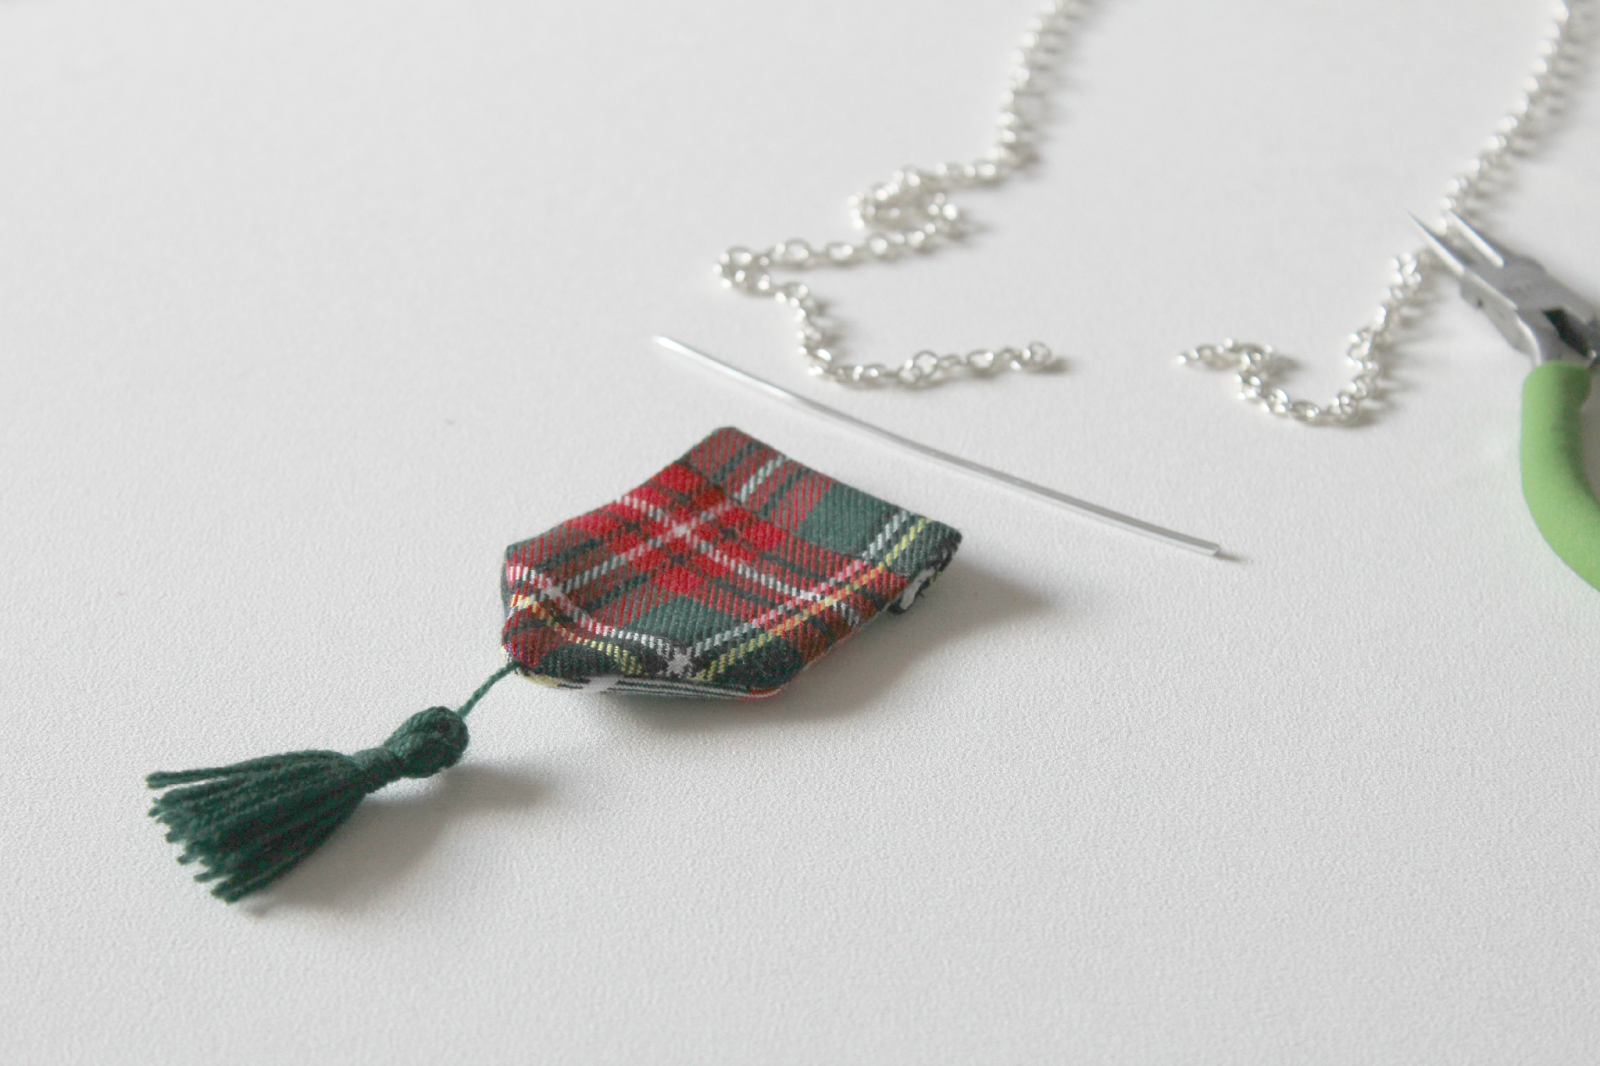
Le damos la vuelta por la abertura y lo planchamos. Ahora hacemos un dobladillo doble en la parte de arriba, es decir lo dobalmos dos veces, y lo cosemos dejando un agujerito que es por donde irá el hilo de aluminio.
Metemos la cadena en el aluminio y formamos un circulo con los alicates para cerrarlo. Ahora introducimos el aluminio por el otro extremo entre el agujerito del banderín y metemos el otro extremo de la cadena y lo cerramos.
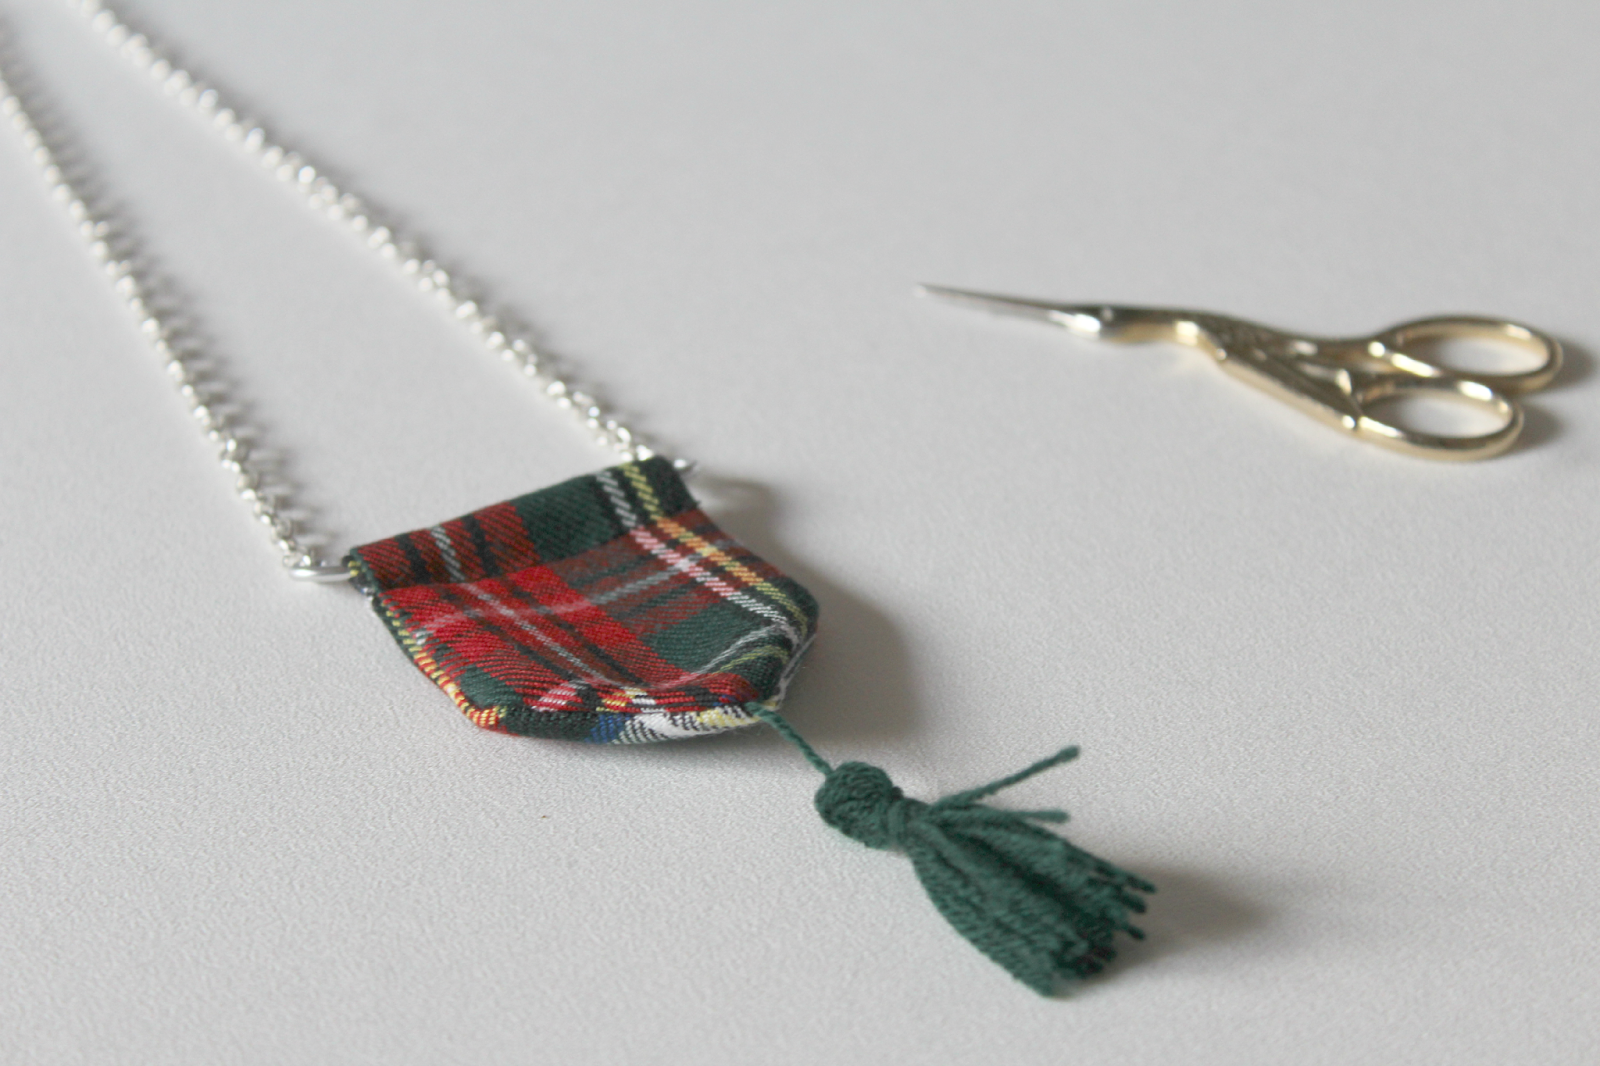
¡Terminado!
¿Os ha gustado? ¿Os animáis a hacerlo?
P.D. Echadle un ojo a los cursos de Blanca, y si estáis pensando en llevar vuestro blog en serio y de una forma profesional no dudéis en comprarlos, seguro que no os decepcionarán.
Un beso.
Marta.
. . .
ENGLISH VERSION
DIY today!! Woohoo!!
We are going to make a really nice necklace. Easy to make and trendy: a tartan pennant necklace.
But before starting with the tutorial, I wanted to tell you something. As you might have realised, I’ve been posting less frequently lately, but the views have not gone down, just the opposite. Those of you who already have a blog will know that what we write is very important:: it has to be original and has to satisfy our readers. But the way we promote our blog is even more important. If we don’t promote our blog, we don’t get any readers. I’ve learnt how to do it properly thanks to Blanca, from the blog Personalización de blogs. She has a course, in Spanish, about how to promote your blog, which has been really worth it for me. She explains all the diffferent methods to promote in a very clear way, straight to the point. And that’s why I can post less frequently if I need to and my statistics will still be the same. So I really recommend her courses if you understand Spanish and want to learn about this topic.
And now, let’s get to the fun part of today’s post, the DIY.
MATERIALS
– A bit of fabric, I chose a tartan one.
– Wool.
– A chain.
– Wire thread.
– Cardboard and paper.
– Round nose pliers.
– Scissors, needle, thread, and sewing machine (if you have one).
STEP BY STEP
First we are going to make the tassel. We wrap some of the wool around the cardboard. Then we tuck the wool between the cardboard and the wool that we’ve wrapped and we make a knot at the top. And then we cut the wool at the bottom.
Now take the loose piece of wool and wrap it around all the threads, making a small ball at the top. And we make a knot and take the end out at the top of the tassel.
Now we are going to make the pennant. First we have to draw it on a bit of paper. The one I made measured 6cm x 10cm. We copy it twice on the fabric and cut it.
Now we sew the two pieces of fabric together, with the right sides facing each other and the tassel inside as you can see in the picture above. We sew all the sides but the top one.
We turn it around through the hole that we had left and iron it. Now we make a double turn up at the side that we hadn’t sewn and we sew it, leaving two holes at each side of the turn up so we can put the wire through it.
Now we put the chain in the wire thread, and we make a circle with the pliers to close it. And then we put the wire inside the pennant and we do the same with the chain on the other side of the wire to close it.
Done!
Did you like it? Will you make it?
Xx.
Marta.


