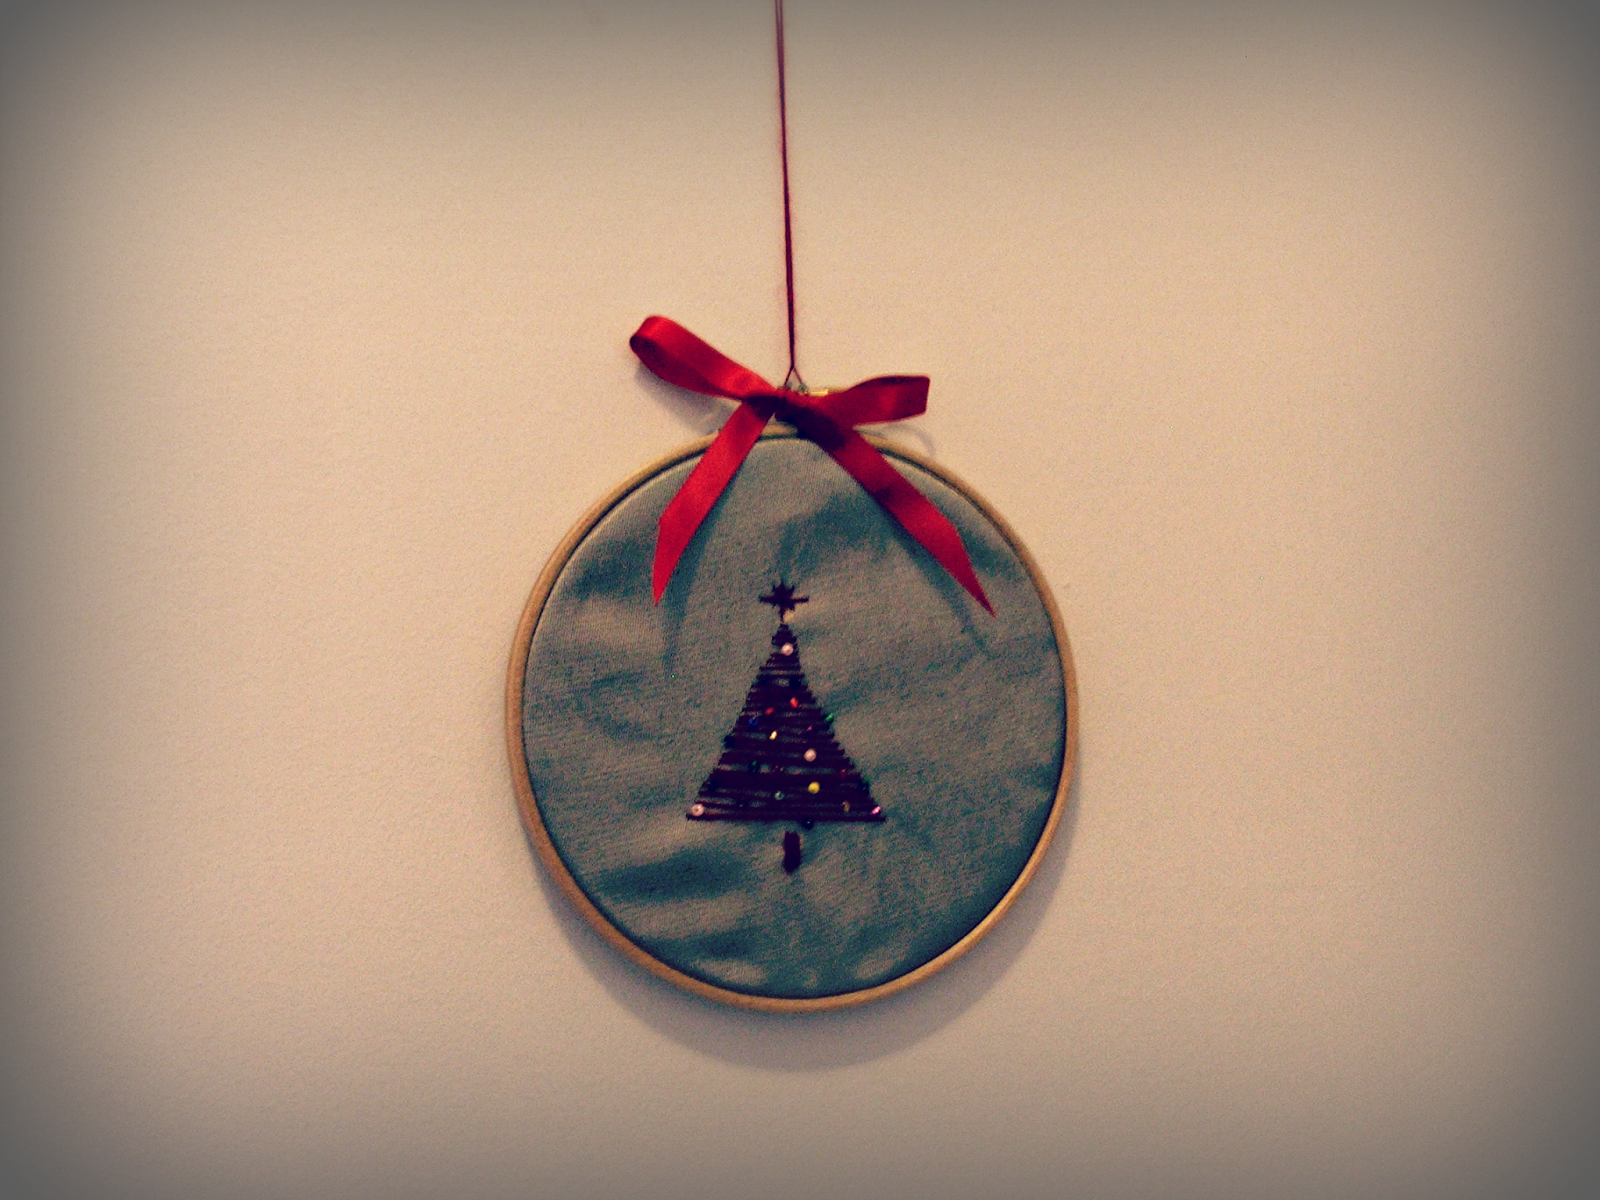
Bastidor navideño- Xmas hoop
¿Qué´tal ha ido el puente? ¿Habéis ido a algún sitio?
Yo lo he pasado en Madrid, y como os dije ayer en Facebook, se me ocurrió la brillante idea de bajar el domingo al centro a ver las luces de Navidad… HORROR. No había visto tanta gente junta en la vida! Promised!
¿Habéis hecho los deberes? ¿Ya tenéis la casa hasta arriba de dorados y plateados, lazos y corazones, coronas y árbol?
Yo… para que mentir, me queda algo por terminar… Y es que este año el 90% de mi decoración navideña va a ser DIY. Y claro, lleva su tiempo hacerlo! Así que aún estoy a medias. Espero que de esta semana no pase.
¿Alguien se animó a hacer los arbolitos de Navidad que puse el otro día? Para los que os lo perdierais, aquí tenéis el post.
Y para hoy, como no podía ser otra cosa, tenemos otro DIY Navideño.
Los bastidores se han usado desde siempre para bordar, pero siempre podemos dar un segundo uso a estos utensilios. Ahora se llevan muchísimo para decorar, se usan como marcos y se coloca una tela en su interior que puedes ser decorada o no. Si echáis un ojo a mi Pinterest veréis miles de ideas para decorar con bastidores. A mi me encanta como quedan.
Así que me he atrevido y he hecho este bastidor Navideño. Y aquí viene el tutorial.
Materiales
– Bastidor.
– Un retal de tela.
– Lana.
– Aguja.
– Pegamento textil.
– Bolitas de collar para decorar.
Paso a paso
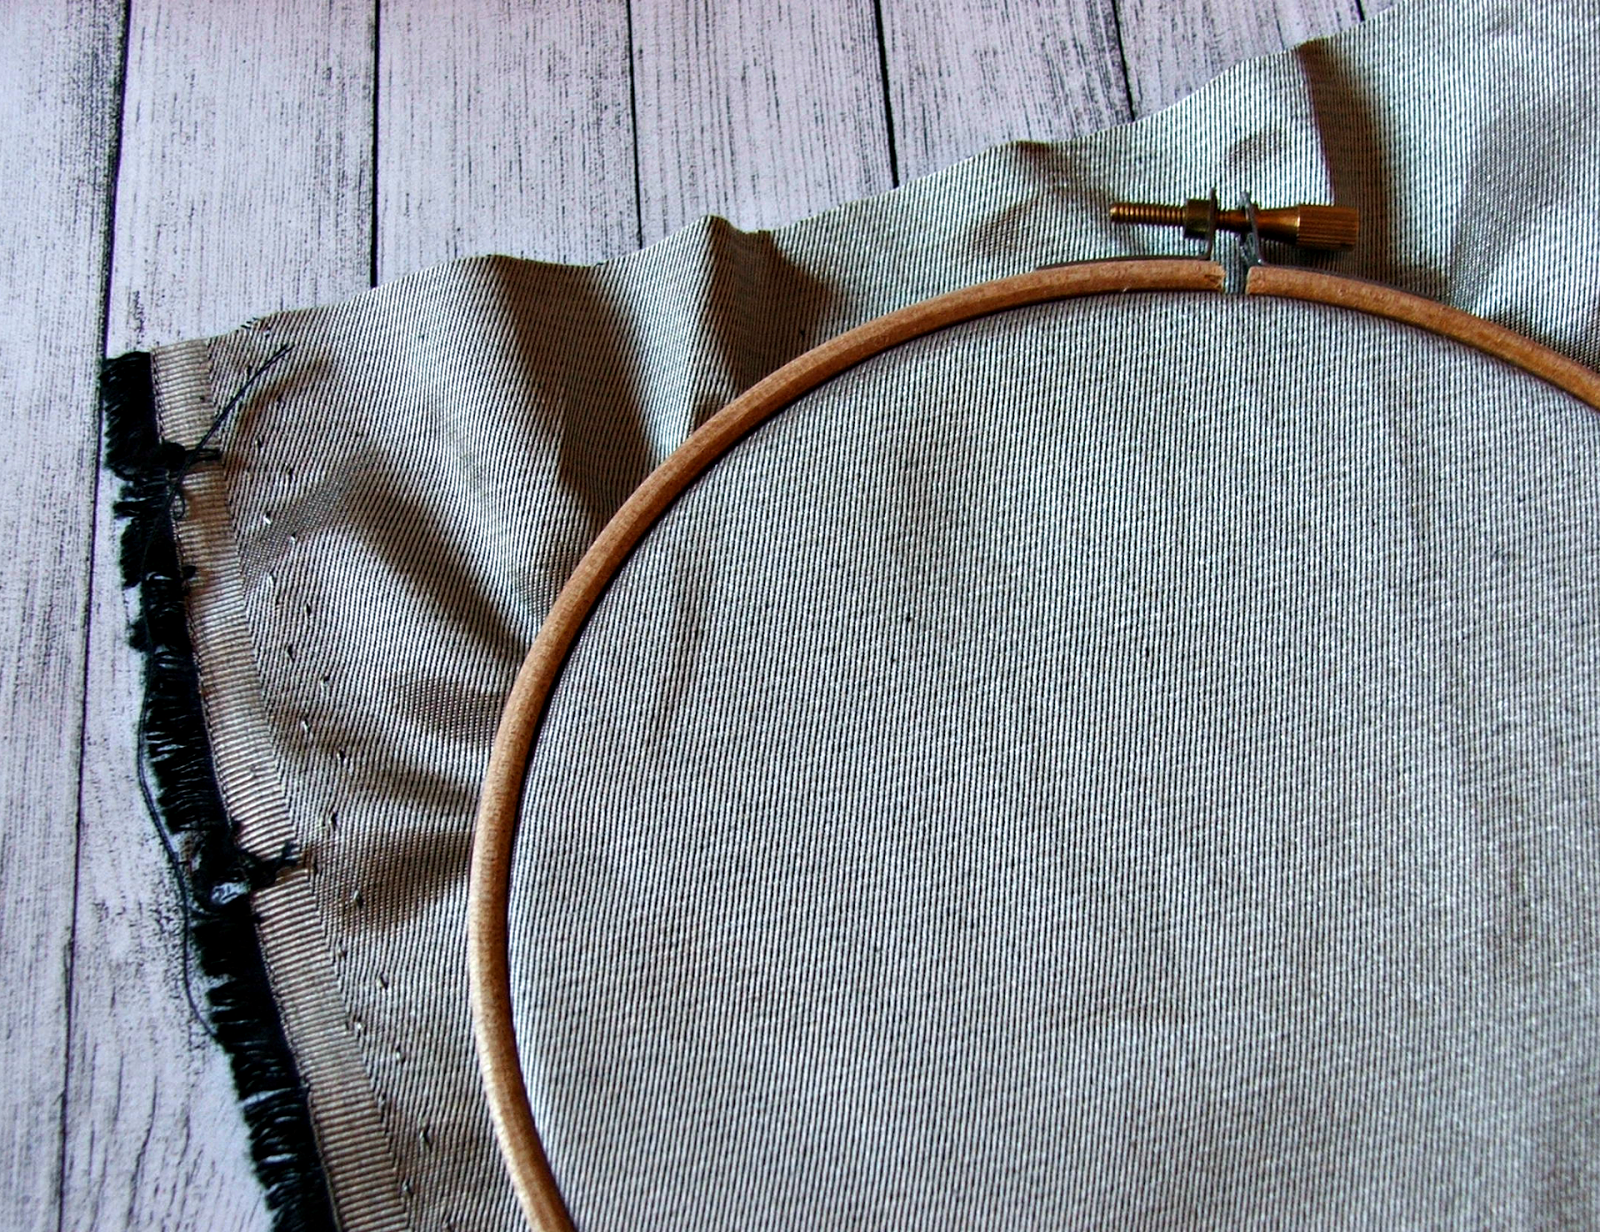
Primero colocamos la tela en el bastidor, que quede bien estirada.
Comenzamos a bordar nuestro árbol de Navidad con lana. Comenzamos con el tronco, y después vamos dando forma a la copa del árbol. Por último hacemos una estrella. Hacemos un nudo por detrás y cortamos el sobrante de lana.
Además podéis poner algunas bolitas que simularán las bolas del árbol. Yo las he cosido.
Por último, recortamos la tela en forma circular dejando que sobre un poquito y lo pegamos poco a poco por detrás.
Y ya lo tenemos. Muy facilito y queda muy chulo.
¿Os animáis a hacerlo?
Un beso.
Marta.
How’s the long weekend gone? Have you been somewhere?
I’ve been in Madrid, and as I told you on Facebook, I had a brilliant idea on Sunday… Going to the centre to see the Christmas lights… Terrible mistake. It was totally packed!
Have you done your homework yet? Have you decorated your house? Is it covered in tinsel from top to bottom?
I haven’t finished decorating yet to be honest… The thing is that this year I want to have a 90% of the deco handmade. So it takes more time obviously… but I hope I can finish it this week!
Did any of you make the Christmas tree that I posted the other day? For those of you who don’t know what I’m talking about.. here’s the post.
And for today, as it couldn’t be any other way, we have another Christmassy DIY.
Hoops have been used since a long time ago to embroider, but we can also give it other uses. Currently people use them for decoration. They’re used as a frame, with some fabric inside that can be embroidered or not. If you have a look at my Pinterest, there are lots of them.
So for this post I’m going to show you how to use a hoop for our Christmas deco. Here’s the tutorial.
Materials:
– A hoop.
– A piece of fabric.
– Wool.
– A needle.
– Glue.
– Beads to decorate.
Step by step:
We first put the fabric into the hoop.
And now we start sewing our Christmas tree with the wool. We start with the trunk and then we make the crown of the tree. Lastly we can make a star on the top. We knot the wool behind the fabric and cut the excess.
And now we can decorate the tree sewing some beads as if they are baubles.
To finish, we have to cut the fabric around the hoop leaving about two centimetres that we are going to stick behind with glue.
And that’s it, finished! Easy to make and it looks the business.
Do you feel like making it?
Xx.


