BAG DIY
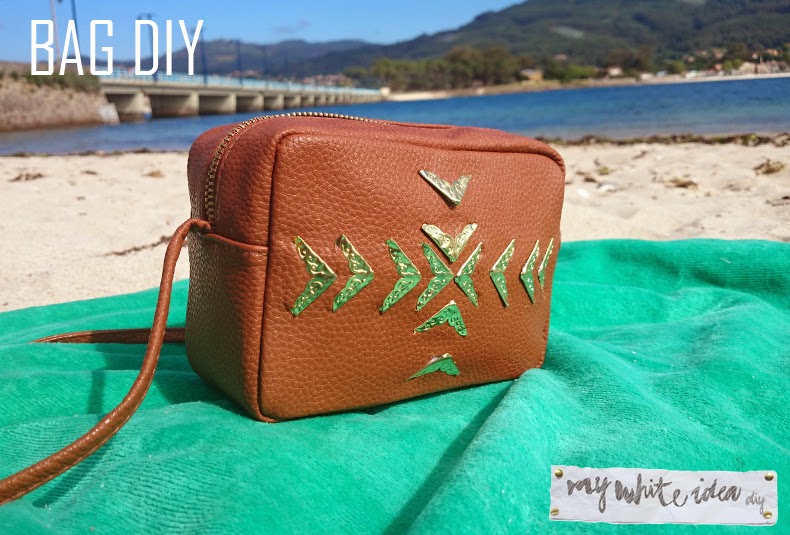
Esta no es la primera vez que utilizo esquinas de libros para hacer un DIY, en su día hice un collar y una pulsera, pero esta vez le ha tocado a un bolso.
La semana pasada fui hasta H&M a ver si había algo interesante de rebajas, y vi este bolso por 7€ (antes costaba 10€) y me lo llevé para casa, en un principio no sabía si lo iba a tunear. Lo primero que pensé fue añadir unos diamantes de imitación, pero ya estaba muy visto, y viendo mis materiales de DIY, encontré las esquinas de libros, así que al momento supe que sería el material perfecto para darle un toque diferente al bolso.
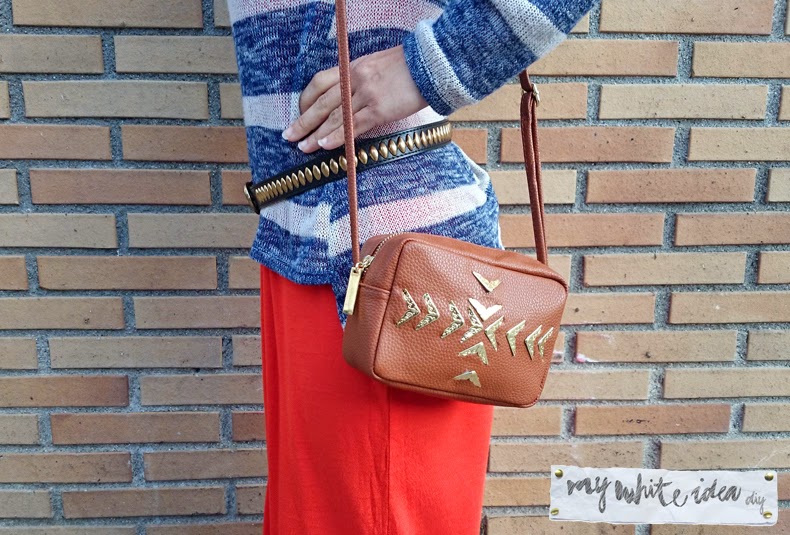
Desde que lo hice, me lo he puesto todos los días, así que seguro que se convierte en mi bolso estrella de este verano!
Seguro que tienes por casa un bolso liso que necesita un toque especial, estas esquinas de libros cuestan menos de 1€ 20 unidades (las venden en cualquier librería o bazar), y se tarda algo más de 30 minutos en hacerlo, así que no hay excusa!
This isn’t the first time I use book corners to make a DIY, some time ago I made a necklace and a bracelet.
Last week I went to H&M to see if there was anything interesting, and I saw this bag for 7 €, at first did not know if I was going to customize it. My first thought was to add some rhinestones, but it was well seen, and seeing my DIY materials, I saw the corners of books, so I knew that would be the perfect material to give a different touch to the bag.
Since I did, I’ve put it all days, so I’m sure it will be the star bag of this summer!
I´m sure you have at home a boring handbag that needs a special touch, these corners of books cost less than 1 € 20 units (you can buy it in any bookstore), and it takes just over 30 minutes to do, so there’s no excuse!
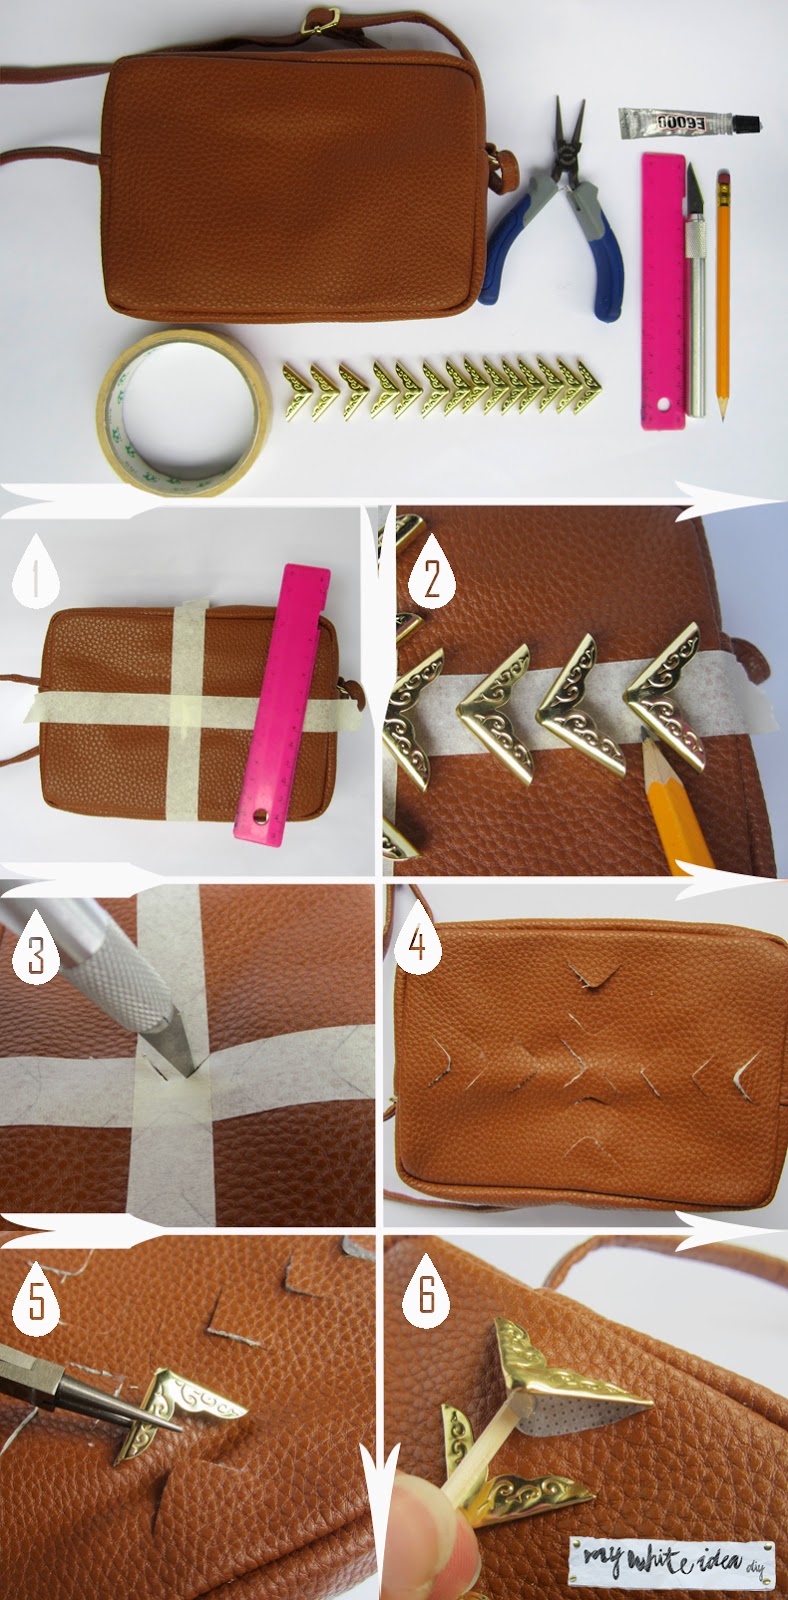
Materiales/ Materials
Bolso ( este es de H&M) / Bag (This is from H&M)
Alicates / Pliers
Cinta de carrocero / Tape
Regla / Ruler
Cutter
Pegamento / Glue
Lápiz /Pencil
Trucos
Cuando cortes el bolso, intenta cortar solo la parte de la piel, ya que dentro (al menos este bolso) tenía un cartón, si con el cutter no eres capáz, lo mejor es que hagas un pequeño corte con el cutter y luego continúes con una tijera pequeña.
Conforme vayas cortando, vete probando con las esquinas, para no cortar en exceso.
Si no tienes unos alicates de este tipo, utiliza ESTE TRUCO para que no te queden marcas.
Tips
When you cut the bag, try to cut only the part of the skin, (because my bag has a piece of carton), if you aren’t good with the cutter, it is best that you make a small cut with cutter and then you continue with a small scissors.
It is better to go testing with the corners to don´t cut too much.
If you haven´t this type pliers, use THIS TIP, for avoid the marks.
Espero que os guste y gracias por los comentarios!
I hope you like it and thanks for the comments!


