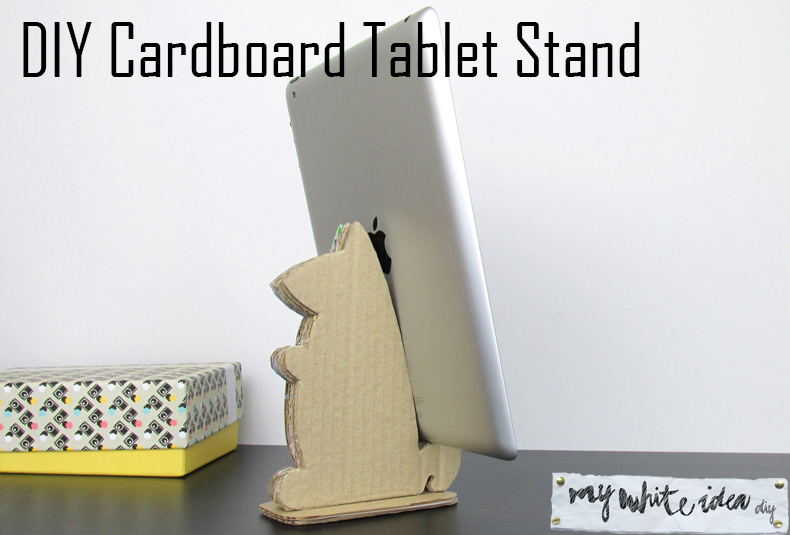
DIY Cardboard Tablet Stand
Este DIY fue amor a primera vista, de esas cosas que ves y que quieres, bueno en mi caso que ves y que quieres hacer. Un DIY muy sencillo pero vistoso y útil, que es lo más importante!
Cuando vi esta ardilla, AQUÍ, busqué por casa todo el cartón que tenía y me puse a hacerla. No tardé más de 25 minutos y es muy ameno. Lo mejor, es una excusa perfecta para reciclar el cartón y darle una segunda vida.
This DIY was love at first sight, those kind of things that you see and that you want, well, in my case, i see and i want to make. A simple but and useful DIY, which is the most important!
When I saw this squirrel, here, I started to look for cardboard in my house and I started to make it. you only need 25 minutes and is very pleasant.
The best thing is that is a perfect excuse to recycle cardboard and give it a second life.
Materiales:
Cartón
Tijeras
Cutter
Pistola silicona
Revista
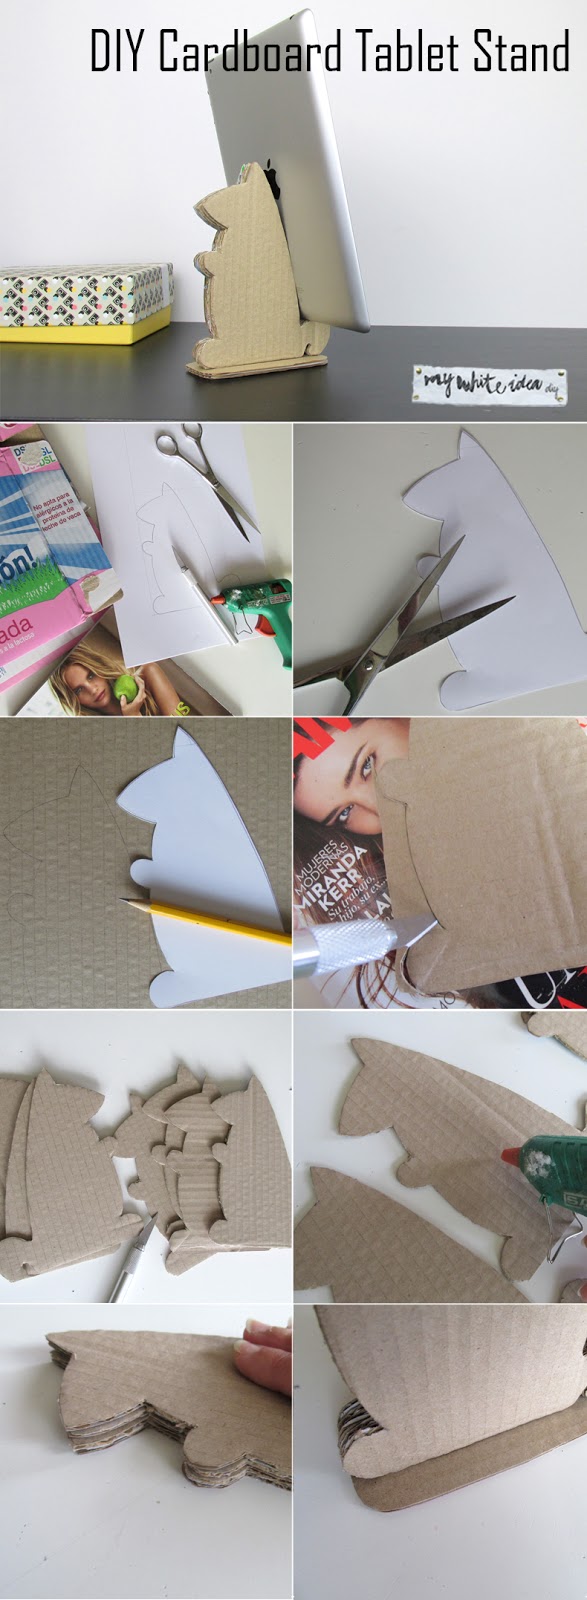
Pasos
1-Cortar la plantilla
2- Dibujar la plantilla en el cartón
3- Recortar el diseño en el cartón
4- Para que se aguante de pie solo, hay que hacer al menos 8 figuras, y que la mitad sean simétricas
5-Pegamos las figuras dejando la parte del cartón con dibujo hacia dentro.
6-presionamos para que se queden juntas y no queden espacios.
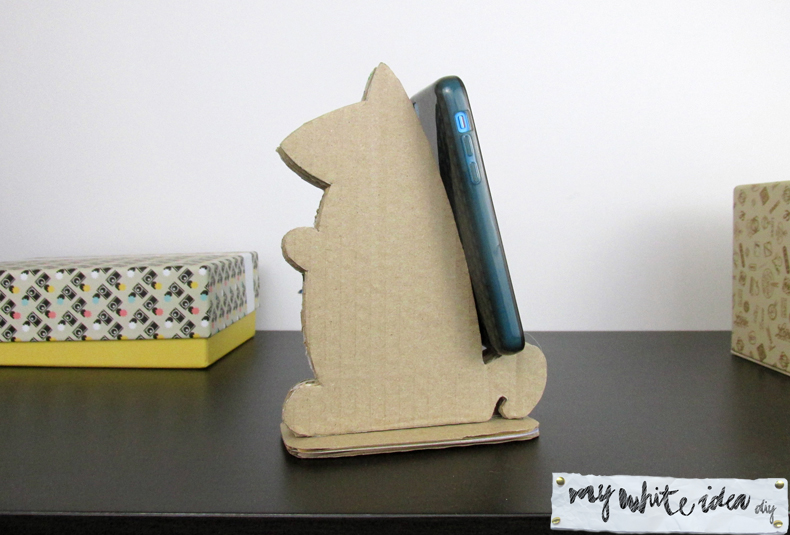
7- Si no se aguanta bien de pie (como es mi caso) colocar una pequeña base.
Materials:
paperboard
scissors
Cutter
silicone gun
magazine
Steps
1-Cut the template
2- Draw the template on the cardboard
3- Cut the cardboard
4- You will need 8 figures of cardboard, the half of the total of your figures must be symmetrical
5- Paste the figures of the cardboard.
6- Press when you paste
7- If the squirrel don»t hold up well (as mine), place a small base.

Espero que os guste y gracias por los comentarios!
I hope you like and thanks for the comments!